Giada De Laurentiis’ Turkey Chili Served with Quinoa

Image

I was on an airplane ride returning from vacation with free TV and Giada from the Food Network made this recipe.  It sounded good so we tried it out.  It got the thumbs up from me, my husband, and our young daughter.  It is definitely flavorful, easy to make, and can be on your table in under an hour including cleanup especially with some quick advanced planning.  Her web link says prep is 1 hour, cook 1 hr 30 minutes.  You likely will not need this much time.  This dish listed below does not have much “heat”.  If you want more keep some chili seeds in and use more chili powder.

http://www.foodnetwork.com/recipes/giada-de-laurentiis/california-turkey-chili-recipe.print.html

Serves 6-8 large bowls

(This recipe has been grossed up from the web link.)

Ingredients

1/3 cup extra-virgin olive oil
4-6 large cloves garlic, smashed, peeled and chopped  (short cut pop the peeled cloves in a small cuisinart, or just use jar garlic)
1-2 large poblano chiles, stemmed, seeded and diced (I used one large; she lists two)
2 celery stalk, chopped small pieces
1 1/2 large onion, chopped small pieces
2.5-3 pounds ground turkey (use at least half dark meat to keep flavor up)
1 1/4 tablespoon all-purpose flour
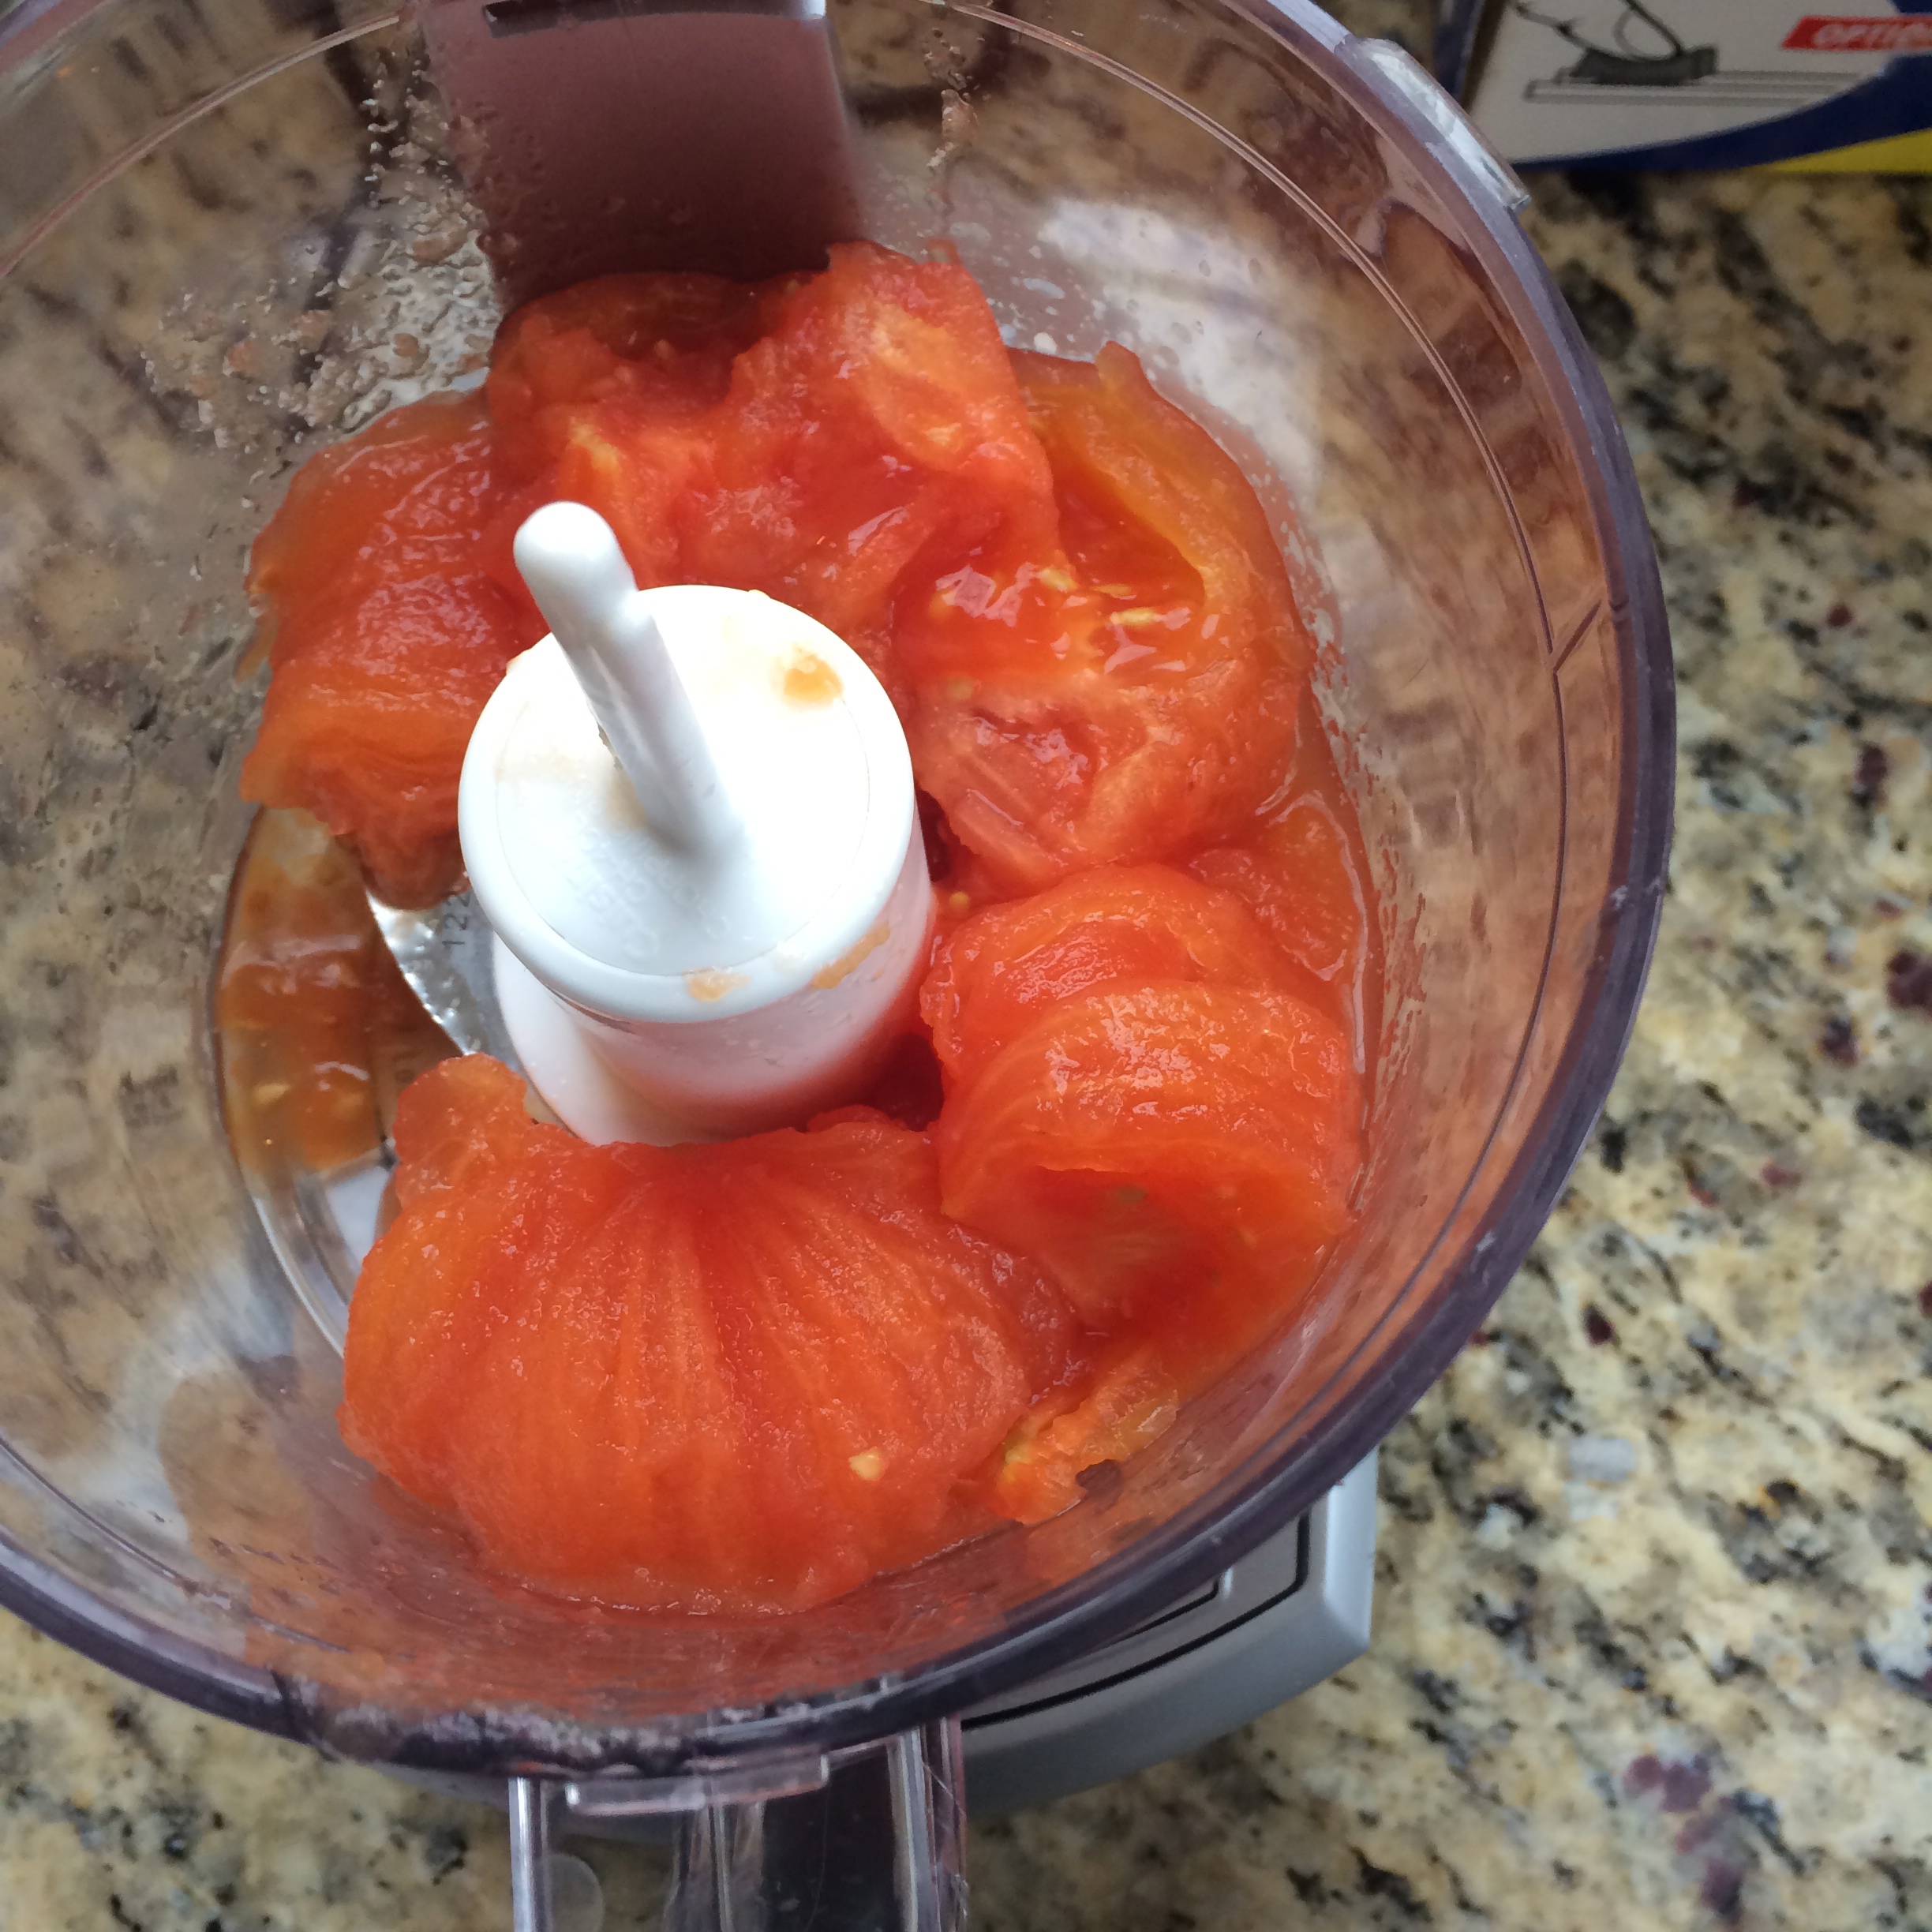
6-8 tablespoons tomato paste
4-5 generous tablespoons chili powder
1 1/2 tablespoon ground cumin
3 generous teaspoons (packed) dark brown sugar
1 1/2 teaspoon dried Mexican oregano, crushed
Kosher salt and freshly ground black pepper (see measurements below to start with, add more if desired)
little less than one teaspoon ground cinnamon
little more than 1/8 teaspoon ground cloves
4 cups low-salt chicken broth (preferably organic)
One 15 to 16-ounce can white or brown kidney beans rinsed and drained

Simplest Quinoa and Pine Nut Pilaf, recipe follows

Assorted garnishes, such as chopped onion, shredded white Cheddar, chopped tomatoes and/or sour cream

Quinoa and Pine Nut Pilaf:  This won’t look like much pre-cooked but will make a lot.
1 1/4 cups whole grain quinoa (about 7 ounces)
1 3/4 cups low-salt chicken broth (preferably organic)
1/4 teaspoon kosher salt
1/4 teaspoon freshly ground black pepper
1/3 cup chopped fresh cilantro or Italian parsley
1/3 cup pine nuts

Directions

Peal and prep your garlic.  Set aside.

Mix your spices and sugar in a small bowl.  Precision not required.  Set aside.

Now heat the oil in a heavy, large pot over medium-high heat for a few minutes until shiny.

While the oil is heating, quickly prep your carrots, poblanos, celery and onion.  Rough but small cuts are fine.

Add the poblanos, celery and onions to warmed oil pot. Saute until the vegetables soften, 5 to 6 minutes.  Add the garlic.  Stir 1 minute.

Add the turkey and saute until no longer pink, breaking up the turkey with the back of a spoon, about 7 minutes.

Sprinkle the flour over and stir to blend.

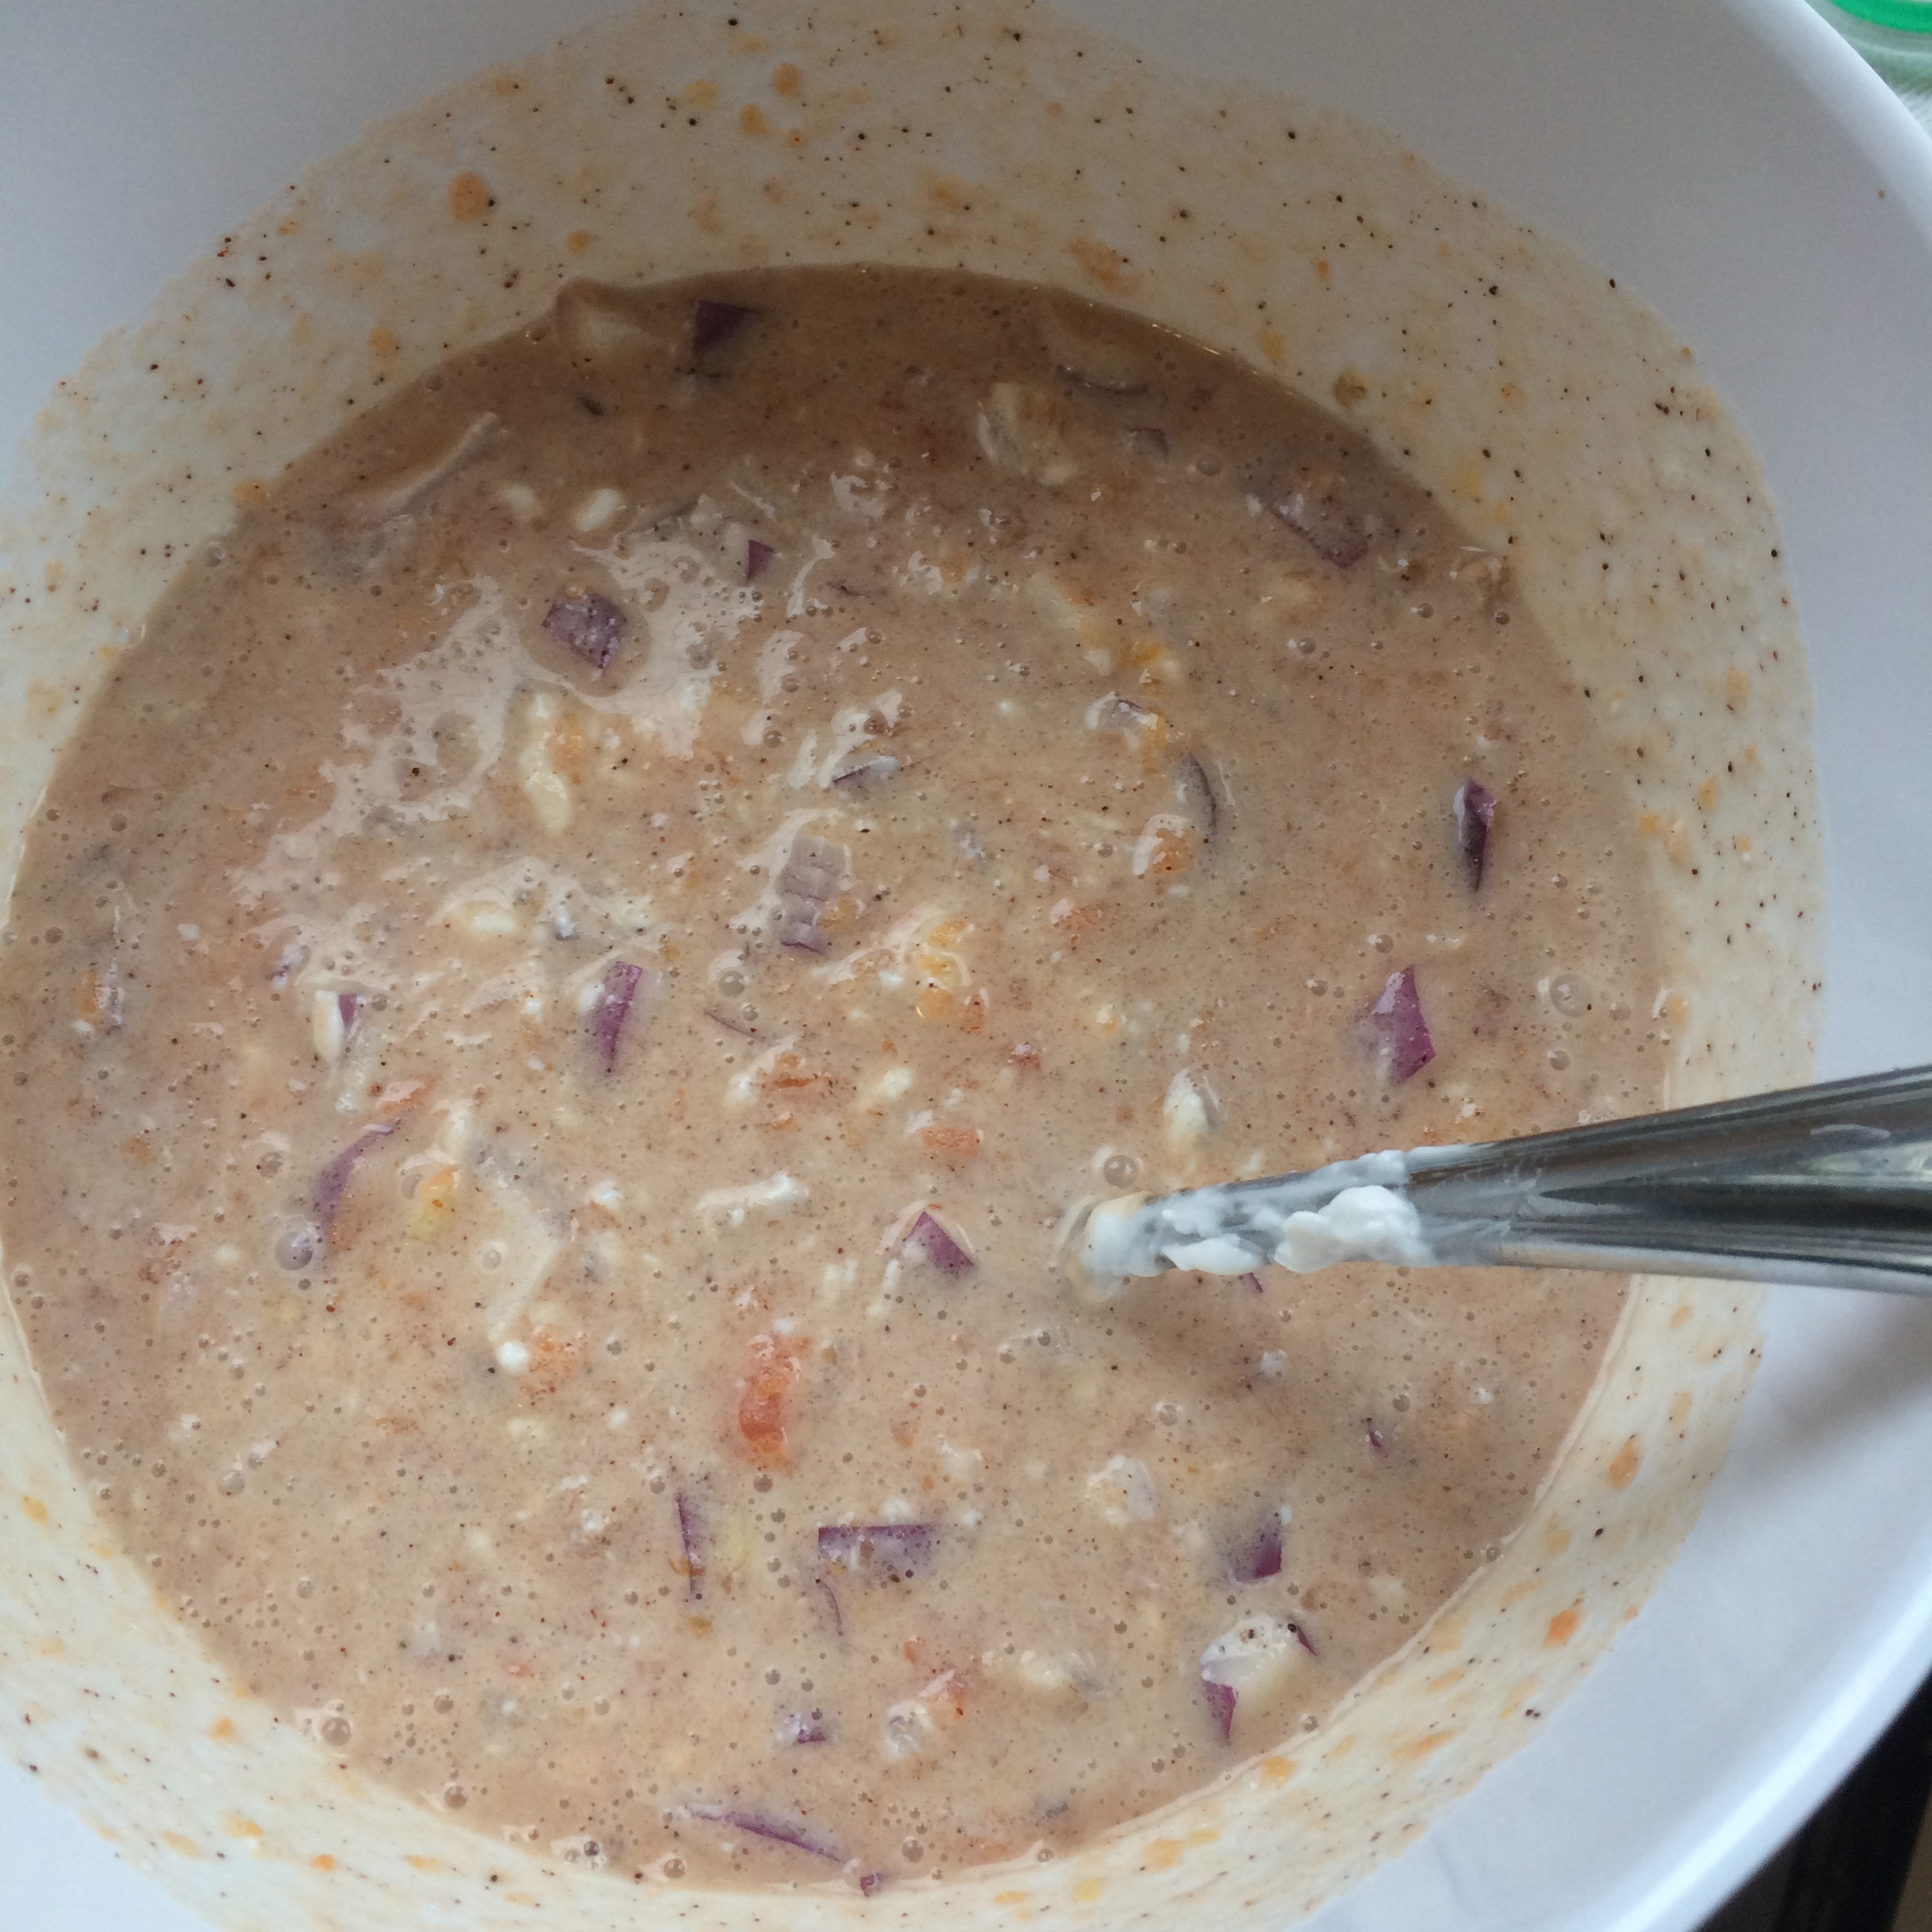
Add the tomato paste, and spice/sugar bowl (chili powder, cumin, sugar, oregano, 1 teaspoon salt, 1/2 teaspoon pepper, cinnamon and cloves).

Cook 1 to 2 minutes, stirring to blend.

Add the broth and beans.

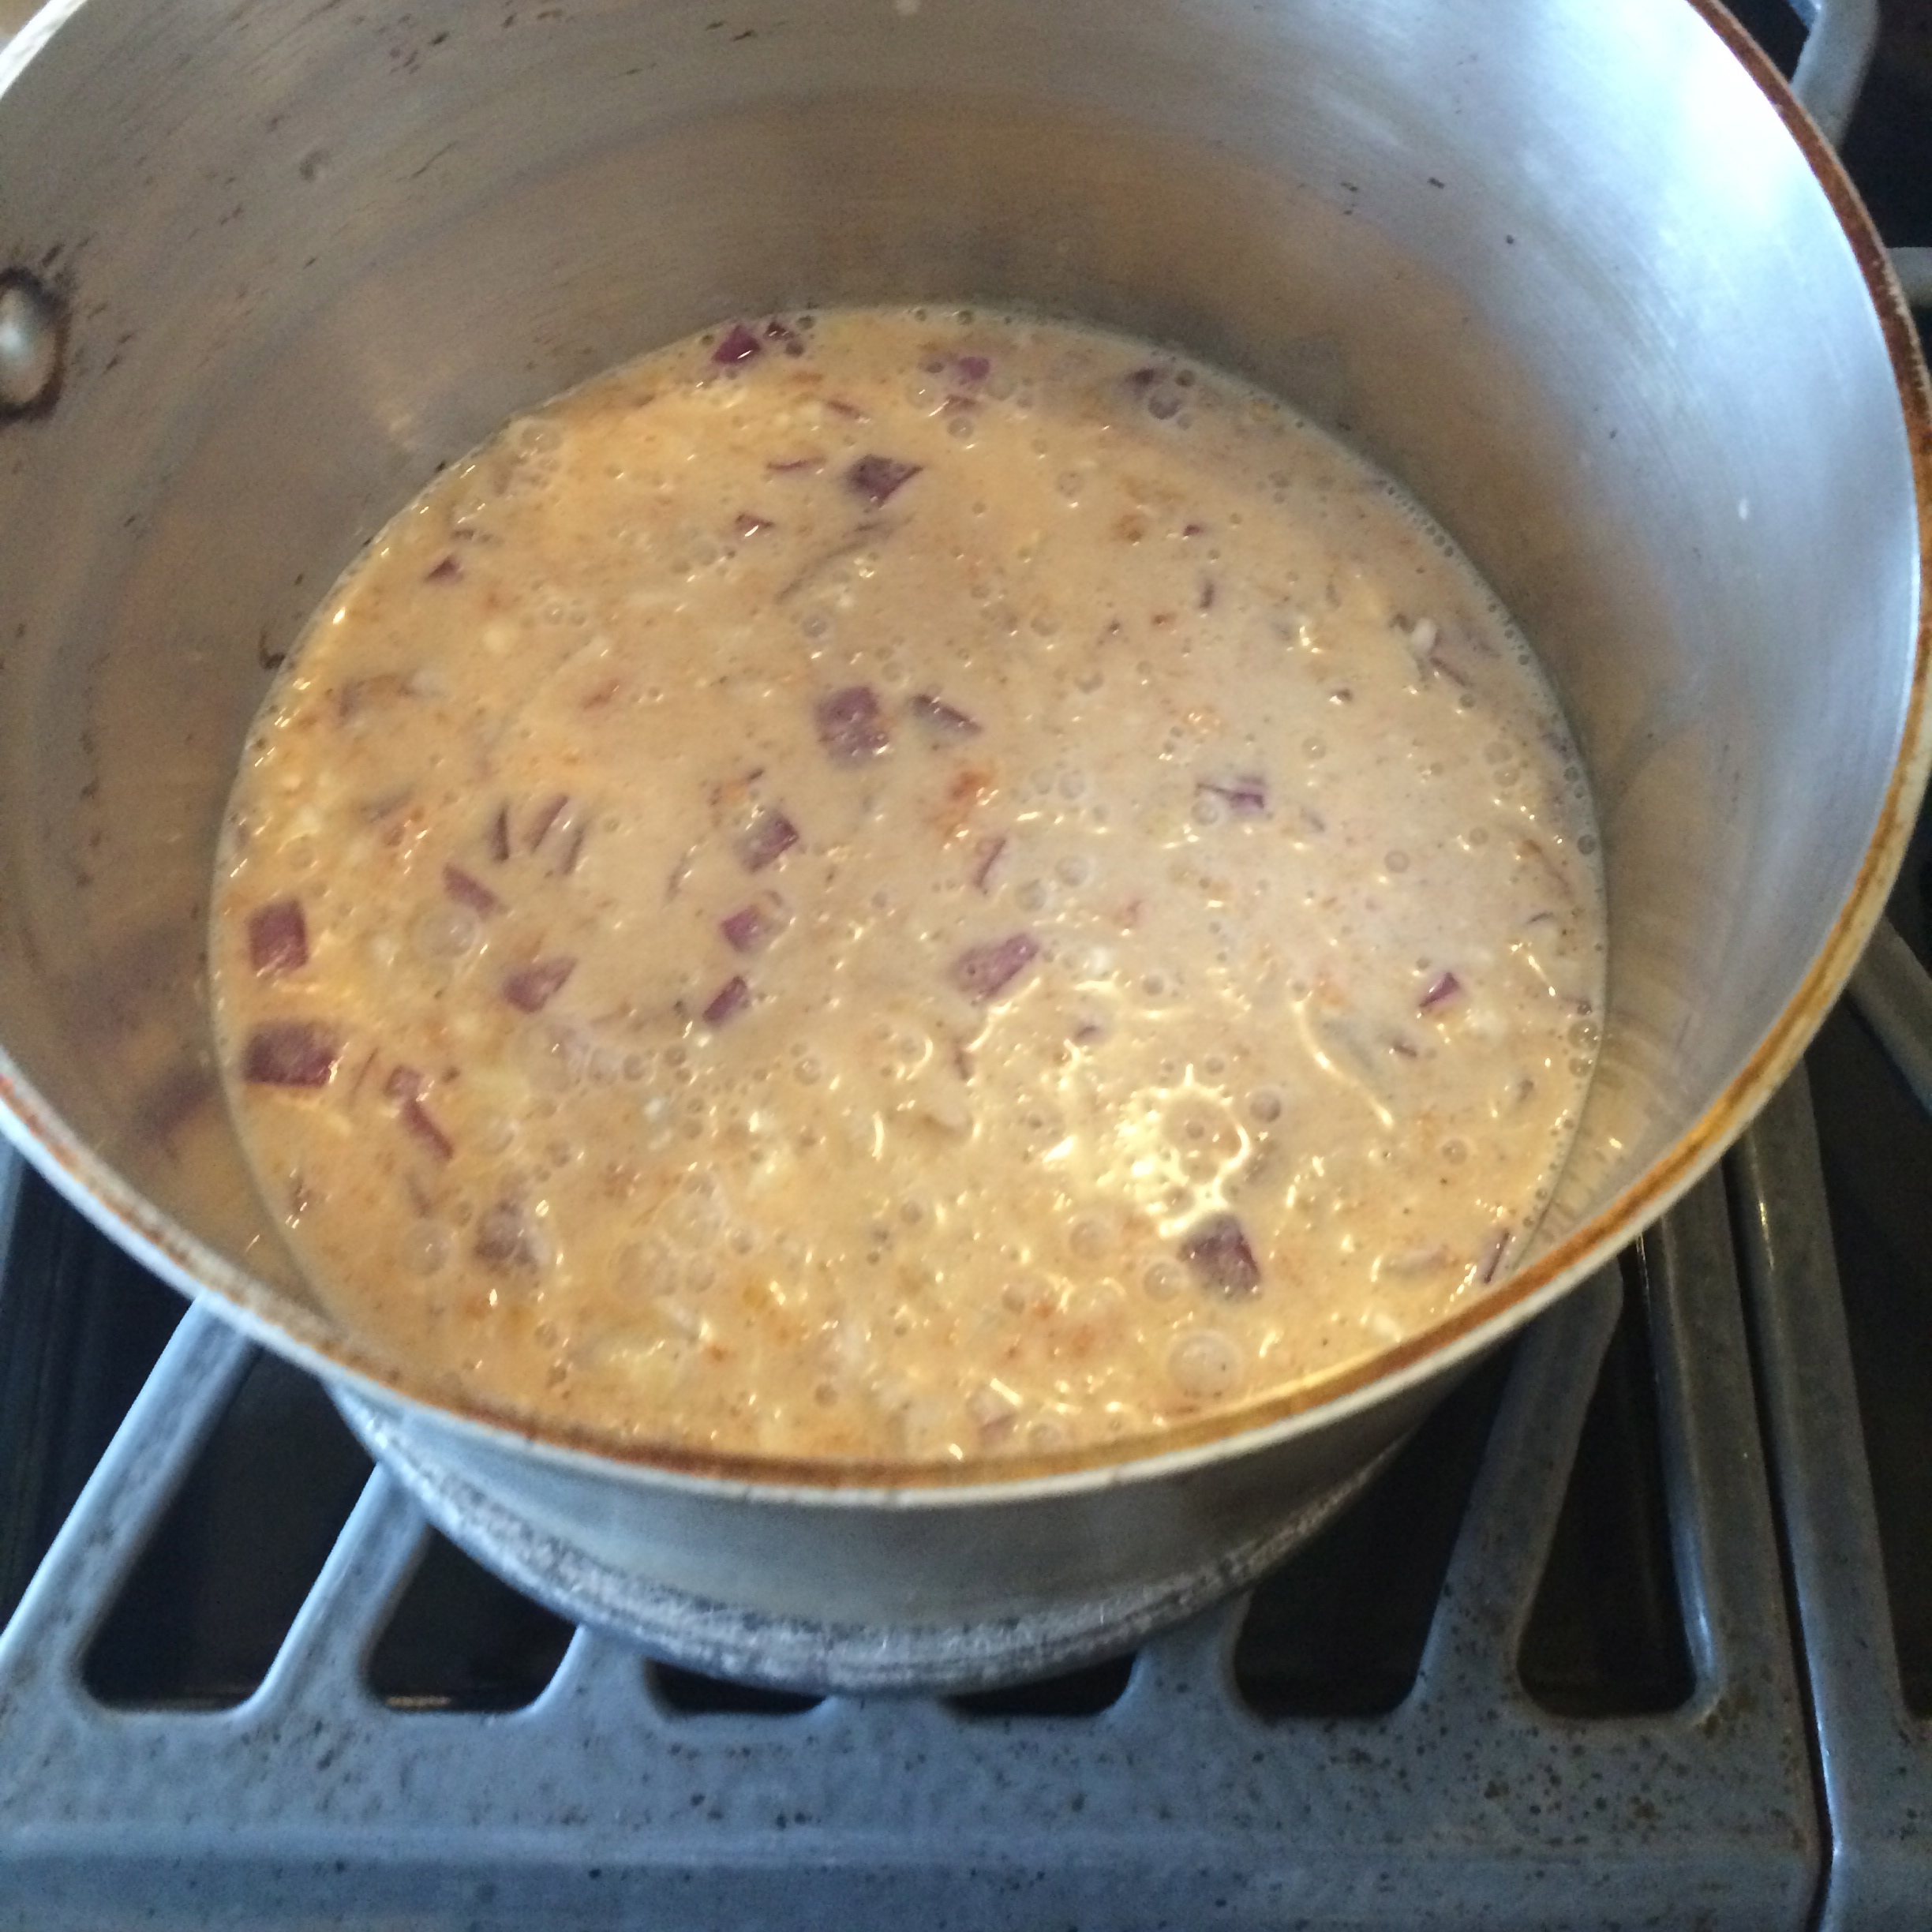
Bring to a simmer – 5-10 minutes.

Reduce the heat to medium-low and simmer until the flavors blend and the chili thickens to desired consistency, stirring often, 20 to 30 minutes.

Season with more salt and pepper.

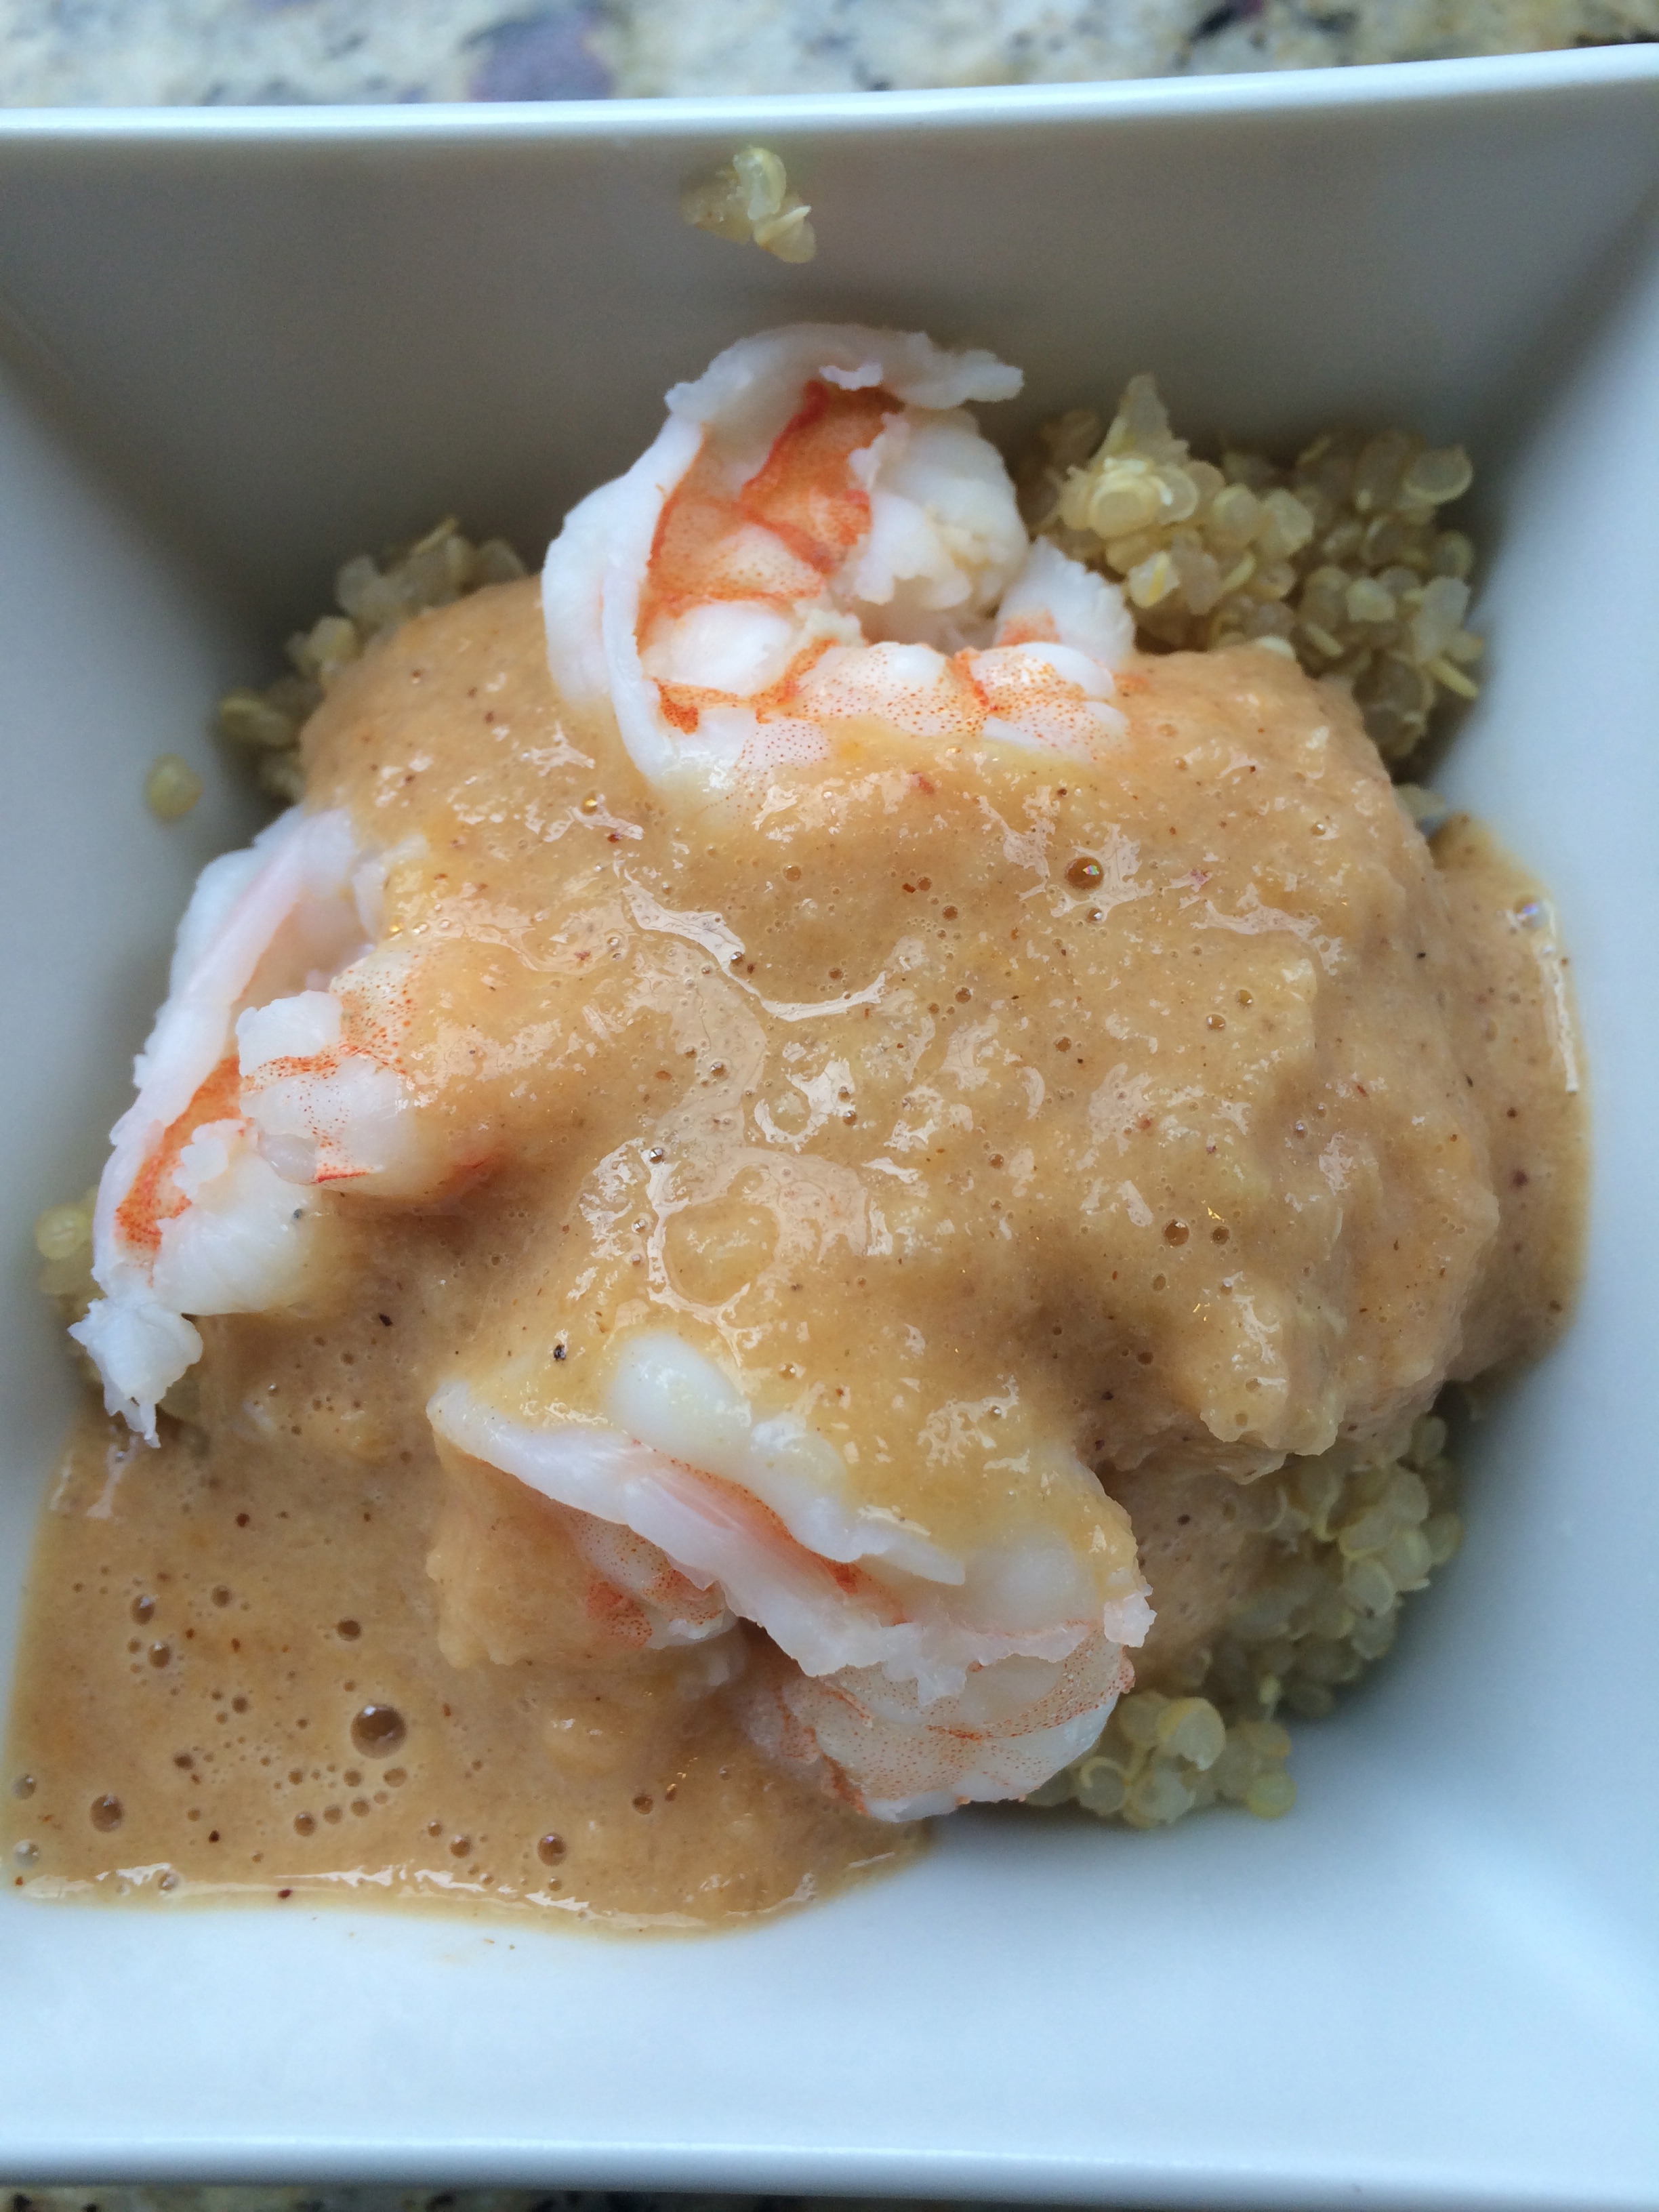
To serve, spoon Simplest Quinoa and Pine Nut Pilaf into deep bowls. Ladle chili over. Serve with garnishes.

Simplest Quinoa and Pine Nut Pilaf **

Place the quinoa in a fine sieve. Rinse under cold running water 1 full minute. Set aside to drain.

Bring the broth, salt and pepper to a boil in heavy, medium saucepan over medium-high heat. Stir in the quinoa. Cover, reduce the heat to medium-low and simmer until the quinoa is tender and all the broth is absorbed, about 15 minutes. Turn off the heat. Let the quinoa stand, still covered, for 10 minutes.

Meanwhile, preheat the oven to 350 degrees F. Scatter pine nuts on a small rimmed baking sheet. Toast the nuts until golden, stirring occasionally, about 5 minutes. Cool on the baking sheet.

Mix the cilantro and pine nuts into the quinoa.

** Dishthistoday Quinoa Note: For me, I did the quinoa in my Zojirushi rice cooker, quick setting – using 1 cup quinoa to 2 cups chicken broth).  I set it in the morning before work and it stayed warm once cooked with very little degradation of taste.  It usually finishes within a half hour so if you are making as the same time as chili get it started before you start the chill.  I also prepped the veges and spices the night before so that when I got home from work putting the dish together took even less time.  If you have never tasted quinoa, don’t be turned off.  It is a grain and when cooked properly tastes great and is relatively healthy for you.  Also to save time I skipped the pine-nuts but I am sure they are a good addition if you have the time.

Read more at: http://www.foodnetwork.com/recipes/giada-de-laurentiis/california-turkey-chili-recipe.print.html?oc=linkback

Indian Shrimp with Coconut Dipping Sauce over a Bed of Quinoa

Finished Dish: Shrimp with Coconut Dipping Sauce over Quinoa

Shrimp with Coconut Sauce over Quinoa

The recipe comes from Modern Spice by Monica Bhide.  Her inspiration for the recipe per her cookbook is from Chef Jose Andres from Washington DC who owns a few restaurants in DC.  It is very easy to make and tastes and smells wonderful.  I added the quinoa, removed the shrimp tails and served over quinoa versus the recipe presented in Bhide’s book.  It is incredibly tasty and not a typical India heavy dish.

This recipe makes enough for 4 small appetizer servings or 2 dinner dishes.  To bulk up the counts increase your shrimp count.  If you multi-task the quinoa, shrimp, and sauce well, this dish can be completed in well under an hour easily and cleanup is painless.  You can use the same large pot to cook the tomatoes, the shrimp, and the sauce.  You only need one cutting board.

Ingredients Coconut Sauce and Shrimp

1 small red onion minced

2 small tomatoes pureed * instructions below

1 13.5 ounce can unsweetened coconut milk

1/2 teaspoon of ground cumin (her recipe called for 1 teaspoon of the actual seeds which I don’t stock in my pantry)

1 teaspoon red chili powder (or less if you prefer less spicy)

1 inch piece fresh ginger peeled and minced (go fresh if you can versus ground ginger spice)

1 tablespoon of Worcestershire sauce

Pinch of sea salt

Cooked 1 pound of nice sized shrimp **

* Puree tomatoes – WikiHow has great instructions on how to do the puree.  I left the seeds and juices in. I stopped after Wiki step 8 because I was just needed simple tomato puree.  You can reuse the pot from the tomato puree step for the recipe later.
Before Puree

After Puree

After a few pulses (above)

http://www.wikihow.com/Make-Tomato-Puree

** For cooking the shrimp, I keep it pretty simple because I want the sauce to be the flavor of the shrimp.

Remove shells, tails, and devein the shrimp (dark brown or black vein) with a sharp knife.

Rinse what you just prepped in cold water and drain.

Fill pot with enough water to cook shrimp; then boil the water on high heat.

Add shrimp and push under water initially, allow the shrimp to cook 1-2 minutes until you see small bubbles to break the surface of the water.  Stop at that point and remove pot from heat.  Shrimp cook quick and should start to have a nice pink tinge (you will need to peak at a shrimp because the water will be murky).  Cover the pot and let the shrimp cook in the hot water off the heat for about 5-10 minutes depending on the size of shrimp.  They will now fully have that nice pink color you are looking for.  Don’t overcook.  Drain the shrimp and set aside.

Prepped Shrimp

Shrimp ready to go off heat

Cooked after staying in warm pot 7 1/2 minutes.

Above 3 shrimp photos – prepped, in the pot on heat with bubbles surfacing, fully cooked

Directions for Coconut Sauce

1) Combine the onion, tomatoes, coconut milk, cumin, chili powder, ginger, pinch of salt, and Worcestershire sauce in a large bowl and mix well.  Add more salt after tasting if desired.

Uncooked Sauce

2) Pour mixture into a large pot and bring to a boil over medium heat.    Begin to prepare your Quinoa ***

Cooked Down Sauce

3) Reduce the heat and simmer for 20 minutes stirring occasionally.

4) Remove from heat and allow to cool at room temperature

5) Process in a blender until smooth – can serve sauce cold or warmed

Blender Pre Blend

Sauce After Blending

After blending thoroughly (immediately above)

*** Preparing Quinoa –  I admit I am spoiled here and use my Zojirushi rice cooker which makes it perfectly with little fuss in less than a half hour.  Rinse one cup of quinoa over a fine mesh strainer and once drained place in rice cooker pot.  Add 2 cups of either water, vege stock, or chicken stock (my preference), add a pinch of sea salt, set on the quick start and wait for it to be done.   As for stove top methods there are tons of options online or follow the instructions on your Quinoa container.   Again for this recipe I keep the quinoa flavor simple because I am counting on the coconut sauce to flavor the shrimp and quinoa.  

Cooked Quinoa

Serve

Layer a plate with quinoa bottom, add shrimp portion, and pour over some sauce.
Shrimp with Coconut Sauce over Quinoa


Pulled Barbecue Chicken Sandwiches via Slow Cooker

Pulled BBQ Chicken

Pulled BBQ Chicken

Pulled barbecue chicken sandwiches – Very Easy! Fast Prep!

Yield: 12+ meaty sandwiches

Prep Time: 10 min

Cook Time: 6 hrs

Ingredients:

2 pounds boneless, skinless chicken breasts + 1 pound boneless, skinless thighs
2 cup (16 oz) barbecue sauce (a flavor you like)
2/3 cup Italian dressing – good brand
2 tablespoons packed light brown sugar
2 tablespoon Worcestershire sauce
4 tablespoons cornstarch
4 tablespoons chicken broth (I have used water too but chicken stock is more flavorful)
additional barbecue sauce, if desired
rolls, for serving as sandwiches
bread and butter pickles, optional

Directions:

1. Place chicken in the slow cooker.  You should enough meat to cover the bottom layer of your cooker.  In a medium bowl, whisk together the barbecue sauce, Italian dressing, sugar and Worcestershire sauce. Pour the sauce over the chicken. Cover and cook on low for 4 1/2 to 5 hours.

2. Remove the chicken to a cutting board. In a small bowl, mix cornstarch and chicken broth (or water). Stir it into the sauce in the slow cooker. Cover and cook on high until the sauce is thickened and heated through (10 to 15 minutes). Meanwhile, use two forks to shred the chicken. Return the shredded chicken to the slow cooker and stir. Add additional barbecue sauce if more sauce is needed or desired. Cover and continue cooking on low for 45 minutes. Serve chicken piled onto rolls. Add pickles, if desired.

tips:

*The brand of barbecue sauce that you use can make a big difference in the flavor of the chicken.  Many people on line like Sweet Baby Ray’s!

Source:  RecipeGirl.com (Adapted slightly from All You)

IMG_5262

Close Up Look

IMG_5263

Getting ready to freeze leftovers.

Slow Cooker Turkey Lasagna – Yes it is possible

I love Barefoot Contessa’s (Ina Garten) Turkey lasagna but it is a lot of work and worse a lot of cleanup.  So when this slow cooker recipe was posted on Williams-Sonoma website a few years ago I was intrigued.  I own and love the Williams-Sonoma’s All-Clad 7-Qt Deluxe Slow Cooker.  It is so versatile. You can brown anything with the insert on top of the stove, and the insert can go into the oven to finish off a dish like this.  This is a serious advantage when it comes to clean up.


So could a lasagna baked in a crock pot have the taste and texture of a typical oven baked lasagna?  My opinion after making this recipe absolutely yes; however, I am not sure the success would be as good in your typical crockpot that does not have a removable insert that can go in the oven.  You also need an above average slow cooker capacity for this recipe.  I think the final broil step on this dish adds a lot to the texture and appearance of the dish.


Could prep and clean-up really be improved versus a typical lasagna without sacrificing taste?  Again I would say yes.  The dish easily peels out of the slow cooker and you are left with two easy to clean bowls (the temporary dirty bowl and the cheese bowl) and a cutting board if you took the time to add the mushrooms and carrrots.


Ingredients:

  • 1 Tbs. olive oil
  • 2 lb. Italian sausage, casings removed  – I use turkey sausage
  • 2 jars (each 24 oz.) tomato sauce – I typically use Wegman’s or Wholefood’s 360 brand to save time but sometimes I use homemade.
  • 2 cups water
  • 1 lb. whole-milk ricotta cheese
  • 2 Tbs. chopped fresh flat-leaf parsley
  • Kosher salt and freshly ground pepper, to taste
  • 18 ruffle-edged lasagna noodles (not no-boil noodles)
  • 1 1/2 lb. mozzarella cheese, grated
  • 2 oz. Parmigiano-Reggiano cheese, finely grated
  • 3 carrots in small diced form (my add in for more nutrition)
  • Small container of your favorite mushrooms, cleaned and chopped in small pieces (my add in for more nutrition)
  • Thinly sliced fresh basil for garnish

Directions:

Prep your carrots and mushrooms if using.

In the stovetop-safe insert of slow cooker over medium heat, warm the olive oil.  Saute the carrots and mushrooms if using for about five to seven minutes until soft.  I usually add the carrots first and halfway through add the mushrooms.  When they look close to done but not quite, add the sausage and cook, breaking up any large chunks with a wooden spoon, until the meat is browned, 10 to 12 minutes. Add the tomato sauce and water and bring to a simmer. Transfer the sauce to a large bowl.

In another bowl, stir together the ricotta, parsley, salt and pepper. Set aside.

Spread a thin layer of the sauce on the bottom of the slow-cooker insert. Cover the sauce with a single layer of uncooked lasagna noodles (about 3), breaking the noodles as needed to fit. The noodles do not need to be perfect.  Spread about 1/3 cup of the ricotta mixture over the noodles. Top with about 2 cups of the sauce, then sprinkle with about 1 cup of the mozzarella and 1/4 cup of the Parmigiano-Reggiano. Repeat the layering 4 more times, starting with the noodles.

Transfer the insert to the slow-cooker base, cover and cook on low according to the manufacturer’s instructions until the noodles are tender and cooked through, about 4 hours (WS recommended time).  My best results have been stopping early at 3 hours 45 minutes to 3 hours 50 minutes.

Position a rack in the center of an oven and preheat to broil.

Transfer the slow-cooker insert to the oven and broil until the cheese is bubbly and golden brown, 6 to 8 minutes (Williams-Sonoma recommended time). DO NOT TAKE YOUR EYE OFF THE PRIZE IN THE BROILER.  FIVE TO SIX MINUTES WILL LIKELY BE PLENTY.  YOU DO NOT WANT TO OVER-BROIL.

Let the lasagna rest for 20 minutes before serving. Garnish with basil and serve immediately. Serves 12.

This dish says it serves 12, I think it can stretch further.   Freeze leftovers in desired portion sizes.  Defrost overnight and rewarm on 325 until warm throughout – 15-20 mins.
 
 
Suggest serve with homemade garlic bread:
1 good French loaf bread sliced in half (horizontal cut)
 
Dice a few cloves of garlic very tiny or do a quick swirl of whole cloves in a mini food processor- saute them for 2-3 minutes on low heat with oil if you have time.
   Or just buy a jar of already crushed garlic to save time and spoon a teaspoon
 
Melt 8 tablespoons of butter.  Add garlic to butter.
 
Using a pastry brush or pouring – put the butter mixture over the bread.
(Sprinkle some parm cheese on top for a nice touch – optional)
 
Place bread on lined alumimum foil sheet pan.   (I have sometimes prep the bread as much as 2-3 hours in advance and covered with foil.  It can get a little soggy if sitting out much longer than that).
 
Broil on high for about 1 1/2 – 3 minutes.  Do not take your eye off the oven.
These can burn quick.   Nothing like piece of fresh garlic bread to go with this lasagna.


Recipe Link
 
Slow Cooker Link
I am not being paid in any to recommend this slow cooker.  I have had it for about 5 years.  I use it often and have been incredibly pleased about every feature.