Dad’s birthday is coming up and everyone in this family loves Birthday Cake but particularly ice cream cake. This is a good easy first ice cream cake to make and takes little time (30ish minutes to prepare and clean-up). It is super simple as is clean up and can made up to a week in advance. We will be using ours this Friday and I will take some pictures of the cake removed from the pan then. I like this cake because it is also much cheaper than buying an ice cream cake and for those who have to worry about nut allergies much safer!
The recipe below appears in Chocolate Cakes – 50 Great Cakes for Every Occasion by Elinor Klivans. Other than flavor choices which I suggest below I follow her steps for the most part. Her title for the recipe is Mint Chocolate Crunch Ice Cream Cake
High Level Overview: Makes about 12 servings
- Chocolate crumb crust – crumbs ideally processed in a cuisinart, add melted butter, and then bake for 6 minutes, cool
- Layer 1 of softened ice cream – vanilla or mint chocolate chip work great for this recipe but feel free to improvise
- Layer of “mint or some other type” of Chocolate Cookie Crunch – you make this by crushing your favorite cookie (mint Milanos in our case) and then mixing with melted chocolate
- Layer 2 of ice cream – use flavor above or different kind
- Layer 2 of mint chocolate crunch (or some other type of crunch)
- Note need 9 inch springform pan with sides at least 2 3/4 high. Option: William Sonoma: Kaiser LaForme Plus Springform Pan, 9 – just make sure the sides get close to this height or you will need to make a shorter cake.
Ingredients:
Steps, Ingredients for Chocolate Crumb Crust
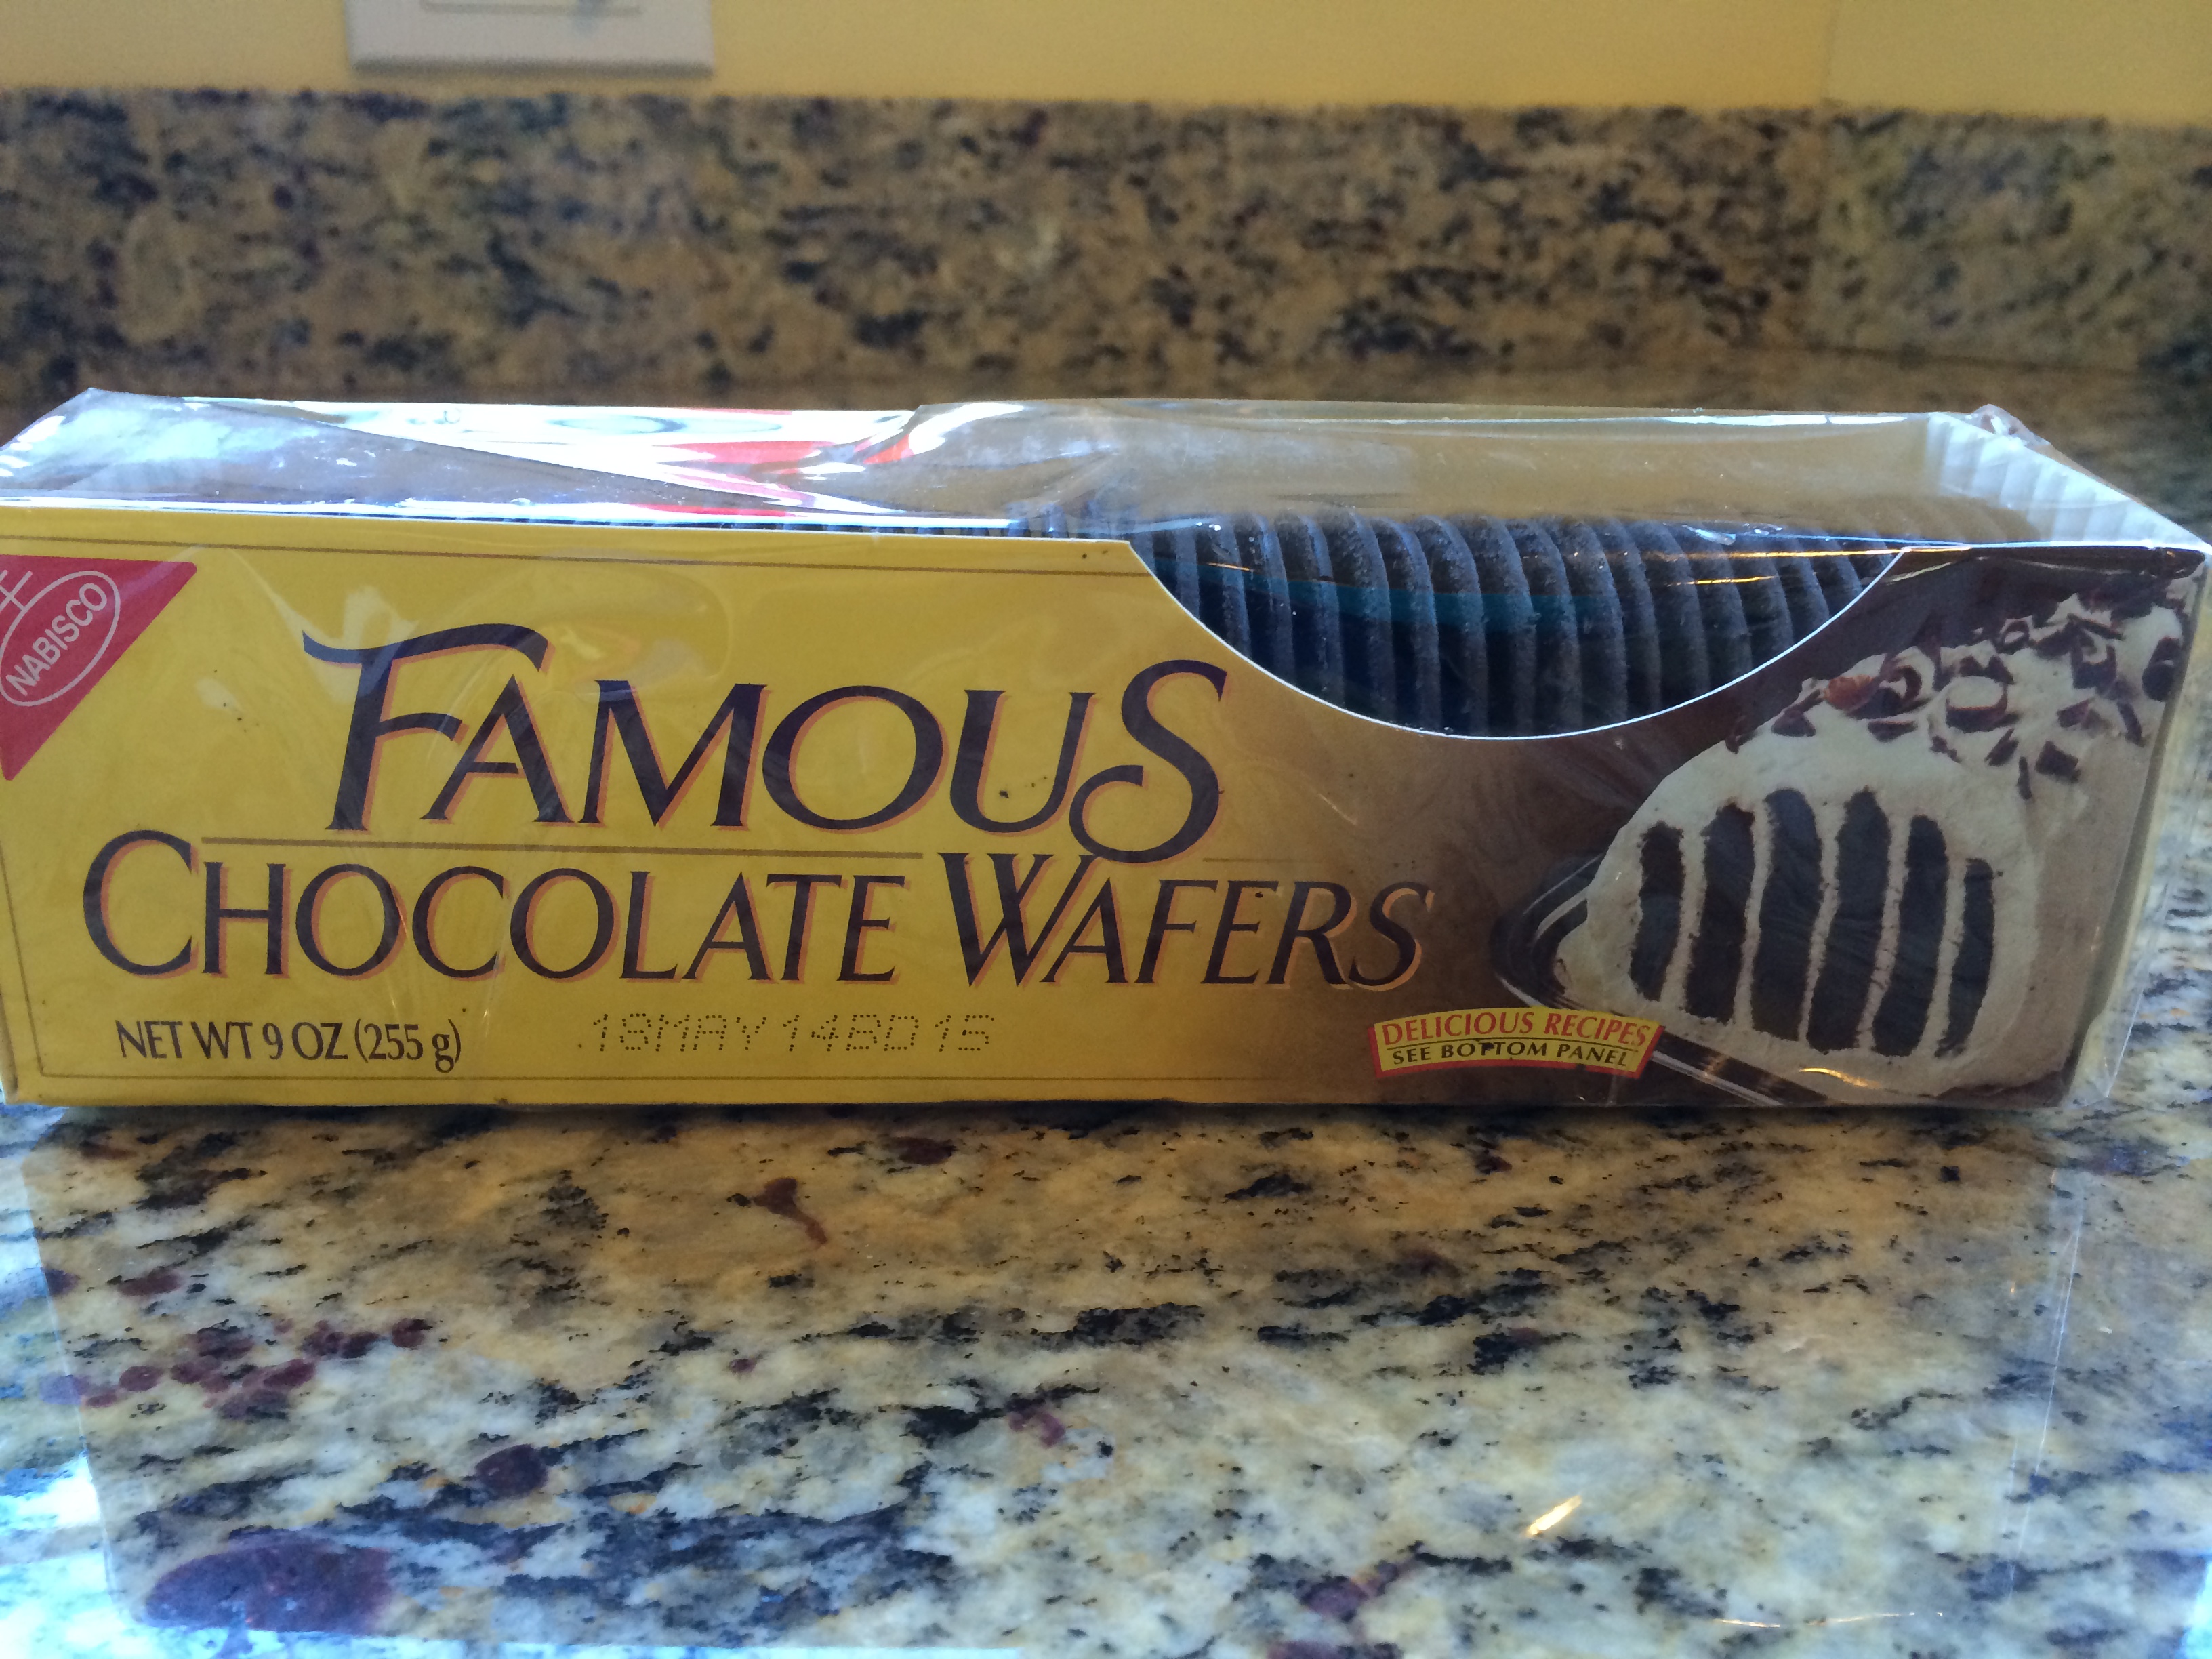
1 9 ounce package of chocolate wafers processed to crumbs in a food processor -about two cups *
6 tablespoons unsalted butter, melted
Steps, Ingredients for Mint (or some other distinct flavor) Chocolate Cookie Crunch
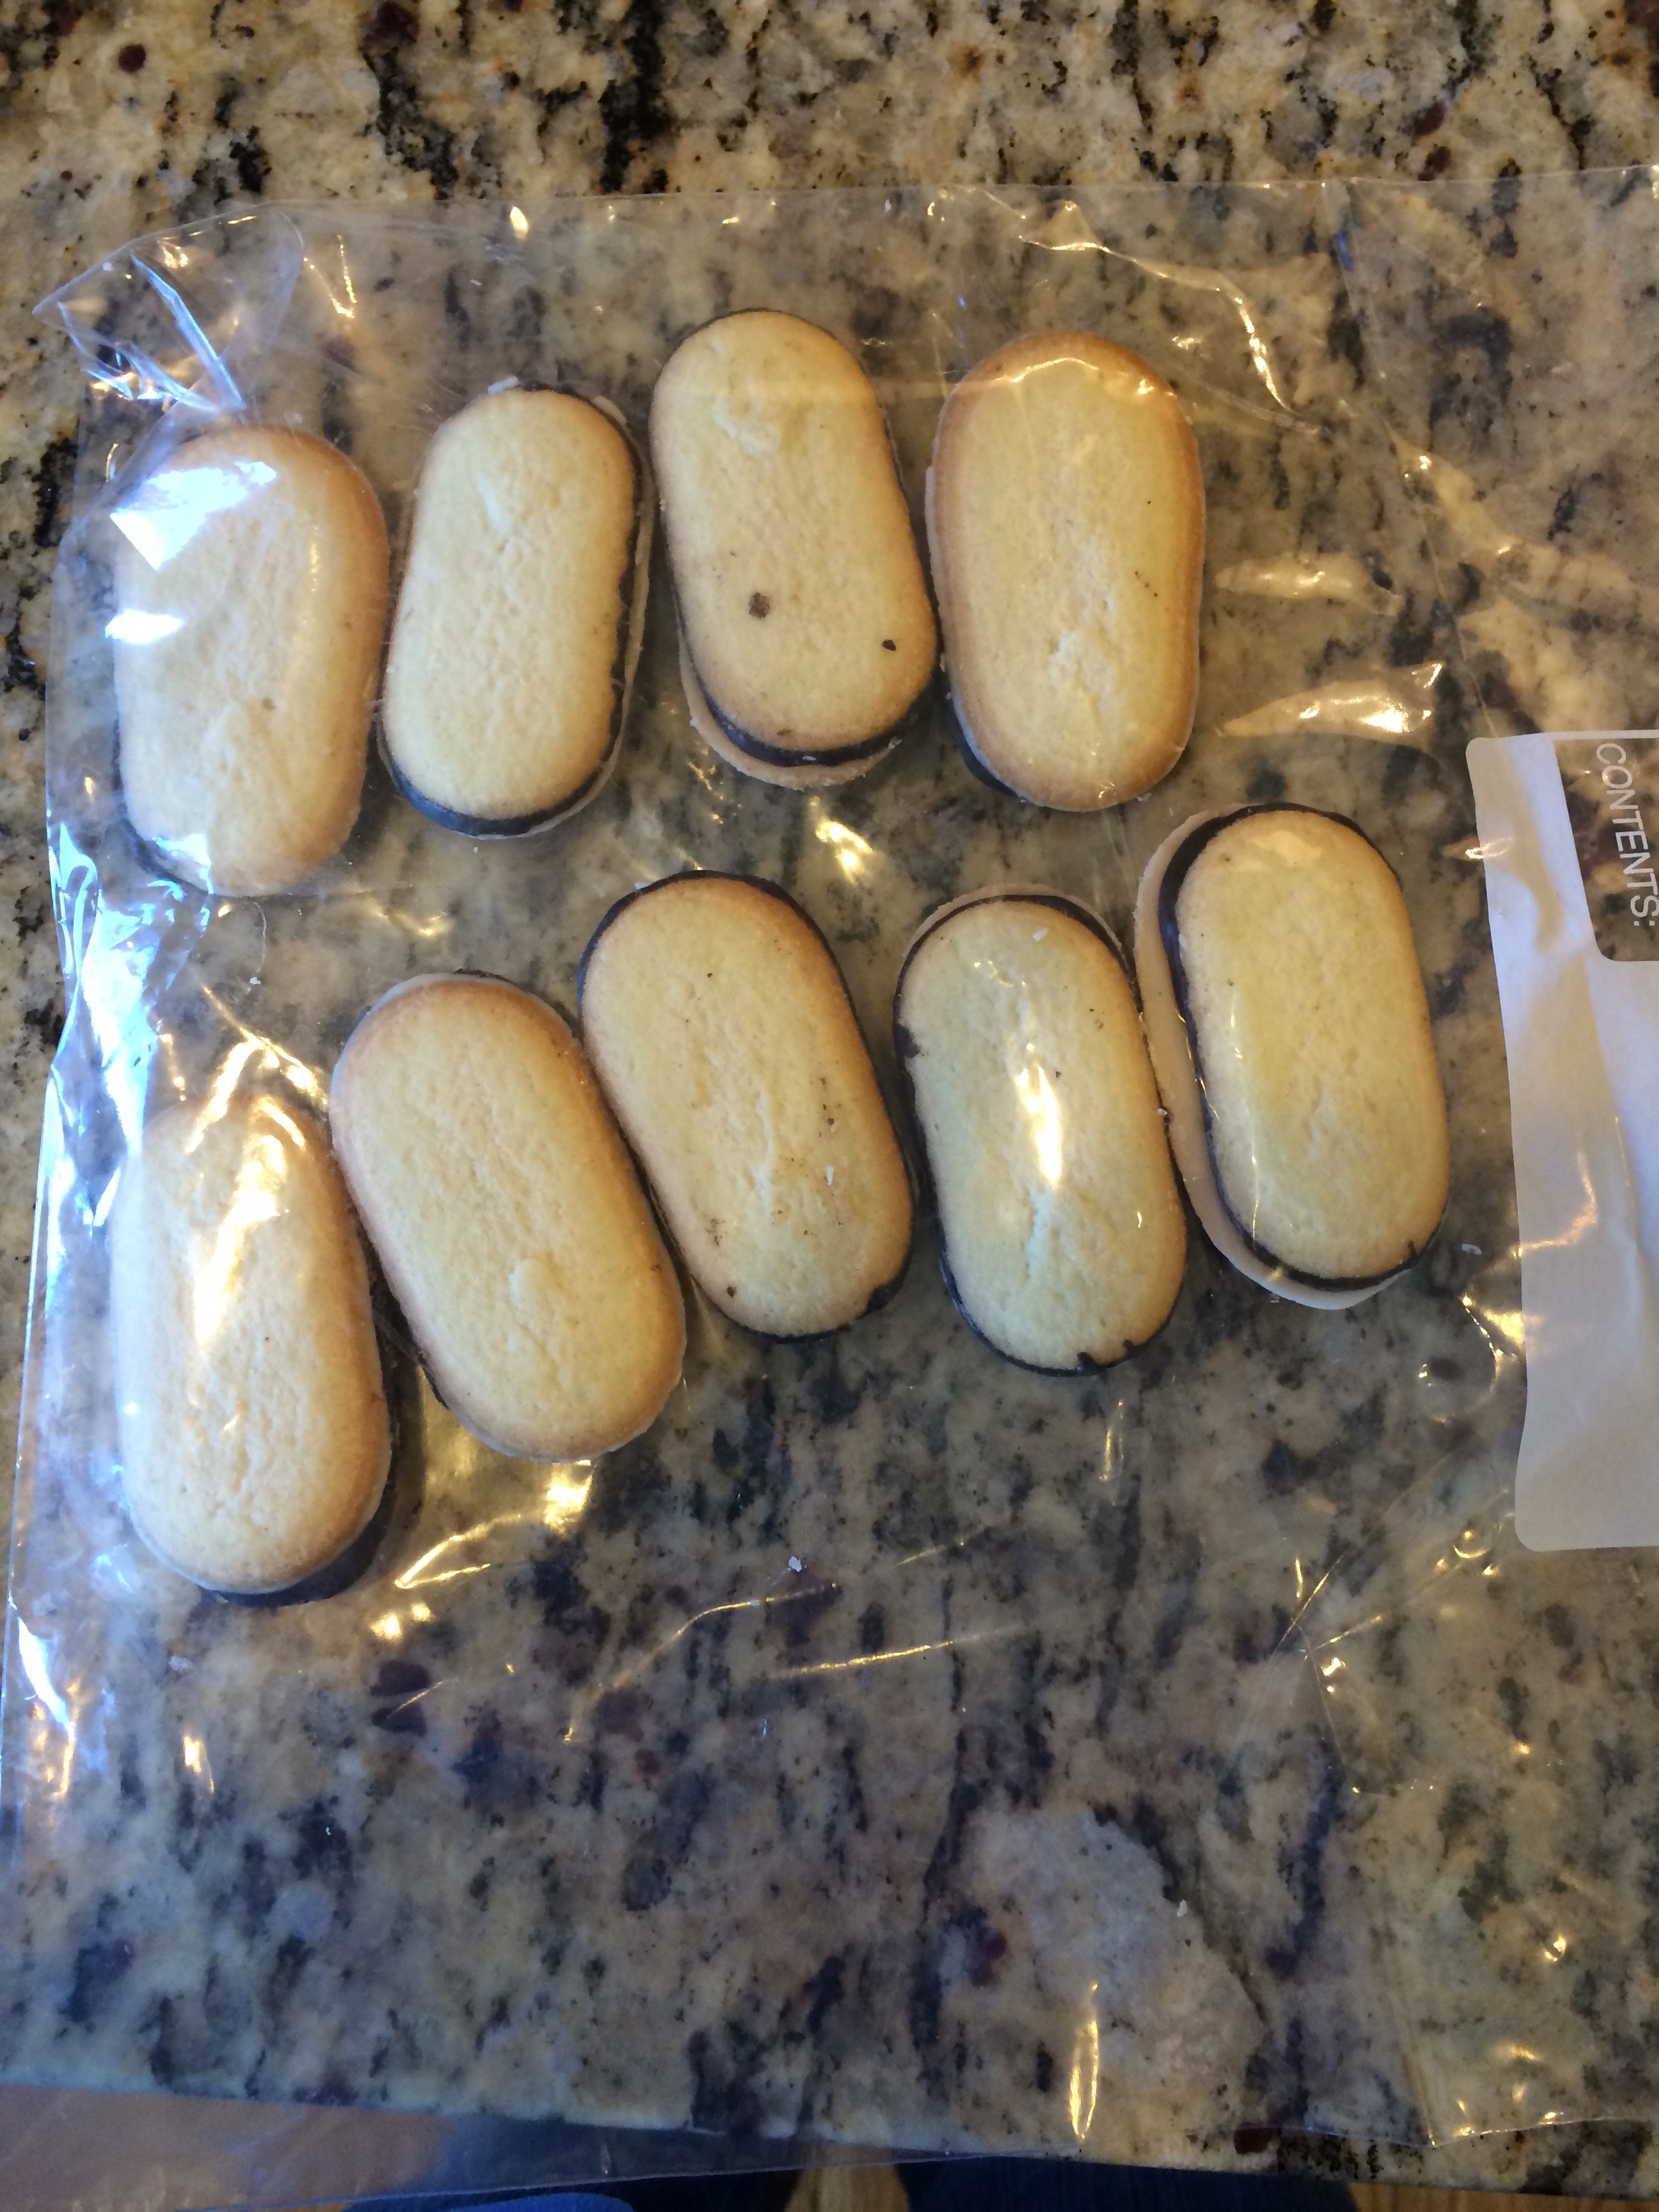
2 cups coarsely chopped crushed chocolate mint sandwich cookies – such as 20-25 Pepperidge Farm chocolate mint cookies. DO NOT USE A CUISINART FOR THIS STEP. Place half the cookies in a bag and pound them to break into pieces or use a rolling pin. It is ok to have some cookie pieces that are visible. Repeat with second batch of cookies
4 ounces of chocolate chips semi sweet or chop 4 ozs of semi sweet chocolate
1 tablespoon of corn or canola oil
2 quarts of ice cream (vanilla, mint chocolate chip, peppermint etc) softened until spreadable.
Directions:
- Position rack in middle of the oven. Preheat to 325. Butter 9 inch springform pan with sides at least 2 3/4th high.
- Remove ice cream to begin softening
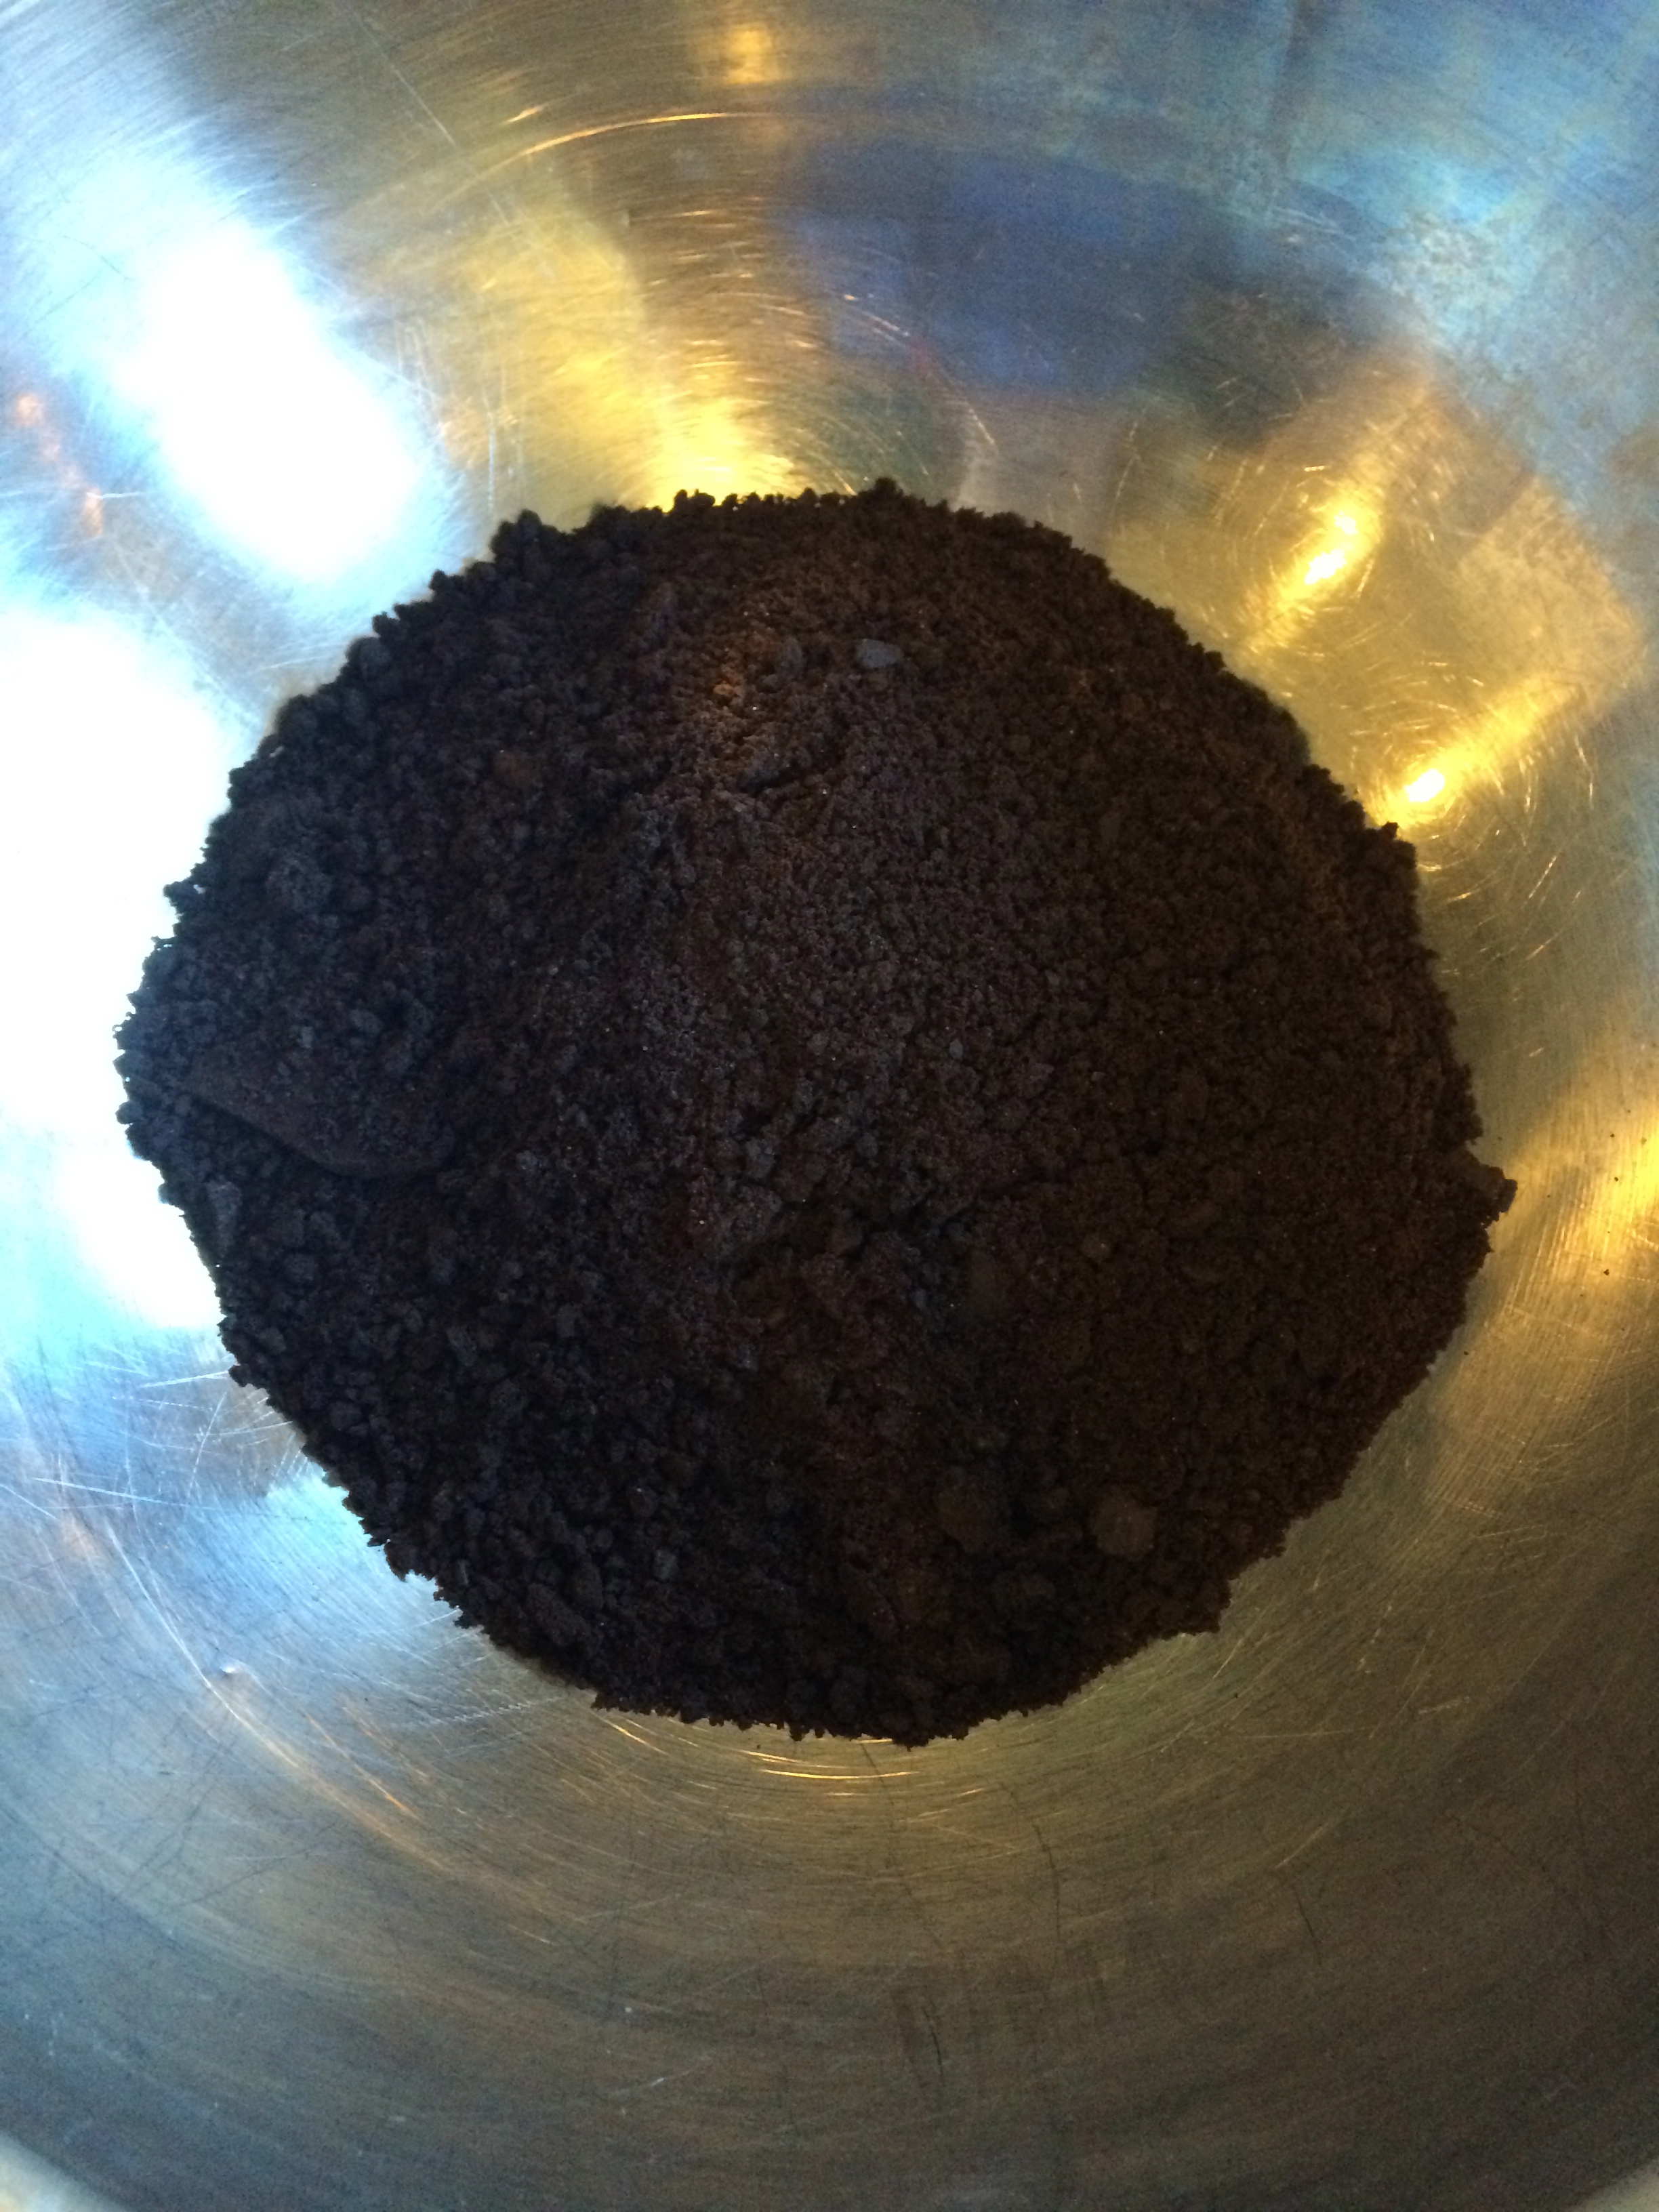
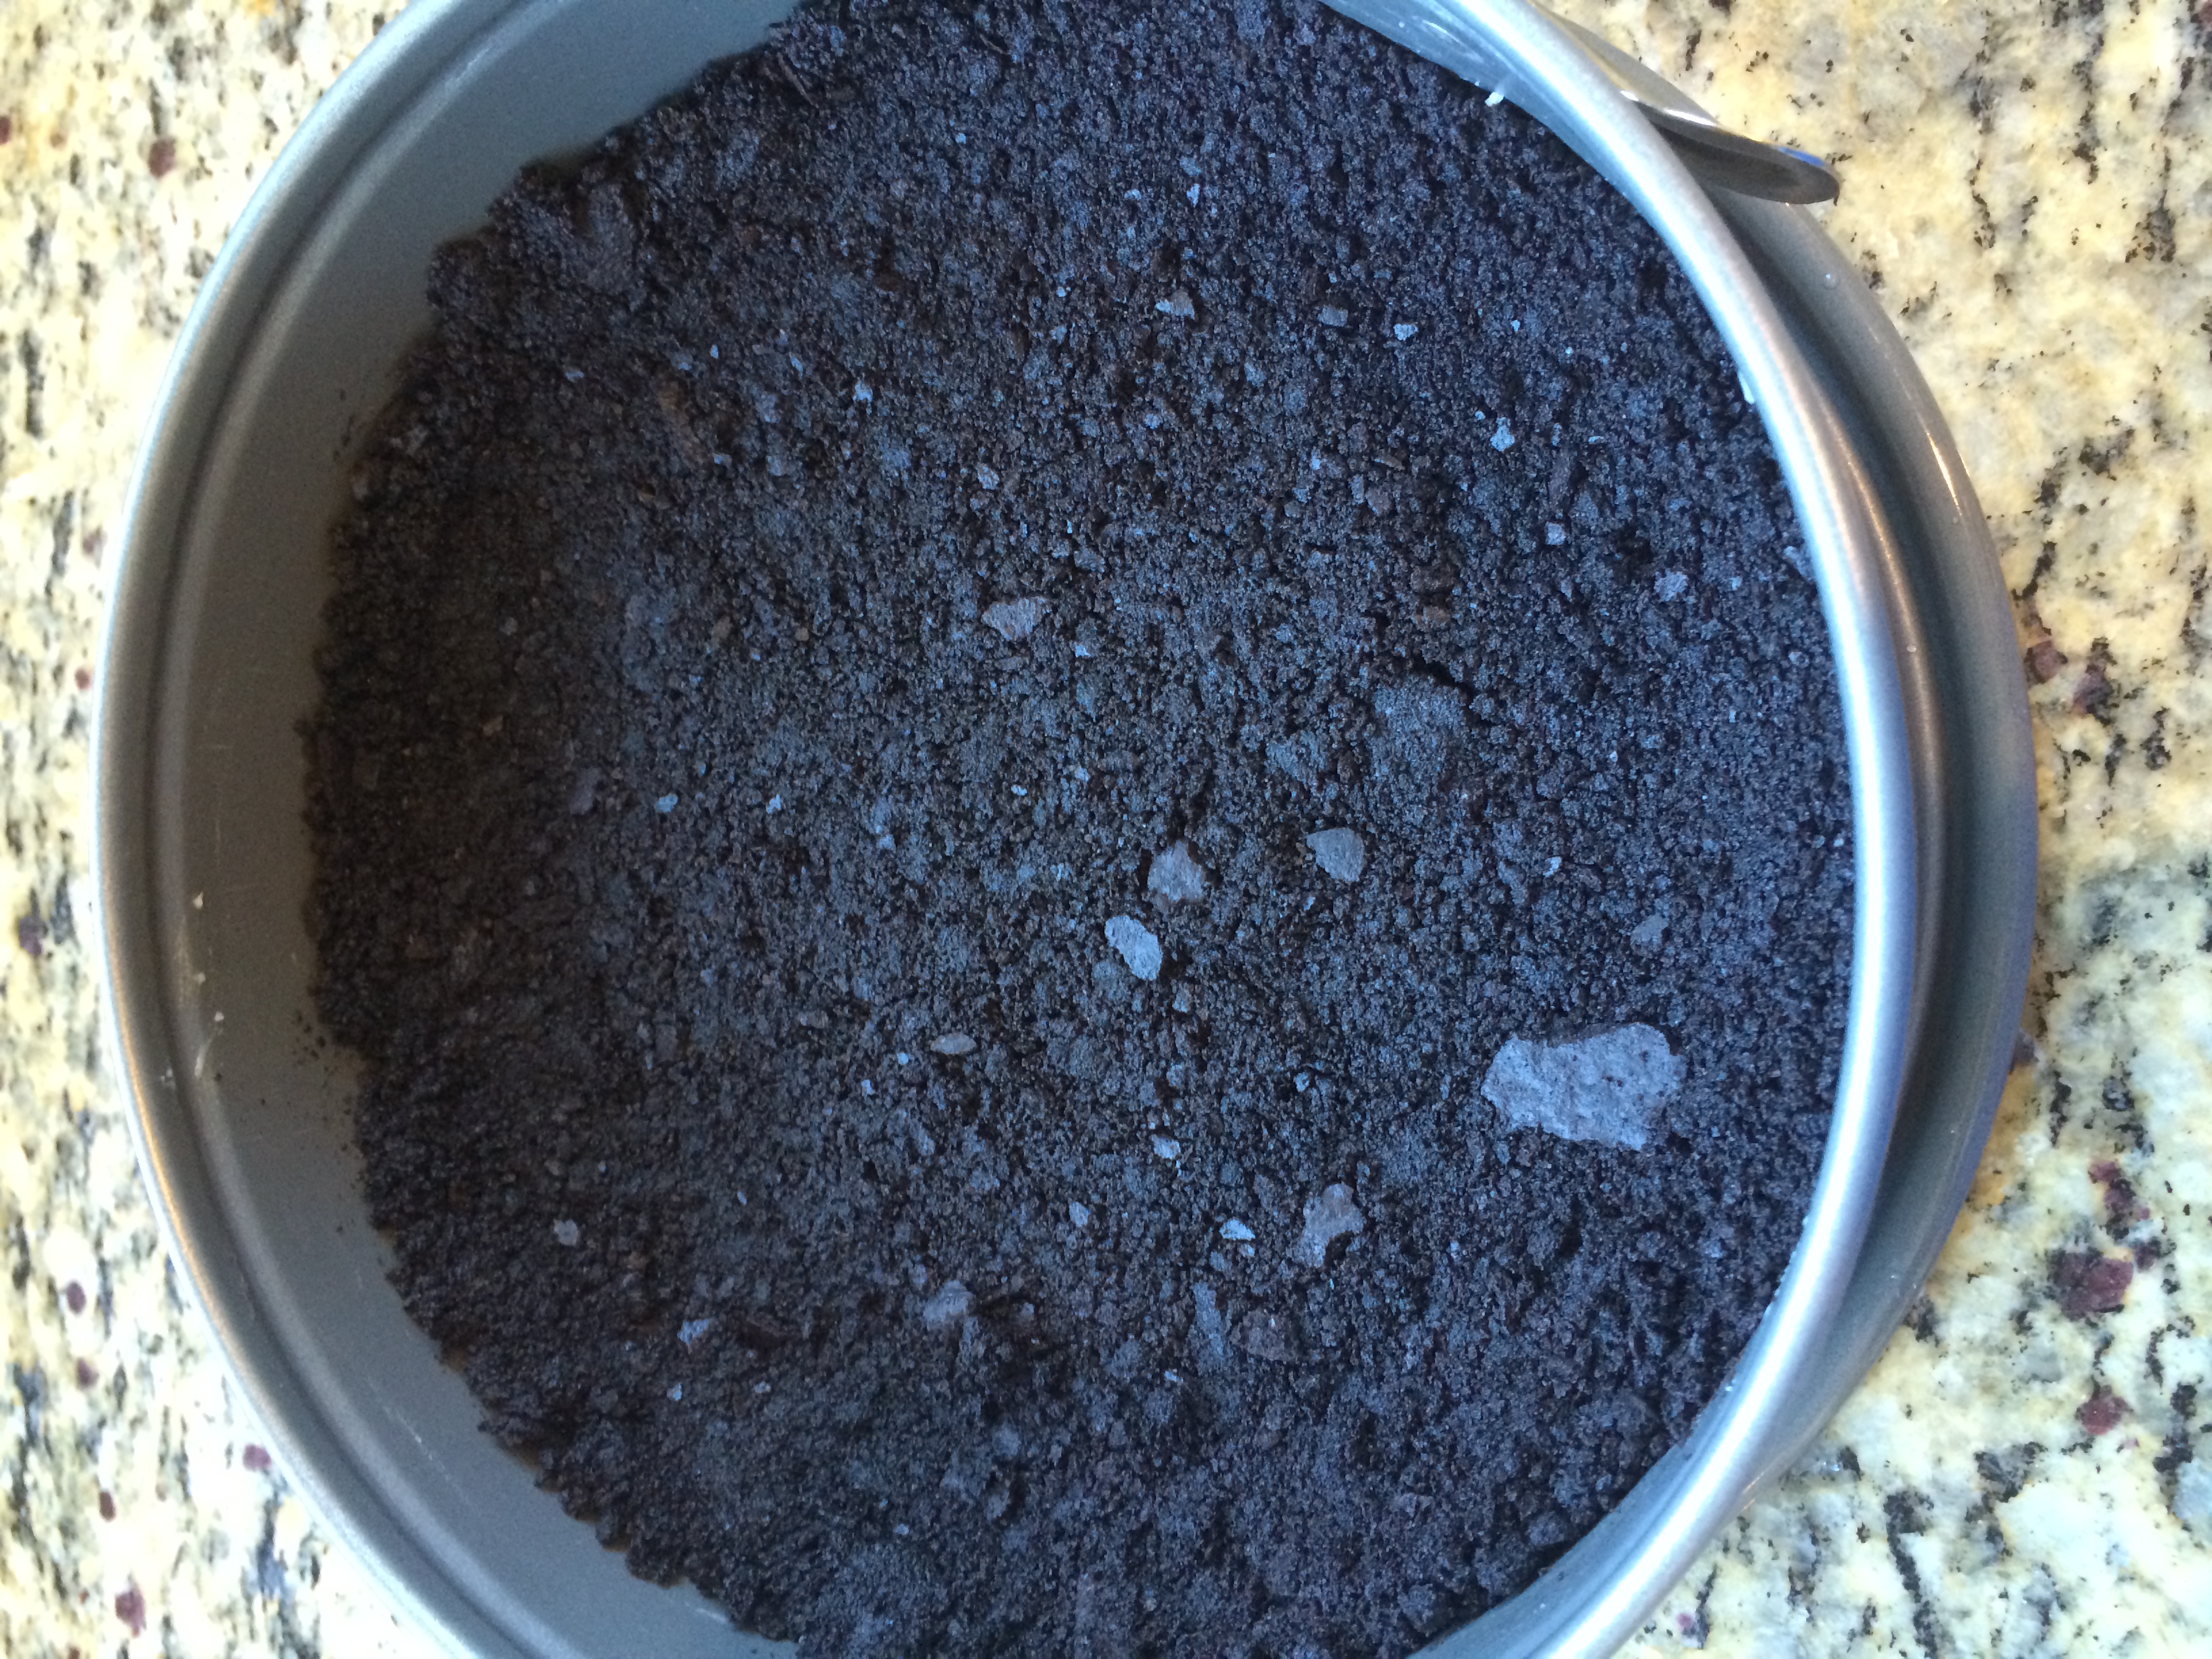
- To make crust: In large bowl, stir the wafer crumbs processed in Cuisinart and melted butter to moisten crumbs evenly. Scrape mixture into pan. Use back of hand or spoon press crust evenly over bottom and form a 1 inch side. Make sure not to make the crust too thick on the bottom where the bottom meets the side. Bake for 6 minutes. Let cool before adding ice cream which should not be a problem timing wise.
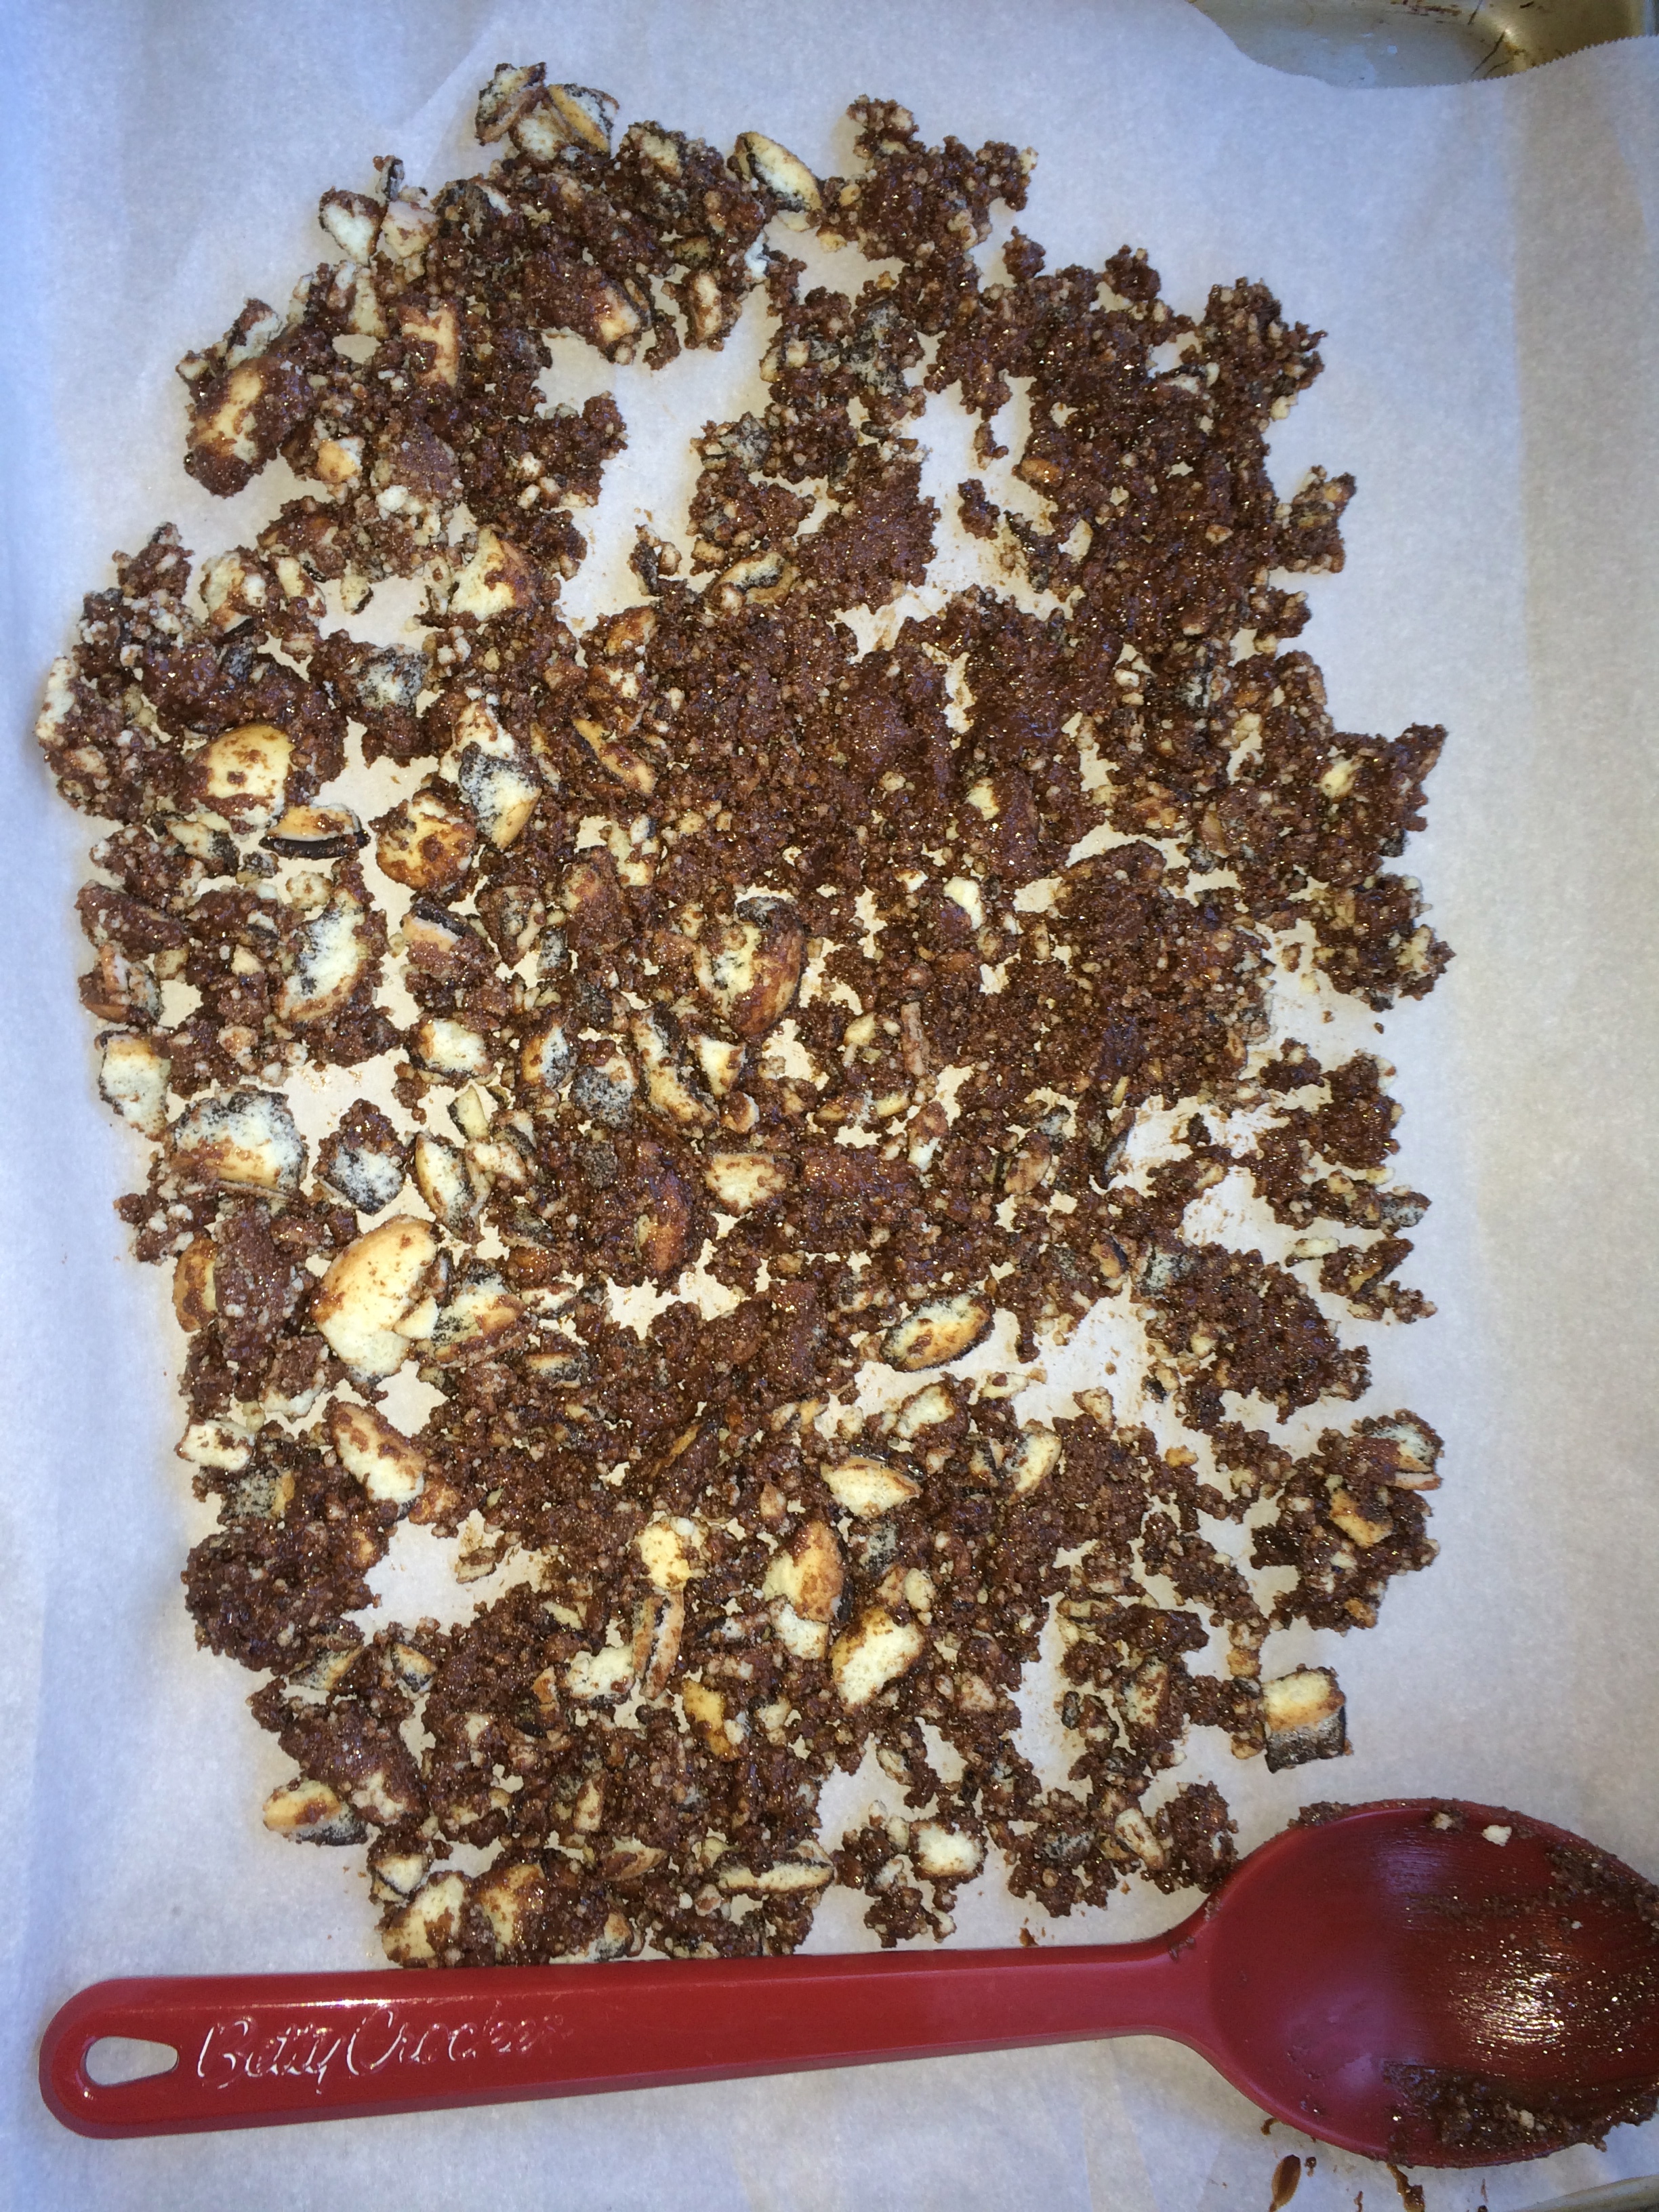
- To make the mint (or some other distinct flavor) chocolate cookie crunch: Line a baking sheet with parchment paper (but wax paper will do). Put the cookie crumbs in in a large bowl and set aside. Put the chocolate and oil in a heatproof bowl or top of double boiler and place it over but not touching , barely simmering water in a sauce pan (or the bottom of a double boiler). Stir until chocolate is melted and smooth. This should take just a few minutes. Pour the chocolate over the cookie crumb bowl. Stir until crumbs are evenly coated. The mixture will be shiny and pieces will form of various size 1/4 inch to 1/2 inch. Spread the crumb mixture on the parchment lined baking sheet. As it cools it will become duller and crisp up. You should have about 3 cups depending on how many cookies you use. Let this rest on the cookie tray for at least 5 minutes and preferably 10.
- Spread 1/2 of the softened ice-cream over the cooled crust. With an ice cream spade or some other way smooth the top of the ice cream.
- Sprinkle half the cookie crunch over layer one of ice cream.
- Sprinkle the rest of the crunch.
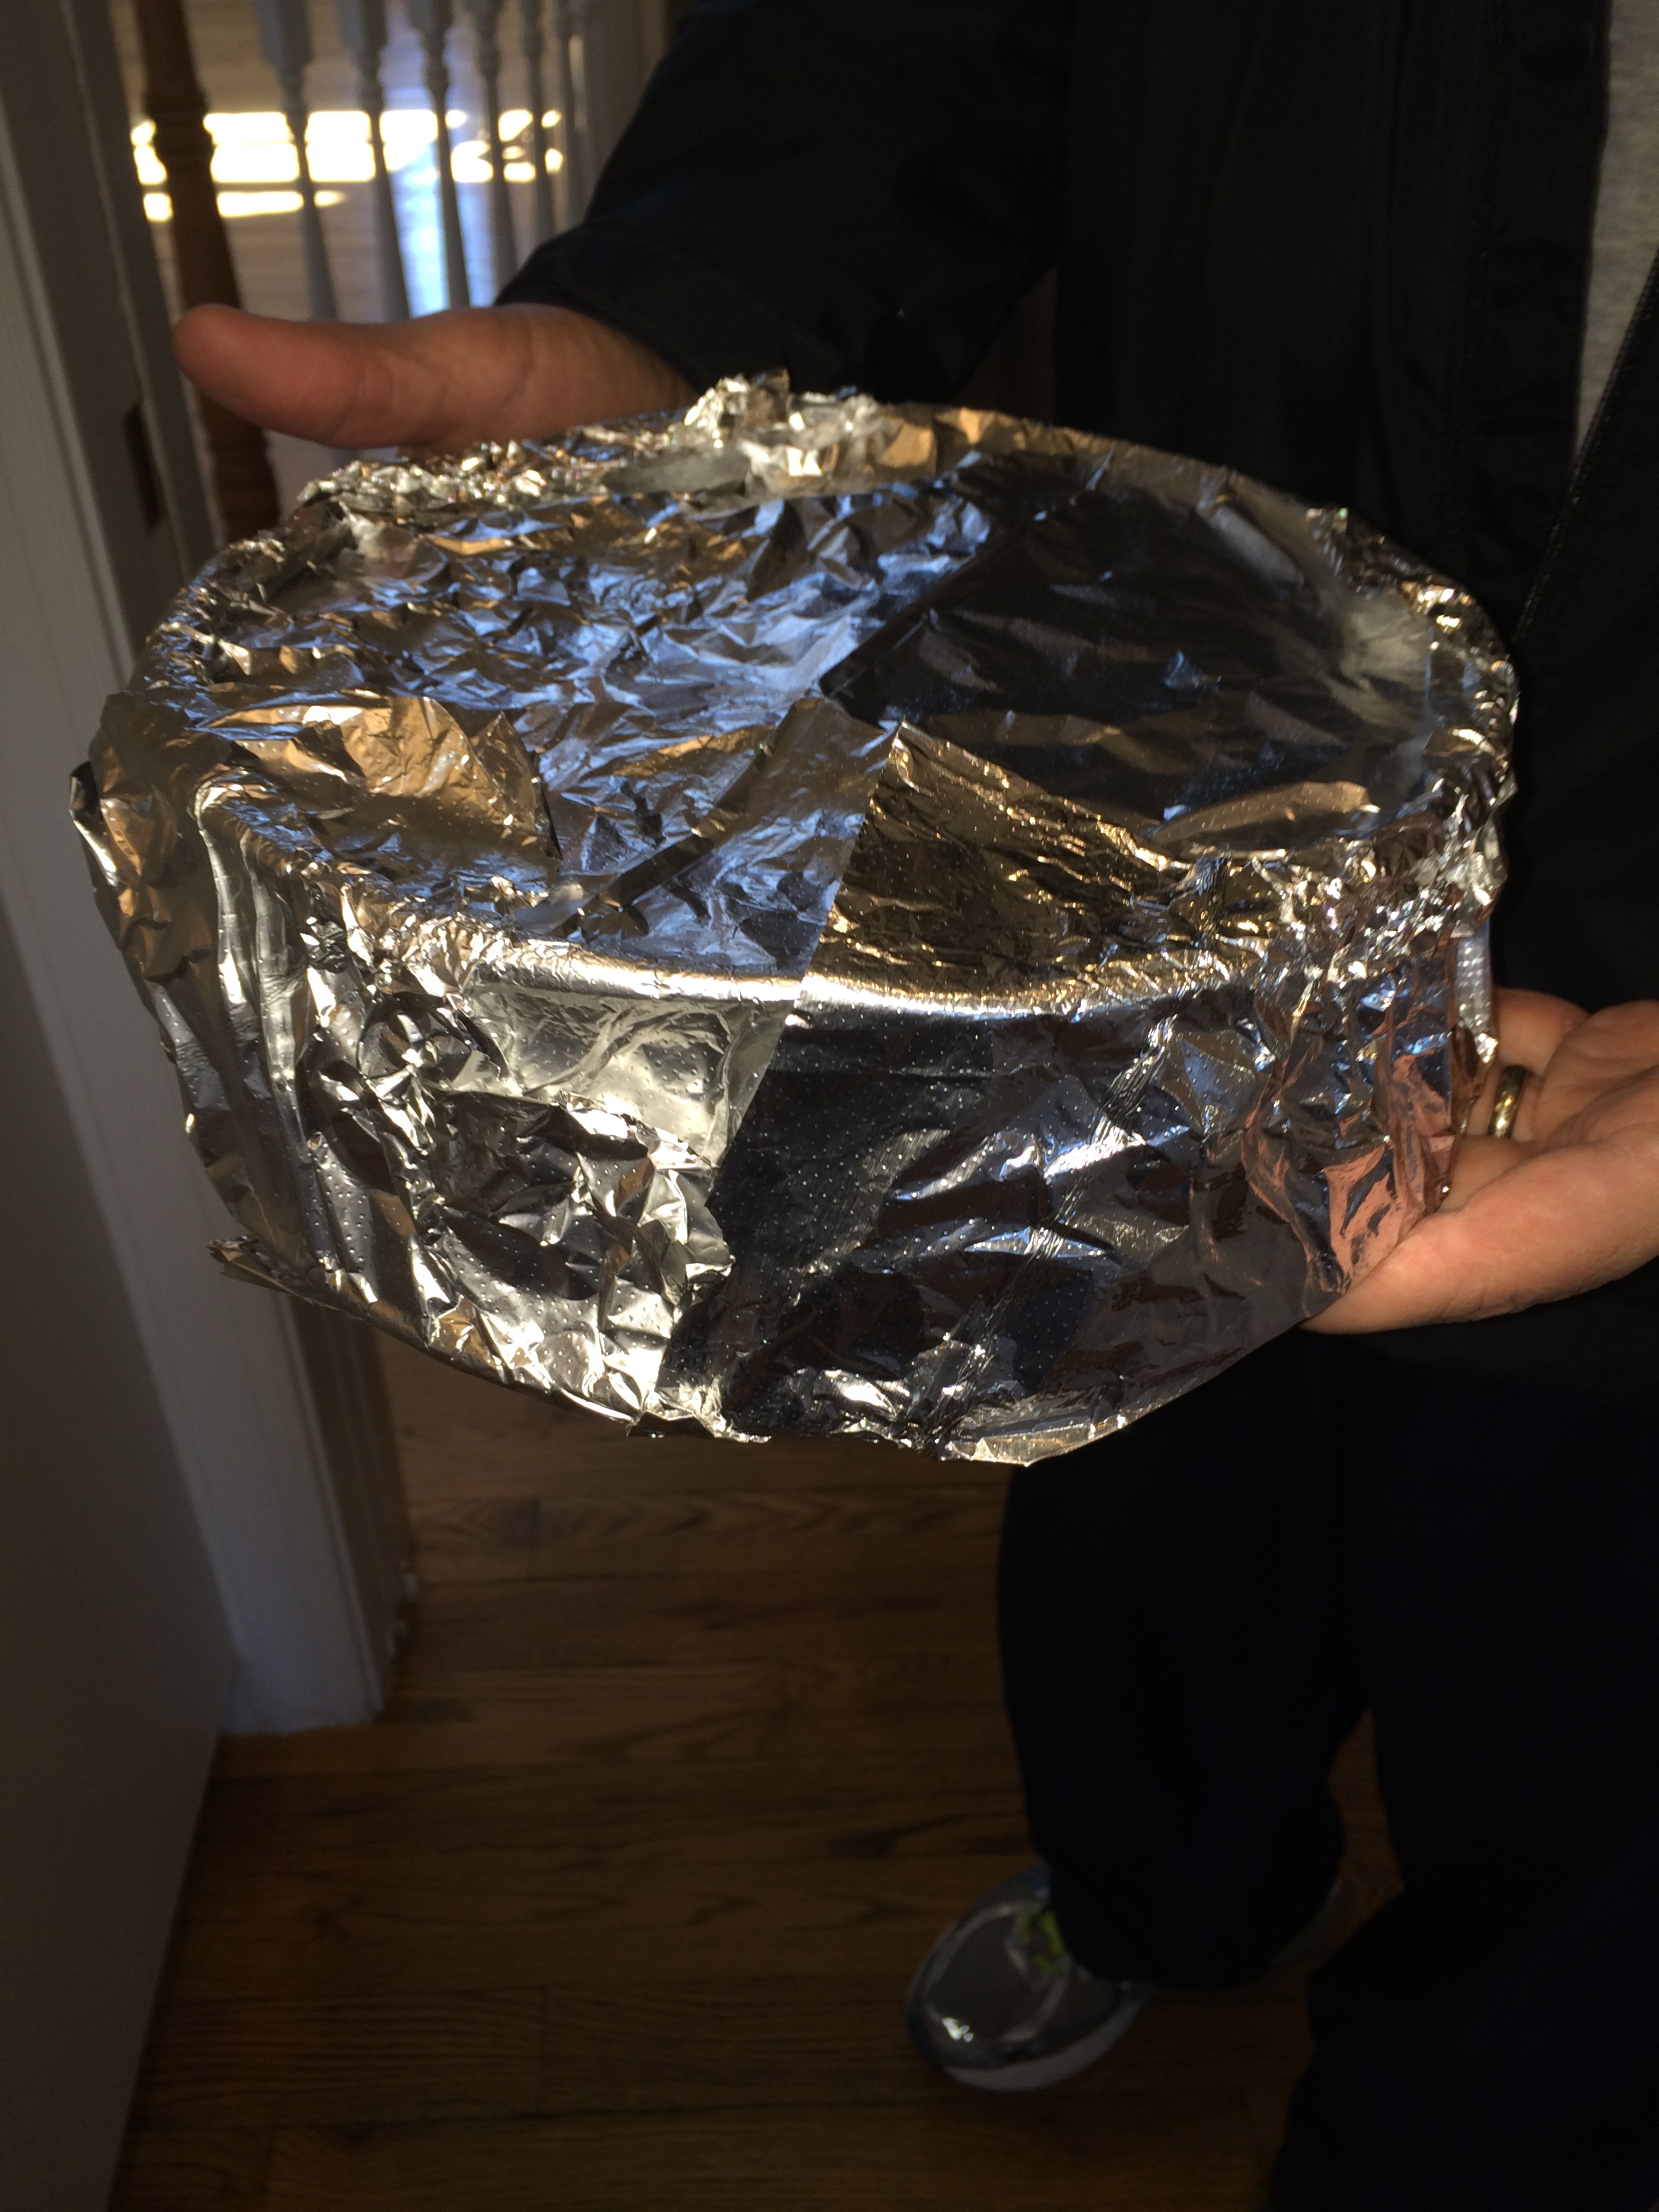
- Wrap the cake tight with clear plastic wrap tightly and then heavy aluminum foil.
- Freeze overnight or up to a week.
- To serve the cake, unwrap it. Let it soften for a few minutes and then use a thin sharp knife to loosen the cake from the sides of the pan. Remove the sides, and use a large sharp knife to cut the cake into slices.
- Enjoy.
* Brand of Wafers for Crust – Need 1 Box
Wafer Crumbs
Unbaked Crust
Baked Crust Layer 1

Cookies Ready to Be Crushed
Cookies Crushed by Rolling Pin (Before Putting in Bowl to Mix with Chocolate)

Cookies Mixed with Melted Chocolate in Bowl

Cookies Mixed in Chocolate Drizzle Back on Sheet Pan Starting to Cool
Layer 2 Ice Cream

Layer 3 Add Cookie Crunch (neatness not needed on this layer)

Layer 4 Ice Cream (second half)

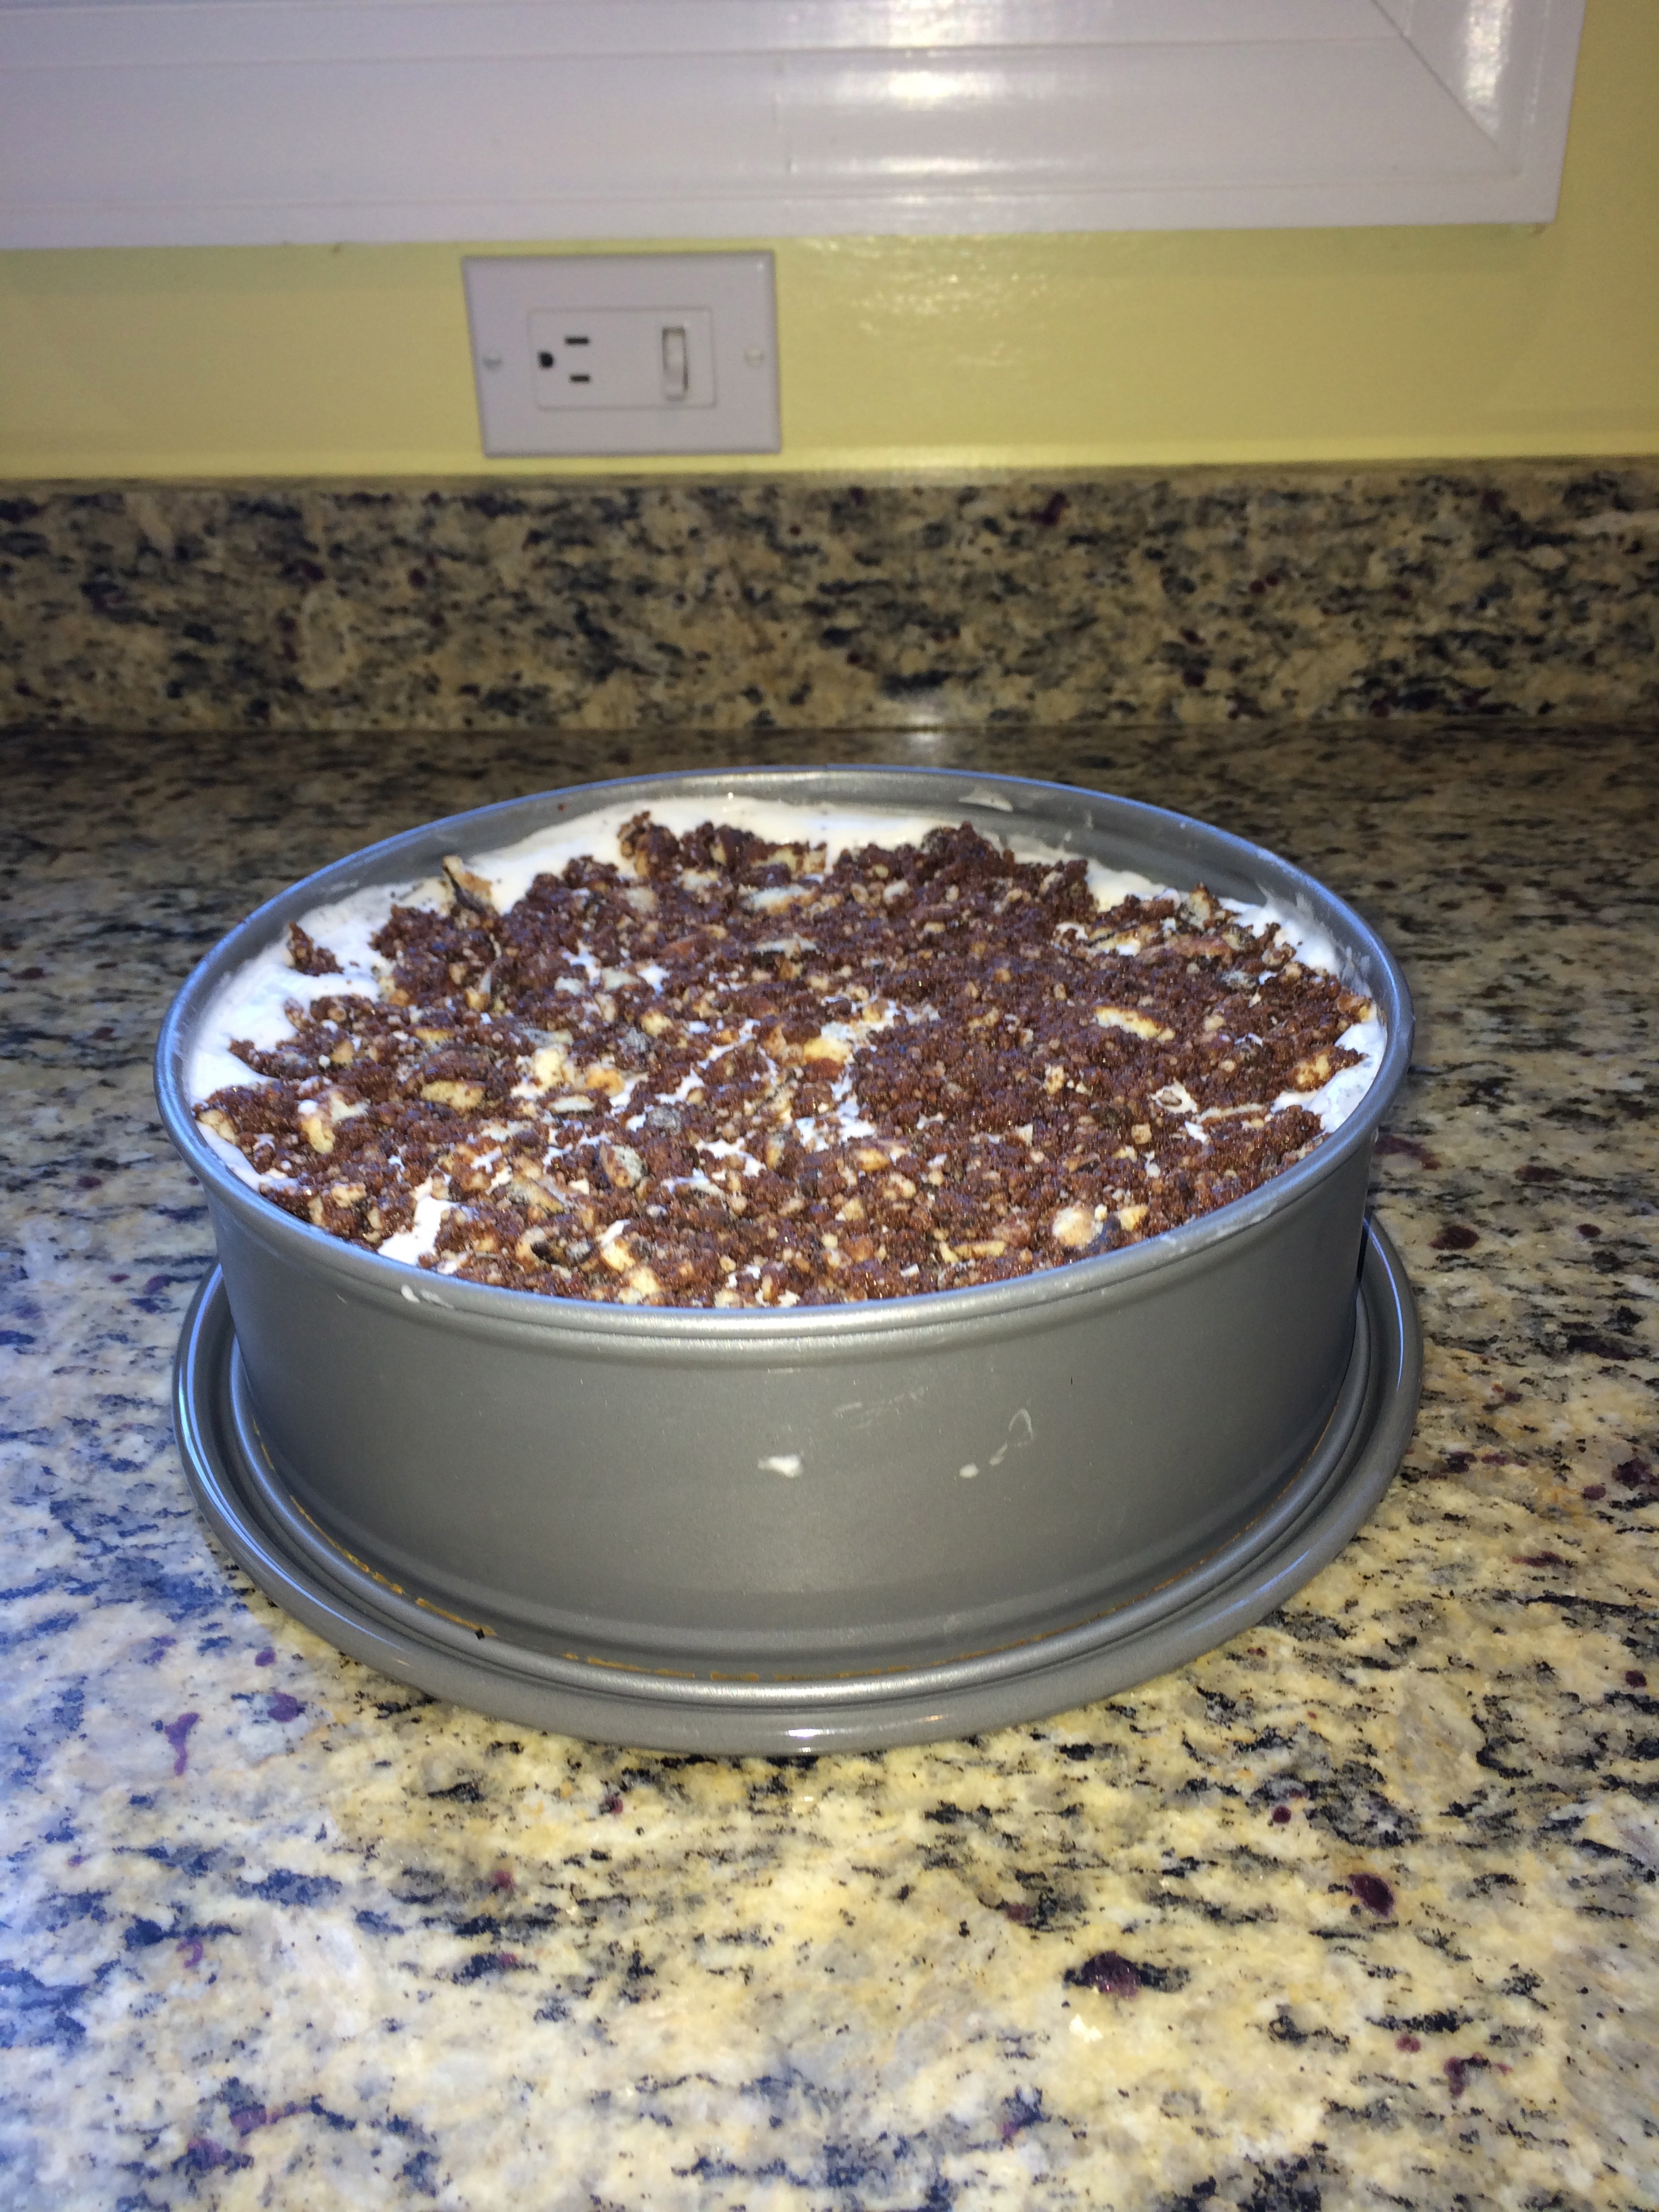
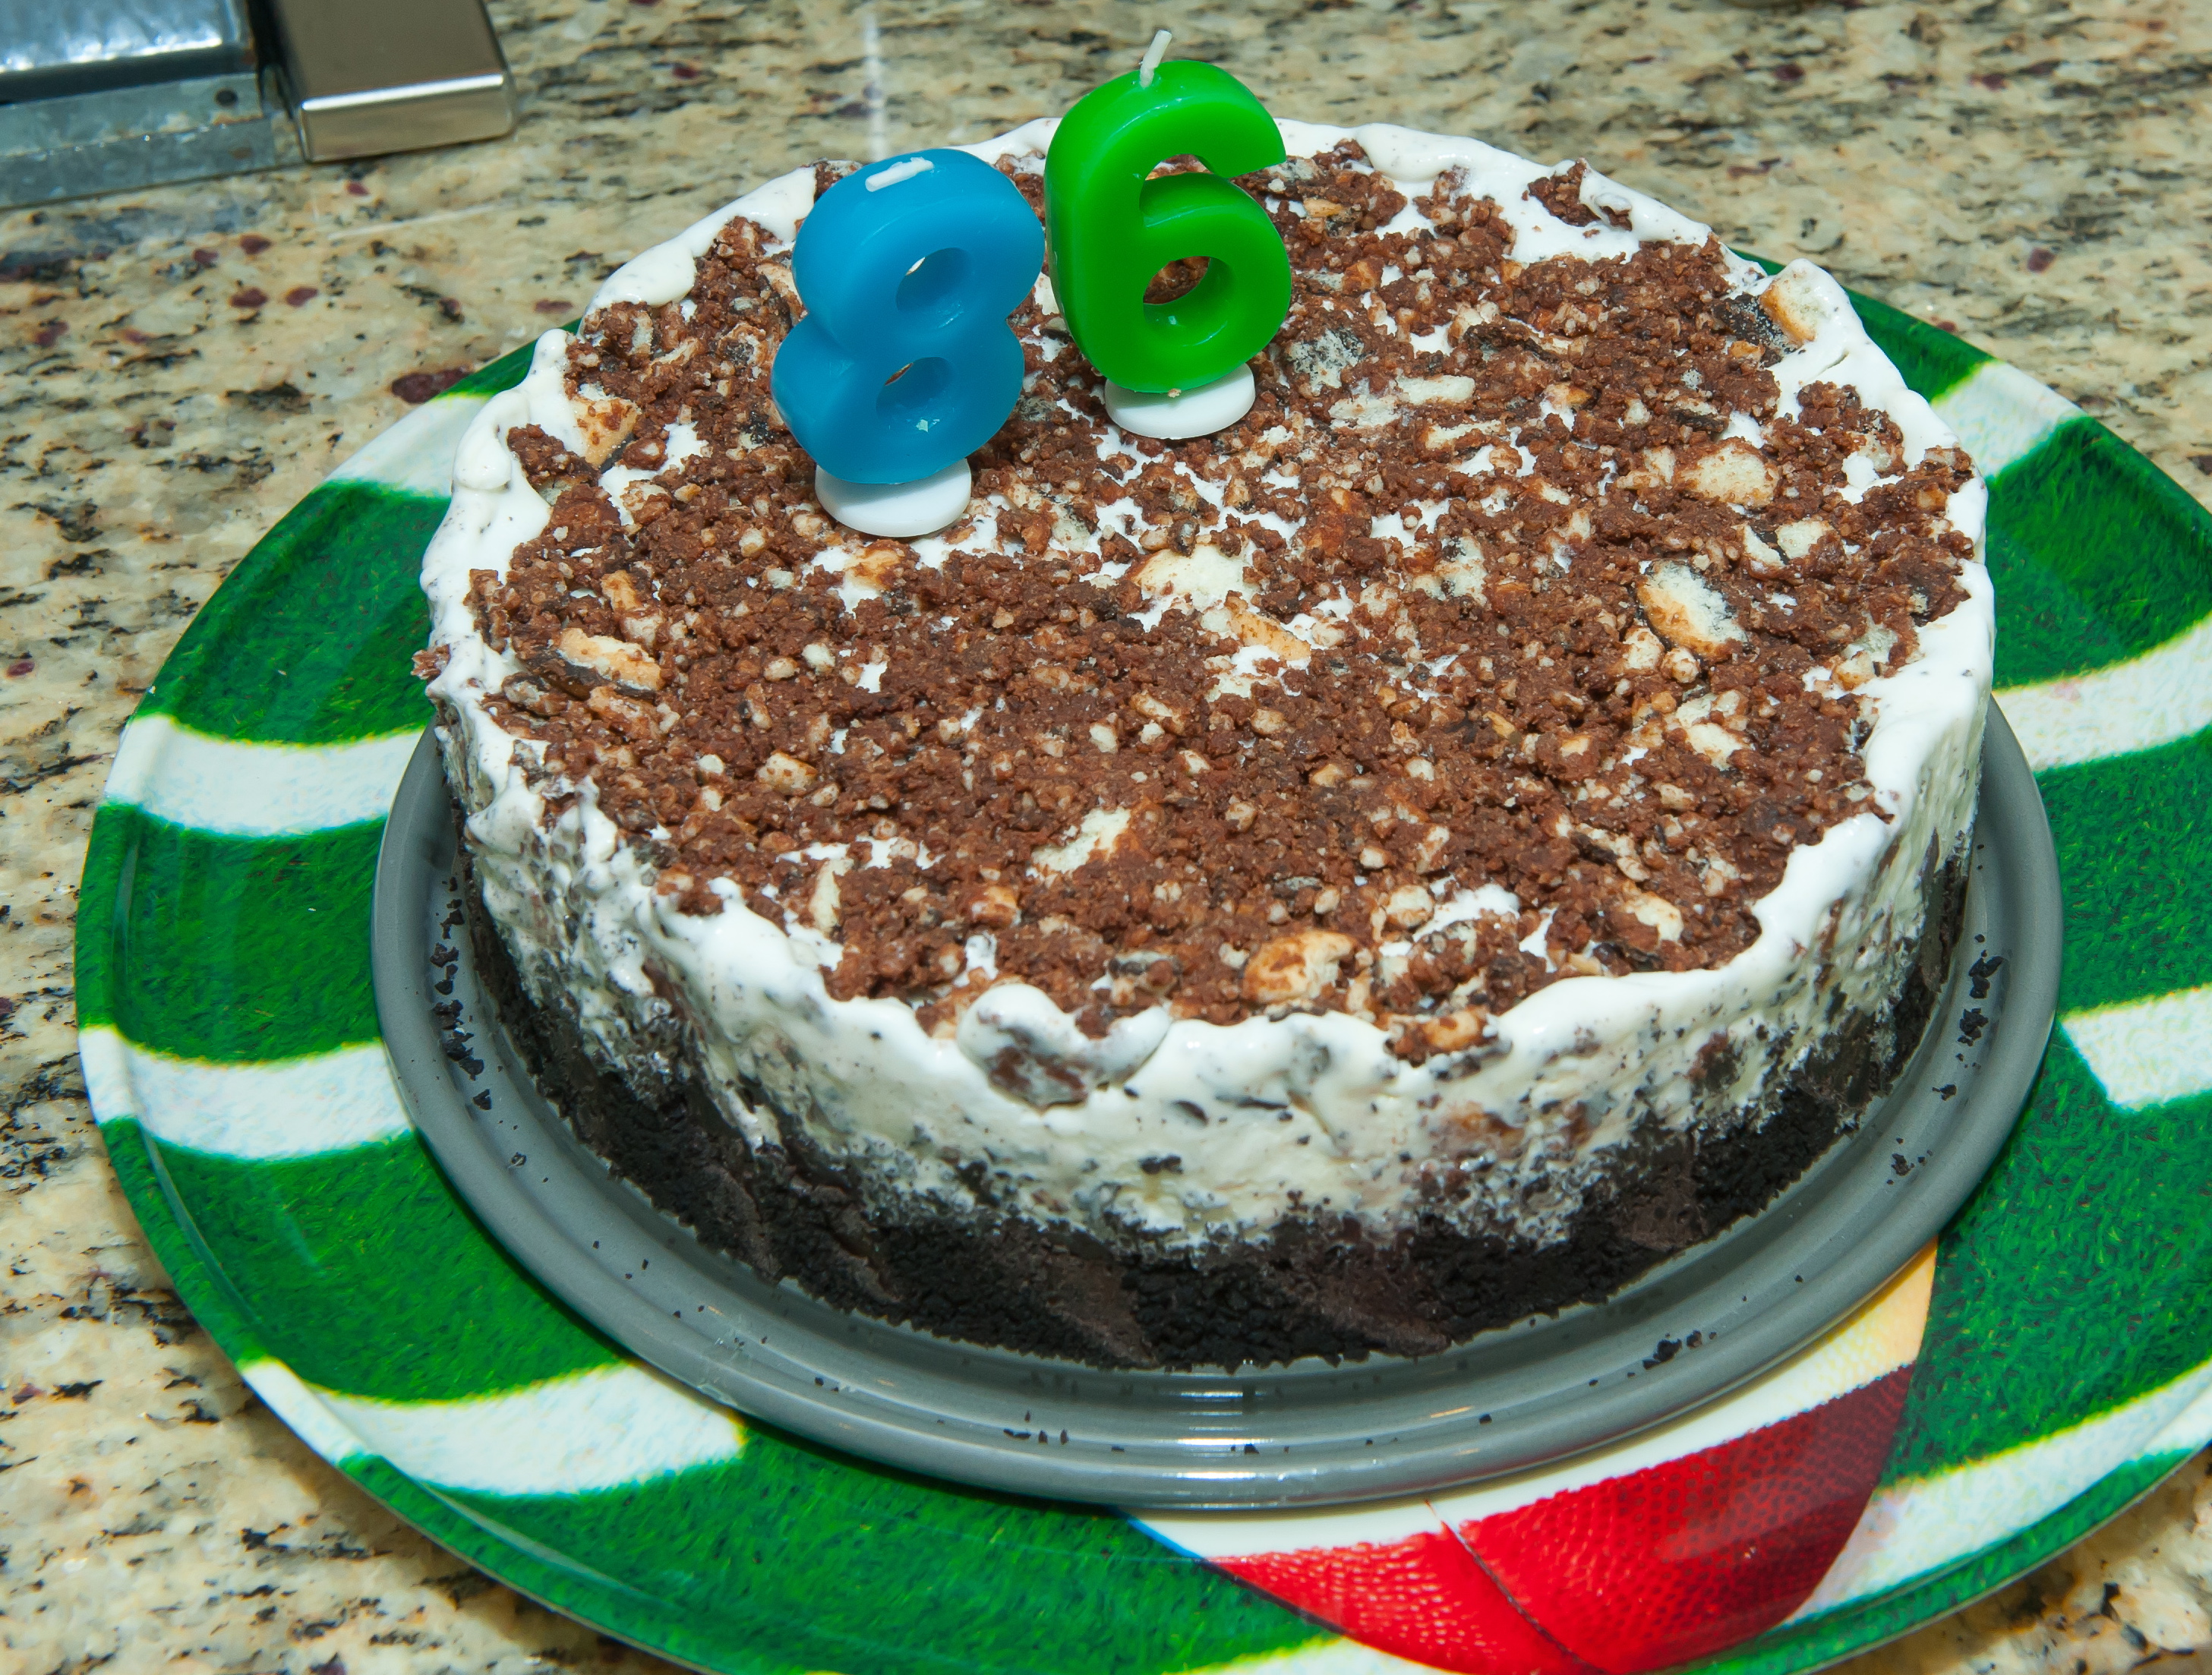
Layer Five Final Batch of Cookie Crunch – Notice Cake Close to Top of Pan – Neater Looking Layer
(given top of cake)

Side View Before Wrapping
Wrapped Cake Headed for Freezer
Cake Outside Springform Pan
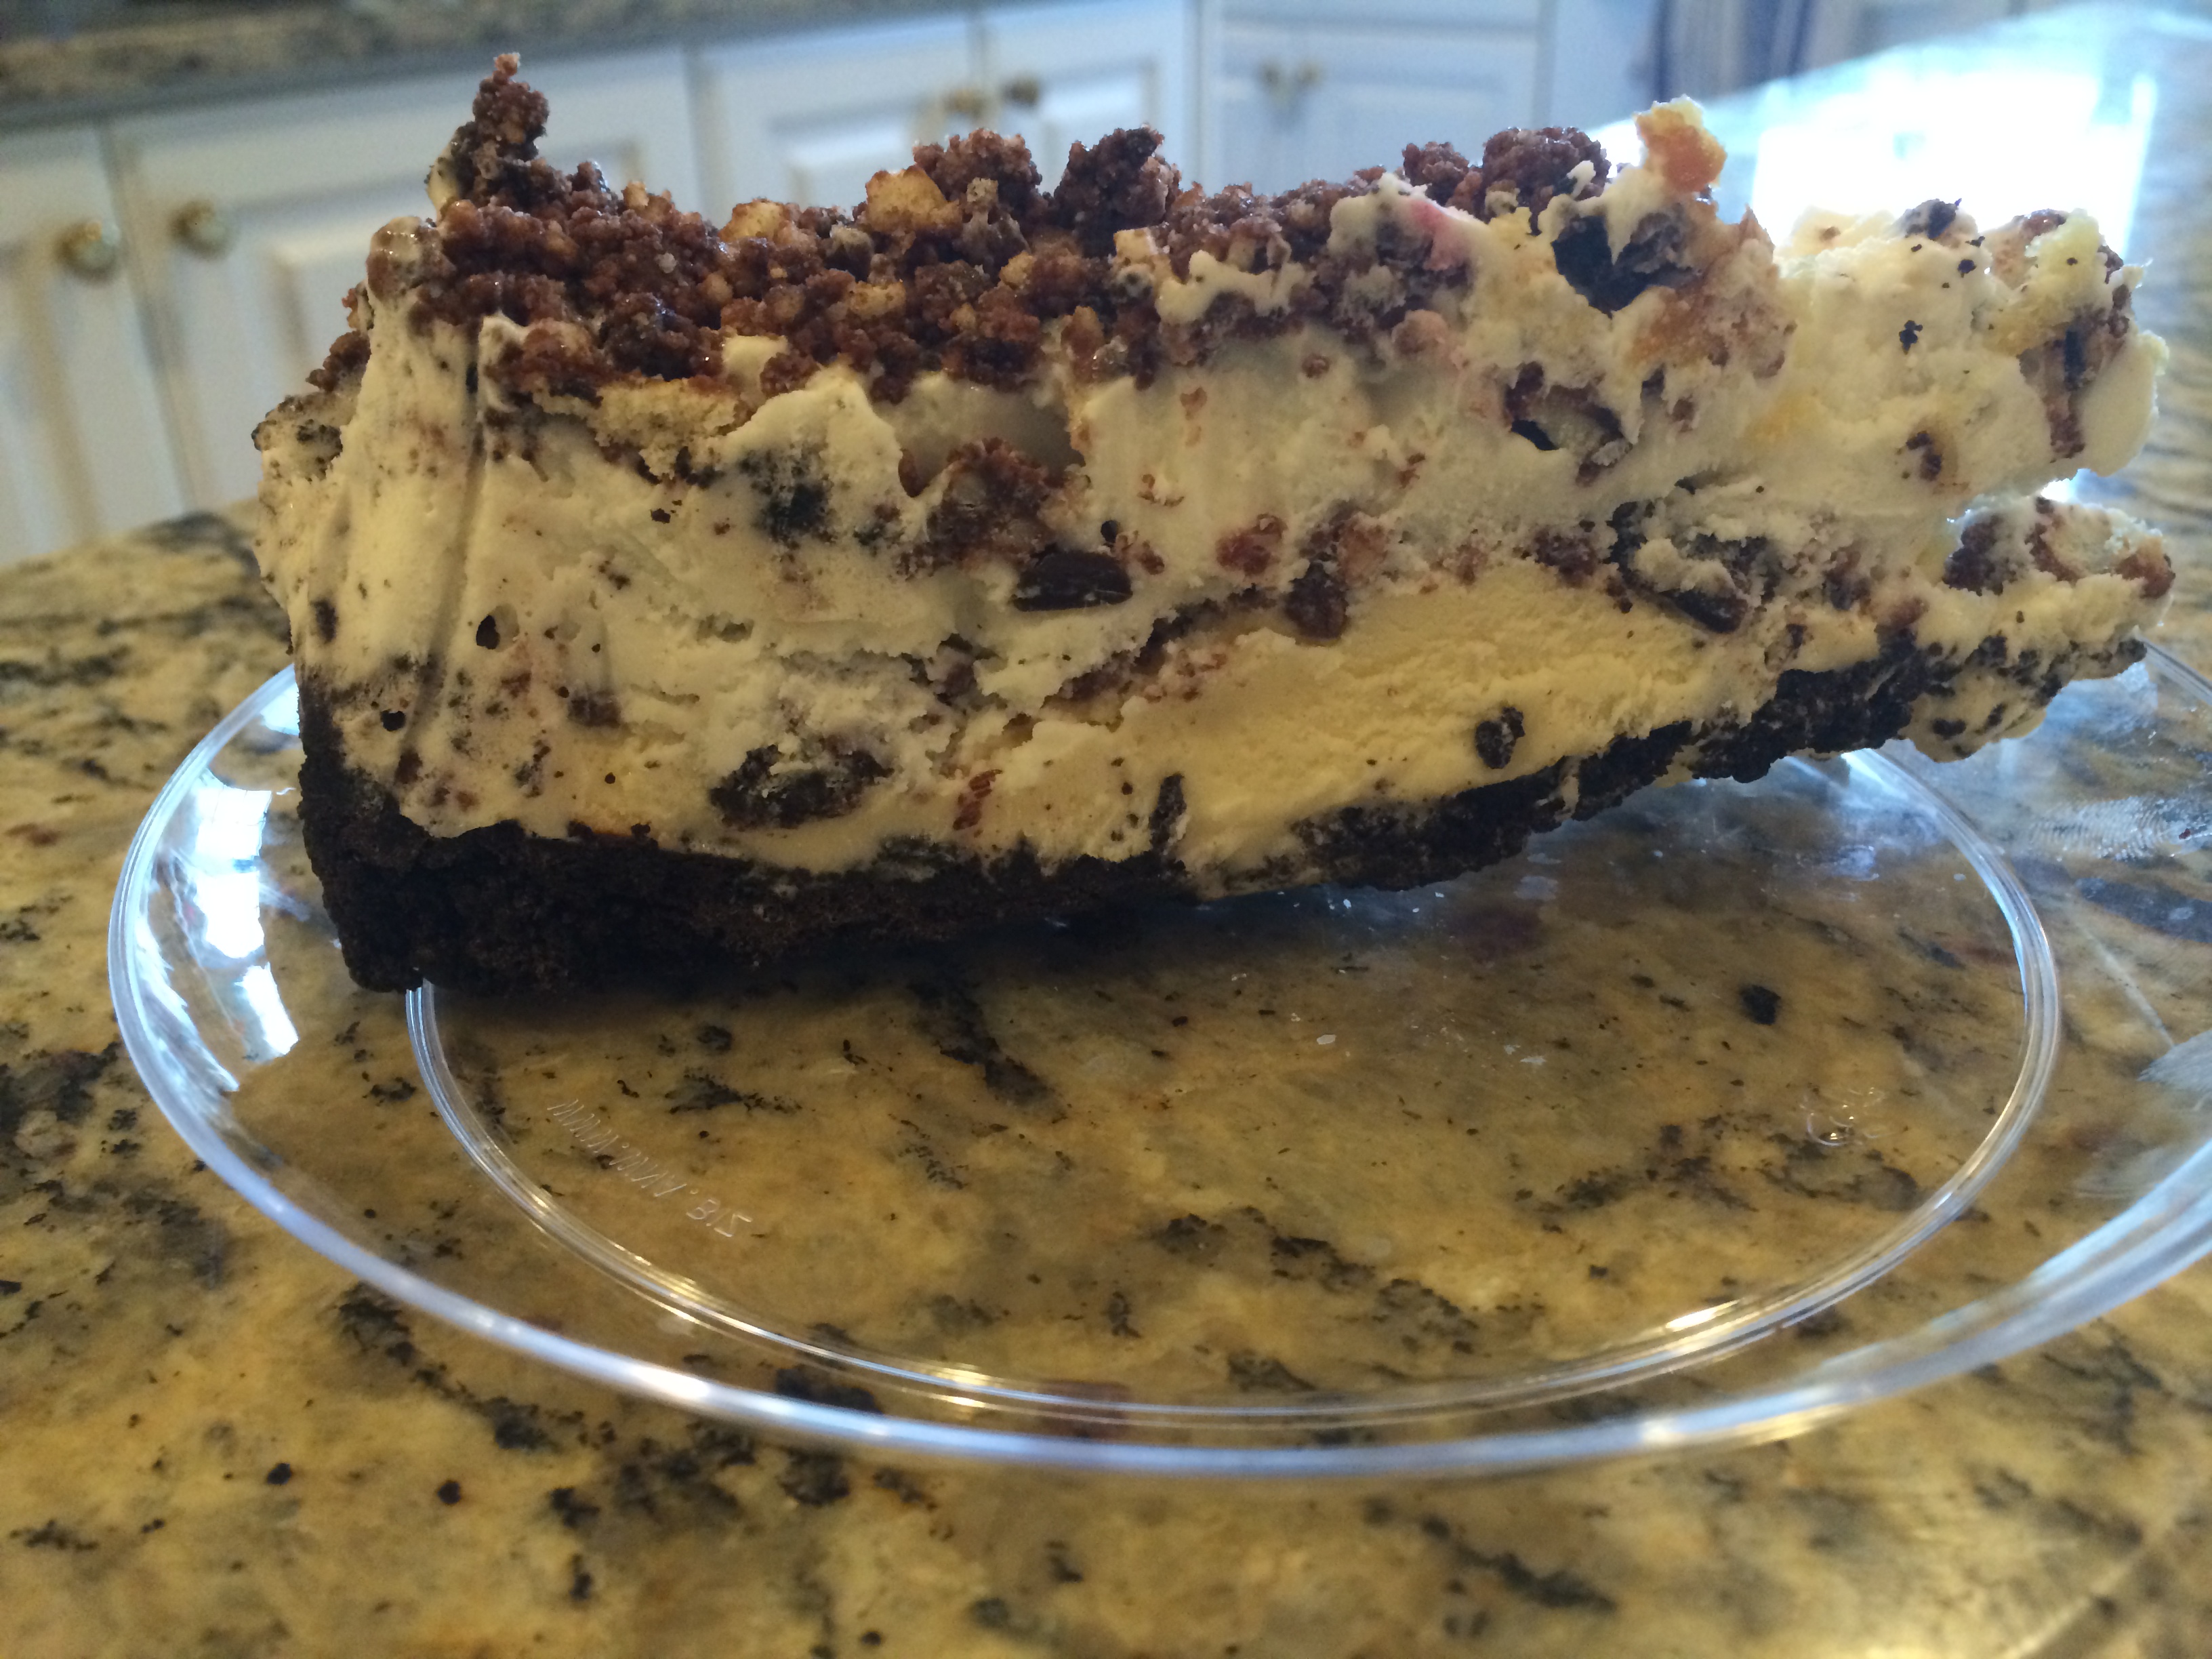
Piece of Cake!
