Guy Fieri Pepperoni Pizza Dip – Good Not Great

Have to say I followed this recipe to a tee and was disappointed.  It was not because it was bad, but just because it wasn’t outstanding for the amount of work to make this dish.  I would not make it again.   Pizza is simply better.  If you do proceed, make sure to plan ahead and leave out the cream cheese to soften before doing anything else.

http://www.foodnetwork.com/recipes/guy-fieri/pepperoni-pizza-dip-recipe2.html

I was pumped up after watching guy make it two weeks ago.  The recipe tasted fine but not worth the large amount of effort is you ask me.  His prep time says 30 minutes  – even with a helper and being perfectly efficient we could not complete the prep of this dish in 40 minutes.  You also have a lot of clean up in this recipe.   So with one person, unless you are super efficient, forget about it.  The sauce using exactly his ingredients was fine.  Even expensive fresh whole food cheeses did not perk this dish up.

Pepperoni Pizza Dip

Recipe courtesy of Guy Fieri
Total Time: 1 hr 50 min: (my notes: hands on time for prepping and cleaning up 1 hour to one hour fifteen minutes +)

Prep: 30 min Cook  (my notes, expect 40+ just to get it ready for the oven,  plus clean up time + time to bake)

Yield:8  – probably tad more

Level:Easy – nothing is too complicated but for a novice I would skip this recipe and I think an expert would not be excited about the outcome.  People still ate the dish at our party, but it was not a “crowd wow”.

Ingredients

Pizza Sauce:
1 tablespoon olive oil
1/4 cup finely chopped onion
1 tablespoon minced garlic
1/4 teaspoon red chile flakes
1 (28-ounce) can crushed tomatoes (recommended: fire roasted Muir Glen)
1 tablespoon julienned fresh basil leaves, plus sprig for garnish
1 teaspoon dried marjoram
1 teaspoon dried oregano
1/2 teaspoon sea salt
1/2 teaspoon freshly ground black pepper

Bottom Layer:
8 ounces cream cheese, softened

2/3 cup ricotta cheese

1/3 cup grated Parmesan
1 egg, slightly beaten
1/2 teaspoon minced garlic
1 teaspoon dried oregano
1/2 teaspoon sea salt
1/2 teaspoon freshly ground black pepper
1/2 teaspoon red chile flakes

Pizza Toppings:
1 tablespoon olive oil, plus more for drizzling
1 cup thinly sliced pepperoni
1/2 cup diced (1/4-inch) red bell pepper
1 tablespoon minced shallot
1/2 cup quartered and thinly sliced crimini mushrooms
1 cup small-dice buffalo mozzarella cheese
1/4 cup grated Parmesan
Serving suggestions: Toasted pizza dough strips, toasted pita strips, or crackers
Directions (I made King Arthur’s Artisan Bread Sticks, my next entree)

Preheat the oven to 350 degrees F.

For the pizza sauce: Add the olive oil to a 12-inch saute pan over medium heat and, when hot, add the onion. Saute until translucent. Add the garlic and red chile flakes, cook for 1 minute, and then add the canned tomatoes. Reduce the heat to a simmer and cook for 25 minutes, stirring occasionally. When the mixture has thickened, stir in the fresh and dried spices. Simmer for an additional 15 minutes and adjust seasoning, if necessary. Remove from the heat.

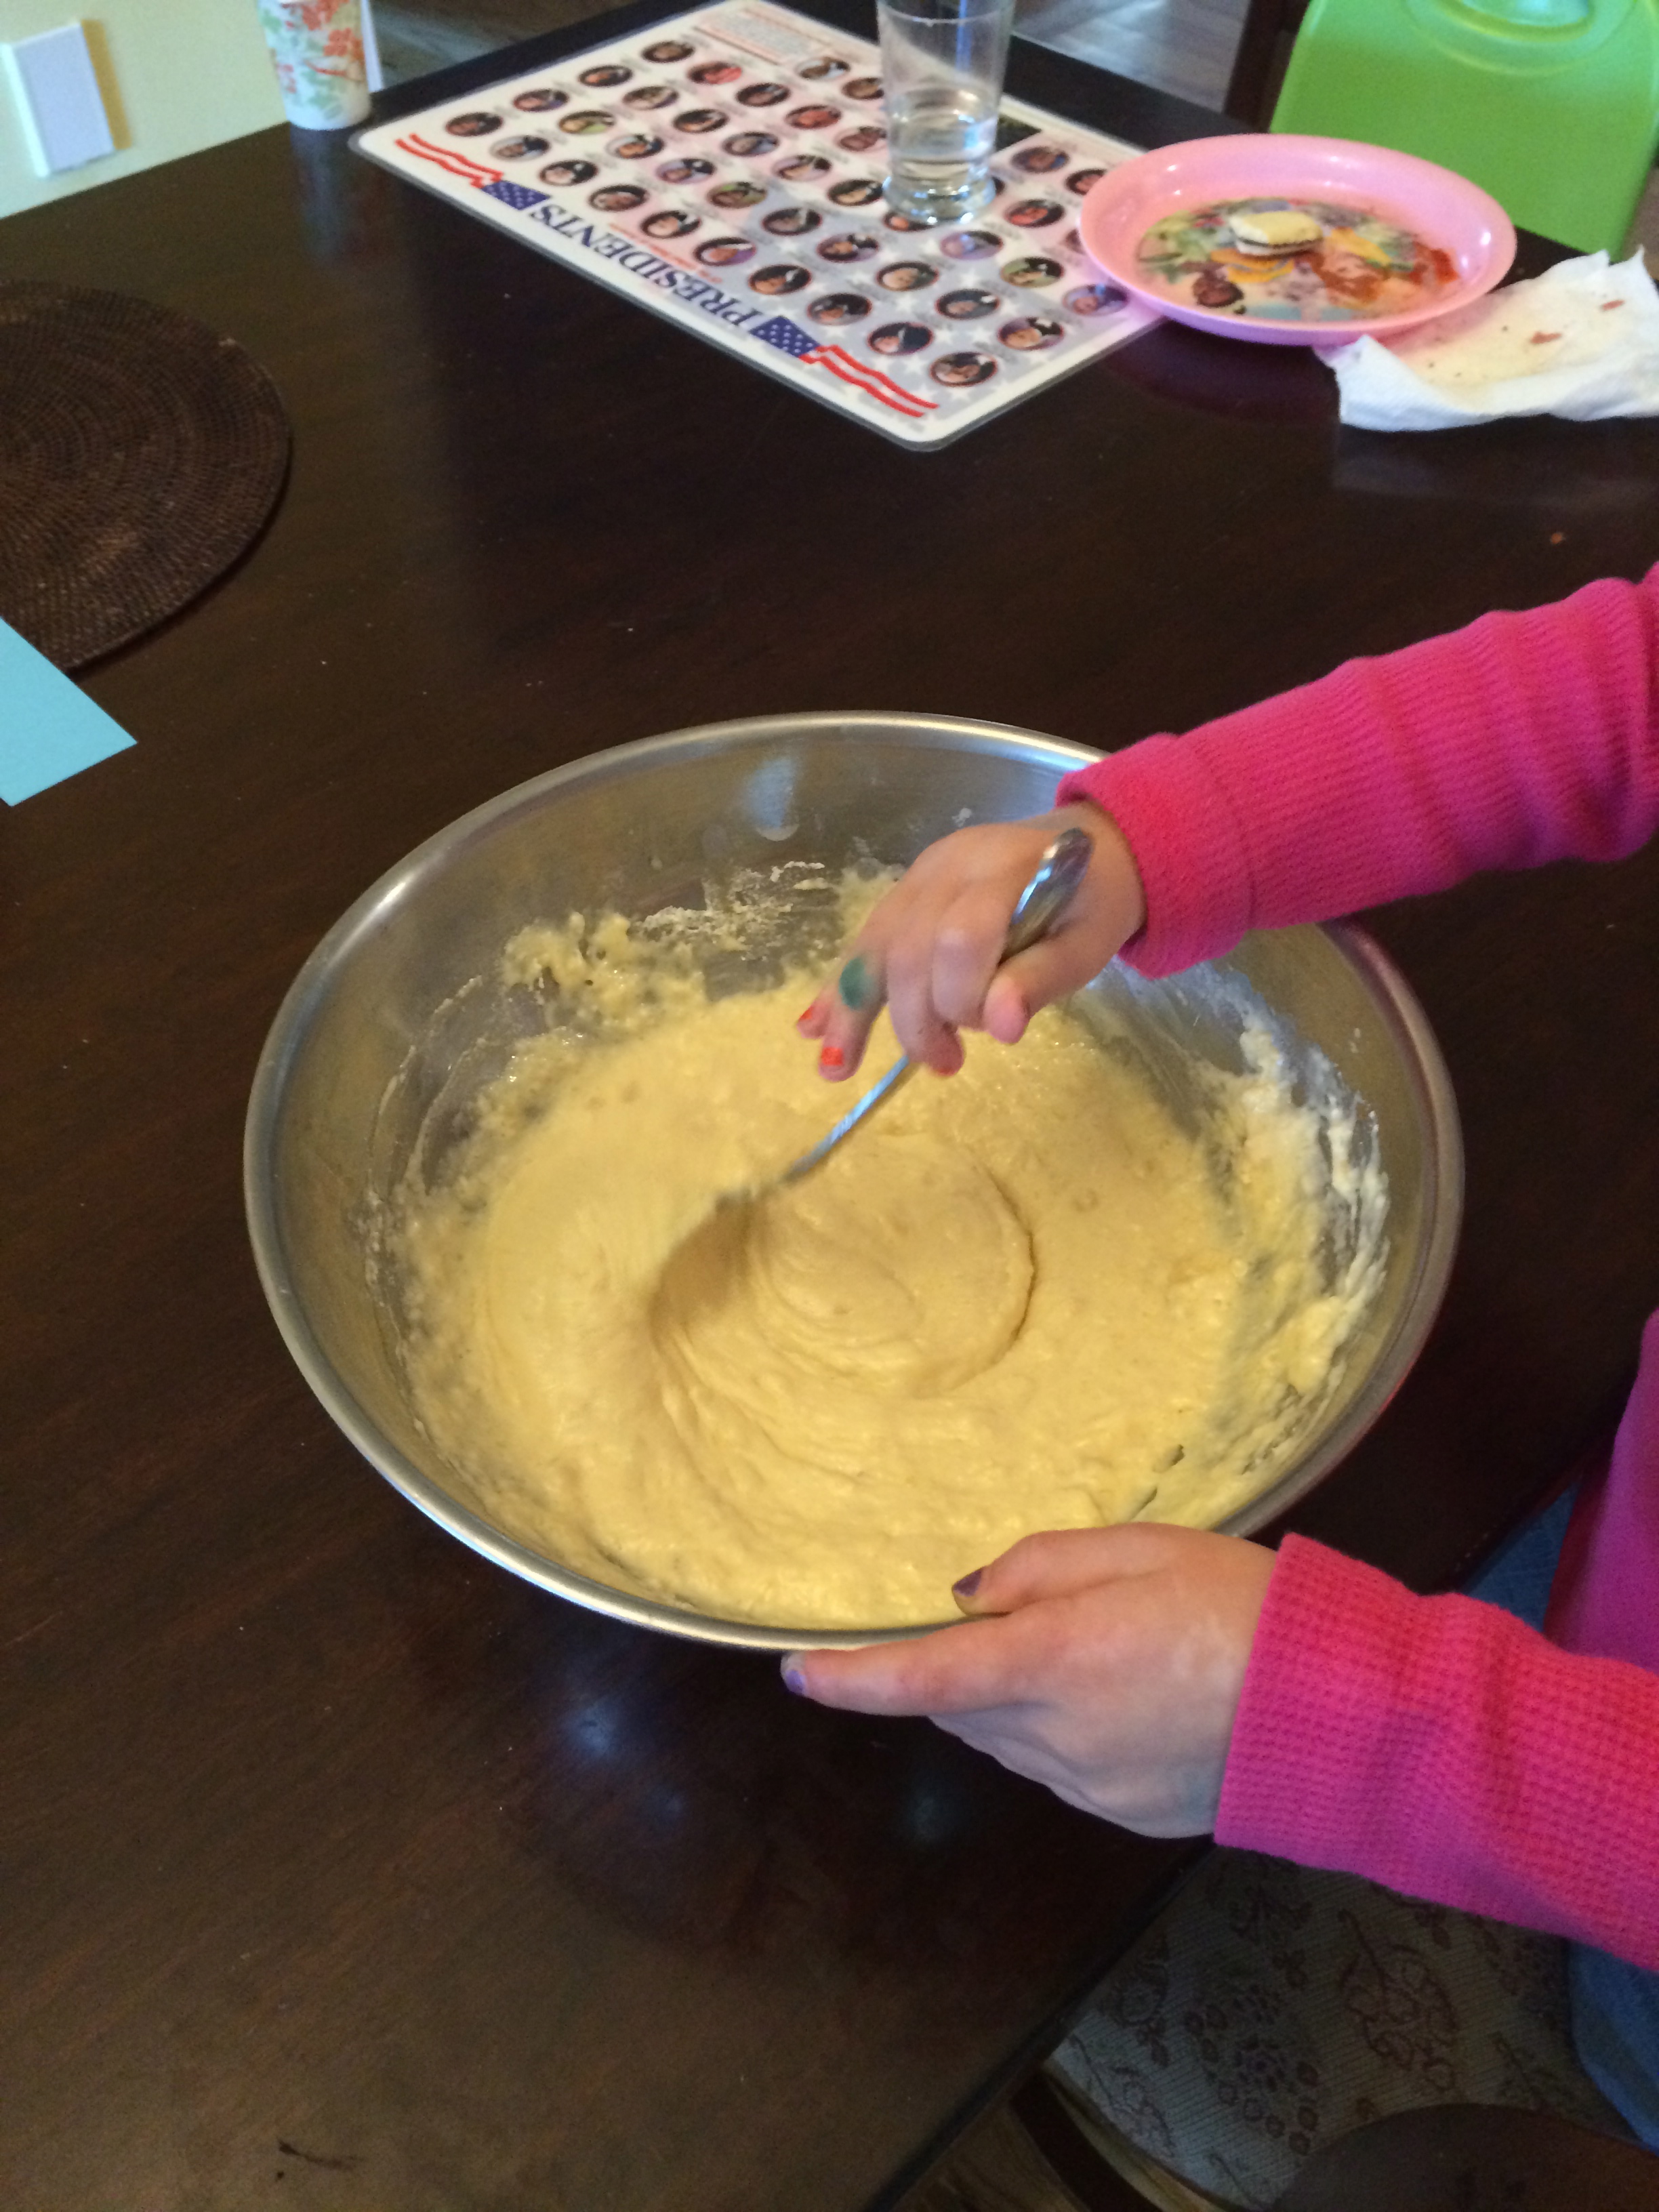
For the bottom layer: In a medium bowl, combine the cream cheese, ricotta, Parmesan, egg, garlic and spices. Spread the mixture evenly into an oven-safe casserole (2-quart capacity or a 9-inch pie pan). Set aside.

For the toppings: In a small saute pan over medium heat, add a drizzle of olive oil and the pepperoni. Saute until the pepperoni is just crisp, 4 to 5 minutes, and then drain on a paper towel-lined plate. Add the remaining olive oil and the red bell peppers and saute over medium-high heat until just starting to soften. Add the shallot, cook for 2 minutes, and then add the mushrooms. Cook for 7 to 10 minutes and remove from the heat.

To assemble: Spread the pizza sauce over the top of the bottom layer of cheese, sprinkle with the pepper and mushroom mixture, and then the pepperoni. Evenly distribute the mozzarella over the top and bake for 20 minutes. Remove from the oven and sprinkle with the Parmesan. Garnish with the basil sprig and serve hot with pizza dough strips, toasted pita strips, or crackers.

Crock Pot Applesauce BBQ Chicken.

I tried this Applesauce BBQ dish recently from a women named Lori.  I was very intrigued by her concept of making 40 Meals/4 Hours Recipe Collection and this was one of them.  I have also tried her orange chicken recipe and that was pretty tasty as well.  I prepped both chicken dishes the same day freezing the chicken for the BBQ for a later date.  (What a helpful tip).   However move the frozen chicken to the fridge at least 24 hours before using it.  I used chicken breasts for the recipe sited below as it calls for that.  My husband and brother-in-law clearly would have preferred the dish made with thighs.  I personally like white meat better but each to his own.  I am sure the dish made with your preference will turn out great either way.  I made this dish in my : All-Clad 7-Qt. Deluxe Slow Cooker with Cast Aluminum Insert from Williams-Sonoma.  If you have the money, this is an awesome slow cooker.  The insert comes out and can be used to brown meat on a burner and it can go in the oven.  It is a time saver and the cleanup is always easy using this gadget.

Lori’s recipes – 40 –   http://whoneedsacape.com/2012/11/crockpot-freezer-cooking/

The Crock Pot Applesauce BBQ Chicken Dish (Note she credits this recipe to someone else herself)

Crockpot Applesauce BBQ Chicken

Ingredients – sized for the way I made it.

  • 3 pounds of breasts cut in large chunks)
  • 1 t ground pepper
  • 2/3 cup times 2 of  chunky applesauce – I used regular and threw in some peeled diced apple chunks for 1 apple
  • 2/3 cup BBQ sauce times 2 (I used Wegmans)
  • 4 Tablespoons of light brown sugar
  • 2 Teaspoons of chili powder

Instructions

  1. Spray Crockpot with non-stick cooking spray, or use a Crockpot liner for easy clean-up.  With my slow cooker I skipped this step and had no problems.
  2. Place chicken breasts on bottom.
  3. Mix all remaining ingredients together, and pour over chicken.  I then stirred the chicken and sauce some so some stuff was below the chicken layer.
  4. The sourced recipe calls for 6-8 hours on crock pot low setting. Serves 8+.  I found after 5 hours the chicken was more than done and suggest not cooking it as long as the recipe calls for.
  5. I served over rice.

Williams-Sonoma Slow Cooker:

http://www.williams-sonoma.com/products/all-clad-deluxe-slow-cooker-with-aluminum-insert/?pkey=e%7Cslow%2Bcooker%7C8%7Cbest%7C0%7C1%7C24%7C%7C1&cm_src=PRODUCTSEARCH||NoFacet-_-NoFacet-_-Feature_Recipe_Rule-_-

Breakfast Hits with kids – Banana Pancakes

Banana Pancakes Below

IMG_5469My very first entry is banana pancakes courtesy of a William Sonoma Kid’s Cookbook.

Everyone in the family loves these, including the adults.  I always 2X the recipe and freeze extras two or three at a time in a freezer sandwich bag so they don’t stick.  If frozen, I suggest defrosting the night before and then warming in the toaster the next day 325 preheated toaster for about 7-10 minutes depending on how solid the pancake still is.  If previously in the fridge for 24 hours I just use the toaster setting on the pancake and that works well or I use the pre-heat method above.

Tip: use a ripe banana, as it will be easy to mash.

Ingredients for one batch (12 small pancakes or 8 large pancakes):

  • 6 tablespoons (3/4 stick) unsalted butter – If you are using a non-stick indoor griddle you will only need 4 tablespoons (half a stick) per one batch of pancakes.  ( i.e. 4 TBSP are meant to be melted and combined in the recipe below; the other two are meant to grease the griddle or frying pan.  With our indoor Breville Smart Grill & Griddle, I found the extra butter is not needed)
  • 1 1/2 cups all-purpose flour
  • 2 tablespoons sugar
  • 2 1/2 teaspoons baking powder
  • 1/4 teaspoon salt
  • 1 small, very ripe banana, peeled (if your banana is super large just leave a few slices to top the pancakes)
  • 1 cup milk
  • 2 eggs
  • 1/2 teaspoon vanilla extract
  • Maple syrup for serving
  • Sliced bananas for serving – optional

Directions:

For each batch, melt 4 tablespoons of the butter either 40 seconds in a microwave or melt in a small saucepan using low heat over the stove.
Set it aside to cool.  The cooling is an important step so do this before you start pulling out the other ingredients.In a large bowl, combine the flour, sugar, baking powder and salt. Mix with a fork until well blended.Put the banana in a medium sized bowl. Mash with a fork until almost smooth. Add the milk, eggs and vanilla and stir with the fork until well blended. Pour the banana mixture and the melted butter into the flour mixture. Mix gently with a rubber spatula or a spoon until the batter is just blended. The batter should still be a little bit lumpy.Put a griddle over medium heat until hot. To test if the griddle is hot enough, flick a drop of water onto it. It is ready if the drop dances quickly and evaporates.  If not using a non-stick pan, put some of the remaining unmelted butter onto the griddle and spread it with a metal spatula. Drop the batter by 1/4 cupfuls onto the griddle, spacing them about 3 inches apart.Cook until a few holes form on top of each pancake and the underside is golden brown, about 2 minutes. Carefully slide the metal spatula under each pancake and turn it over. Cook until the bottom is golden brown and the top is puffed, 1 to 2 minutes more. Using the spatula, transfer the pancakes to a serving plate.Repeat with the remaining batter. Serve the pancakes while still hot with maple syrup and sliced bananas. Makes twelve 4-inch pancakes.  (very accurate output)Adapted from Williams-Sonoma The Kid’s Cookbook, by Abigail Johnson Dodge (Time-Life Books, 2000).
Kid Helper Stirring Batter (Below)
IMG_5461
Getting Ready to Flip First Batch, Bubbles Forming (Below)IMG_5465
Color Seeking Before Flipping (Below)
IMG_5467

Thoughts from my kitchen

Hi All,

I have started this blog to help organize my thoughts about what I like and don’t like about some of the things I try in my kitchen.  I also want a central place to store my recipes.  I promise to add descriptive tips around the recipes I post, given often we find ourselves wishing for a little extra guidance.  I like to cook and bake and often will try new things with both success and failure.  I will label each recipe degree of difficulty and talk a little about the tools and gadgets in my kitchen.  I call myself a good cook but not a great one and presentation has never been a strength.  I have been seriously exploring ways to delight in the kitchen for about 10 years.  The prior 30 + years  — well we just won’t go there, including the time I almost blew up my studio in New York making french toast.  I now live in the suburbs of Maryland and am joined daily by my husband and our young child for meals.  We often have guests.

I hope you join me for the ride.

dishthistoday@gmail.com