Quick and Easy Homemade Waffles by Mark Bittman

This waffle recipe is easy.  You will never want frozen waffles again!

I have never had it fail and I have made it at least 50 times.   I always make one extra set of the dry ingredients which I set aside in a large zip lock bag.  I label the outside of that ziplock well and then inside in a small separate plastic bag I put a note card with the wet ingredients to add.  This way me or my husband can whip up a batch quick.

Effort to make 1 batch – 10 minutes plus time to cook the waffles.  To cook a full batch allocate 30 minutes.    I love my waffle iron which came from William Sonoma.  It does not have any bells and whistles but it does the job well.  The only choice is the doneness setting.  Usually I cook on setting 2 (out of 10).

Before starting the mixing, turn on your waffle iron, and put the butter in the microwave and set aside to cool.

Ingredients:

2 cups of all-purpose flour (dry)

1/2 teaspoon salt (dry)

2 tablespoons of sugar (dry)

3 teaspoons of baking powder (dry) (underlined to make sure you measure this precisely and that you use powder not soda).

1 1/2 cups of milk

2 eggs

4 tablespoons or 1/2 stick of butter melted and cooled – I use the microwave cutting the butter into a few pieces before setting it to 40 seconds.

1 teaspoon of good vanilla extract (worth adding but is labelled optional in Bittman’s recipe)

Preparation:

Mix the dry ingredients in a large bowl.

In a smaller bowl mix the eggs into the milk (I usually separately scramble the eggs before mixing with the milk).

Add to the smaller bowl the cooled butter and vanilla if using.

Add the wet smaller bowl to the dry ingredients and stir until mixed well but not obsessively well.

If the mixture is dry add a little more milk but if you measured correctly additional milk should not be necessary.

Spread batter into center of your waffle iron (using a large spoon, poured from a measuring bowl, or using a ladle).

Bake until waffle is done 3-5 minutes – my waffle iron beeps and turns green when done.  There is no guesswork.

Carefully peel waffle off iron and pour in more batter until done.

I like to lay the done waffles on a cooling rack to keep crisp and get air below the waffle.  If I am serving a few minutes later I reheat on a cooling rack laid on top of a cookie sheet.

Once cooled I freeze all leftovers in a freezer bag.  They last well in the freezer for at least 2 months.  I have not tried longer.

I defrost the night before if I remember and  then just place in the toaster in the morning.  Even without defrosting one toast or a preheated toaster at 325 for 5-10 minutes warms the waffle right up.

This recipe is super easy and doubles perfectly.  I almost always make a double batch if I have time and freeze as many as possible.

DO NOT MAKE THE BATTER THE DAY BEFORE THINKING YOU WILL SAVE TIME IN THE MORNING.  Results will be sub-par.  If you need to save time, set aside the combined dry ingredients the night before on your counter and pre-measure the milk and vanilla and leave those two ingredients in the fridge.   Then cut your butter and place in the bowl you will put into the microwave but return the butter back to the fridge as well.   This will save you 5 minutes out the 10-15 minutes it takes to make the whole batter start to finish.

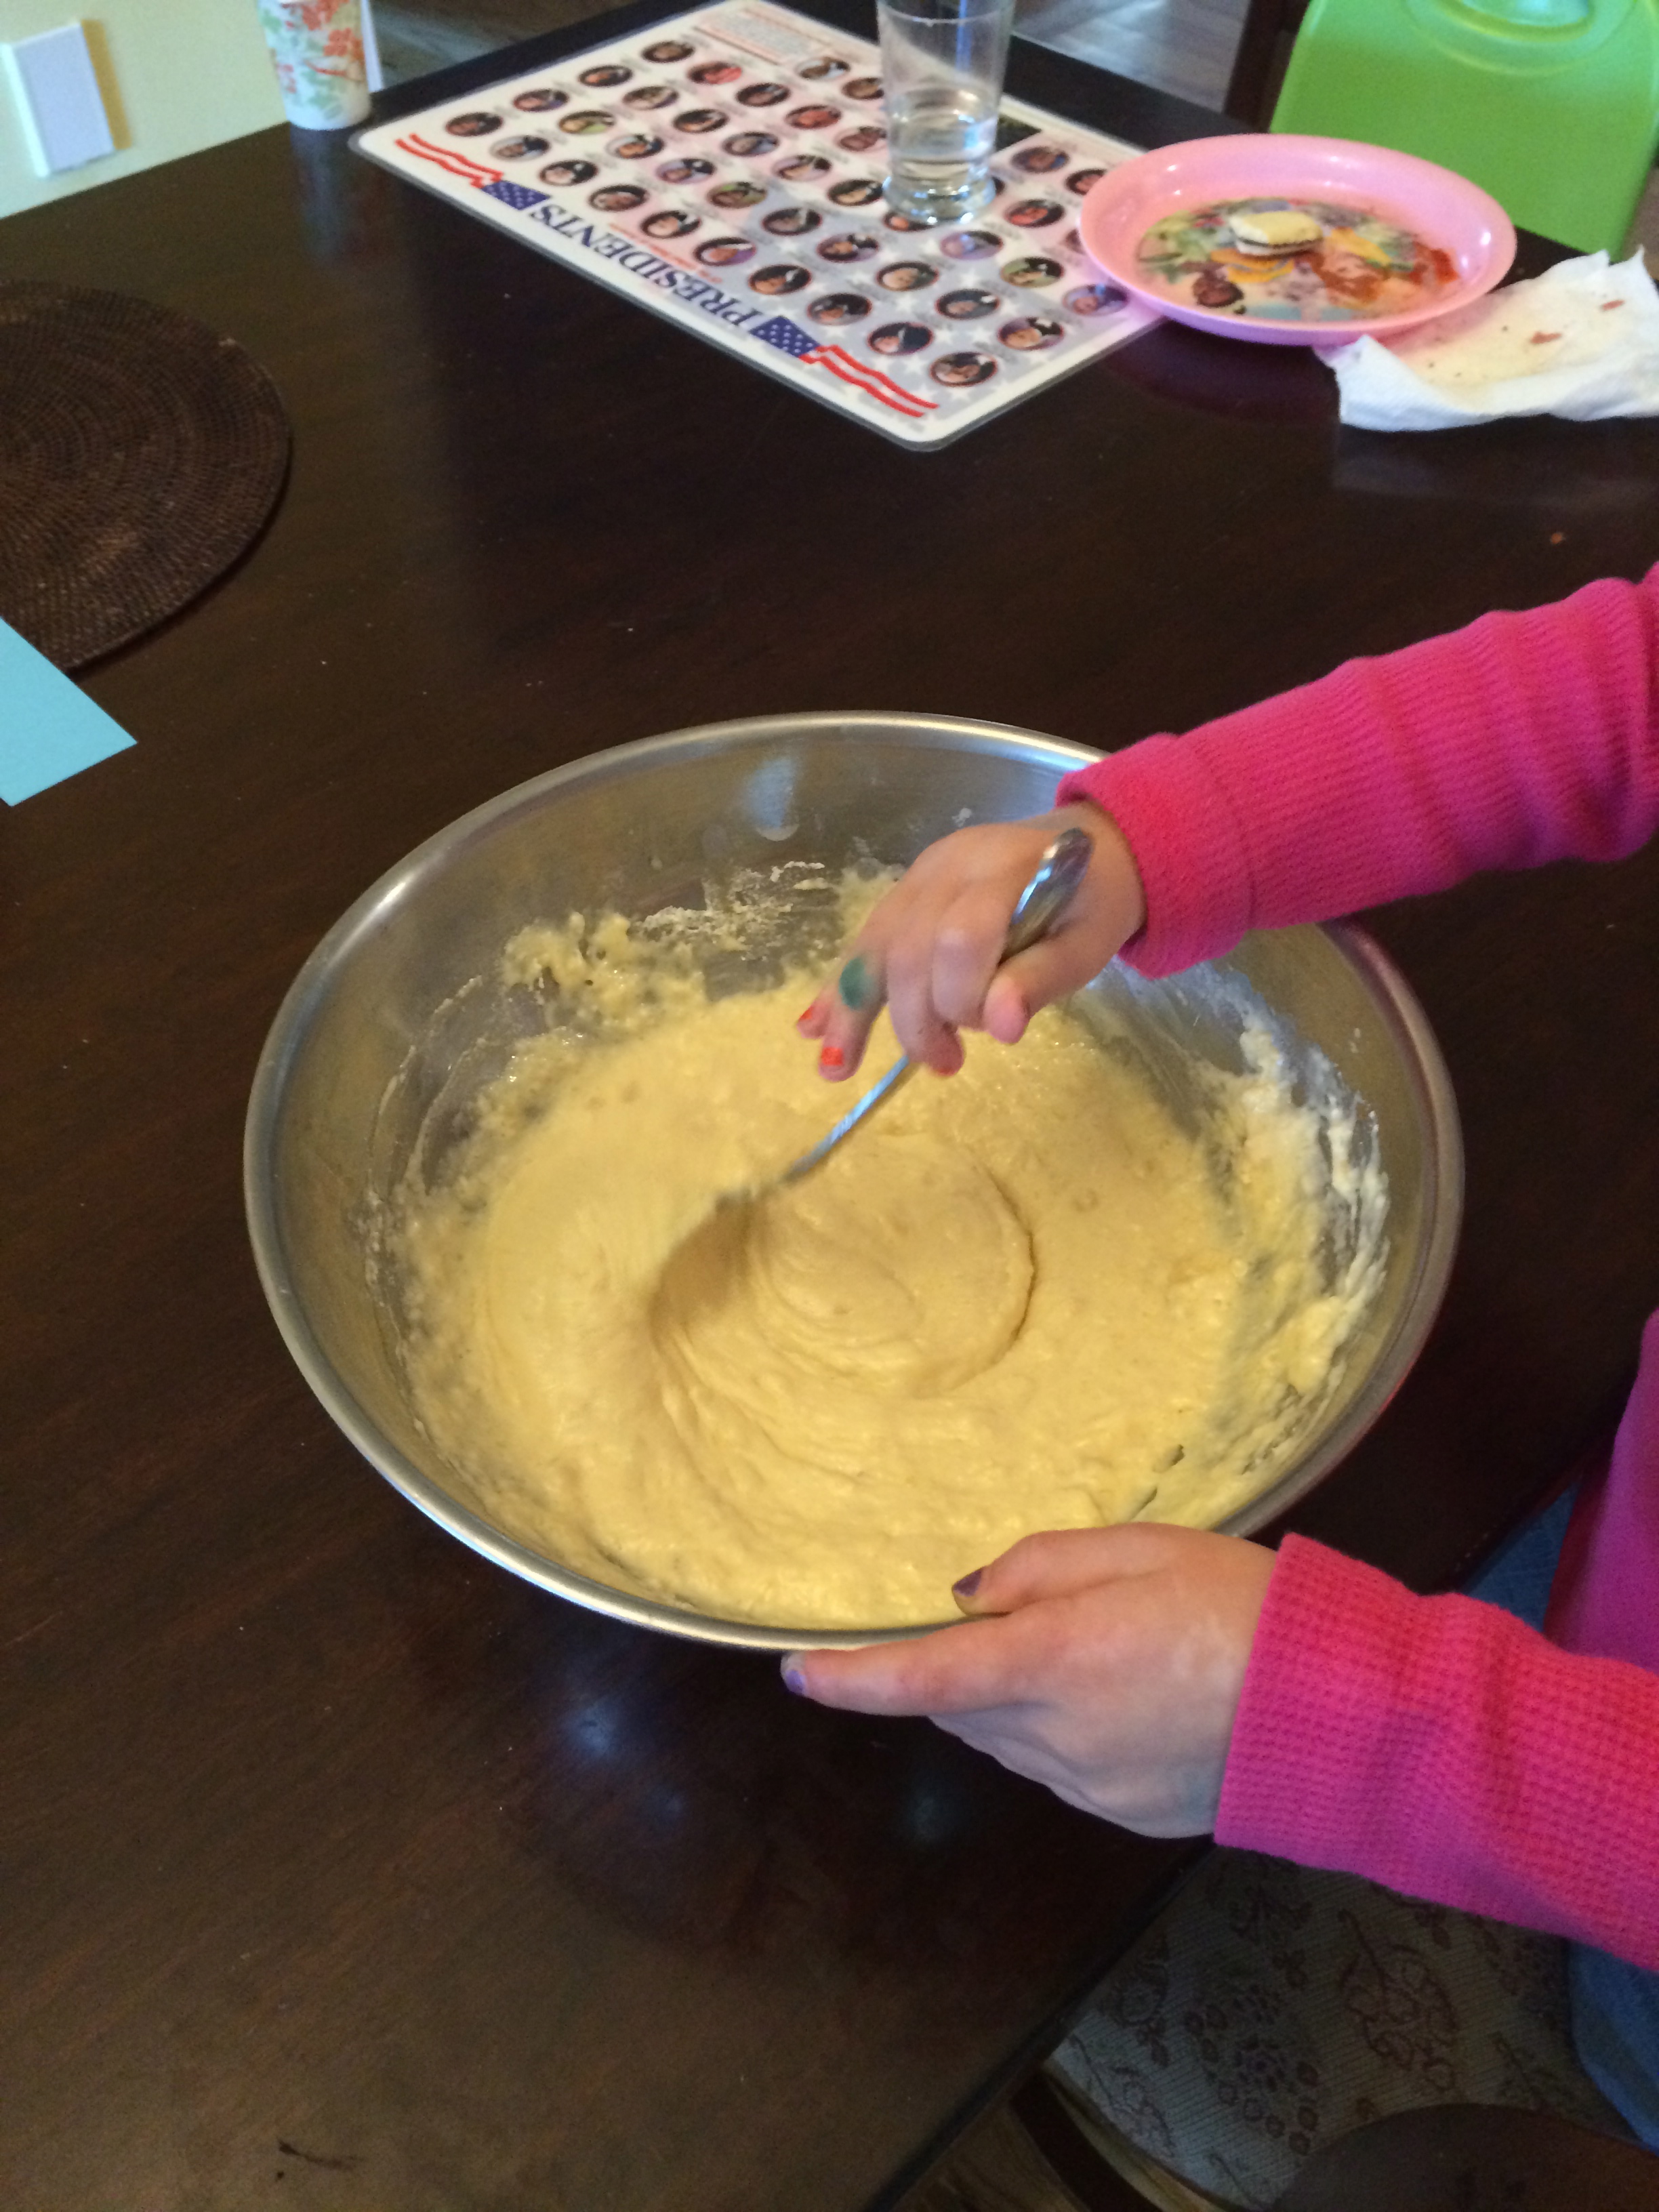
If you have a kid helper, ask them to measure all the dry ingredients and place in the bowl.   Ask them to help stir the wet ingredients as well.

Apple Spice Muffins (Kids Helpers Welcomed) – Very Easy

Today I made a batch of these.  The recipe was on the back of StonyField LowFat French Vanilla Yogurt.  I was worried we were not going to finish the yogurt and did not want it to go to waste.  Everyone liked these: Mom, Dad, and especially our 4 year-old.  I had the muffins in the oven in less than 15 minutes and was completely cleaned up before they came out. They looked and tasted great.  I froze the extras and presume they will taste fine in the future but will report back.

Kids can do the sifting, mixing, and scooping into the tins.

Equipment

12 muffin tin regular sized

Sifter tool

Wax or Parchment Paper (if you have it; if not just sift into the dry ingredient large bowl)

Preheat oven to 375, & melt and get your butter cooled before doing anything else!  

Ingredients

2 cups flour (dry)

1/2 cup sugar (dry)

1 1/2 tsp baking soda (dry)

2 tsp cinnamon (dry)

2 eggs

1 cup Stonyfield Low Fat Vanilla Yogurt or some other brand

1/4 Cup butter melted and cooled (This is 4 tablespoons, or half a stick).    I cut the butter into 4 pieces before starting the microwave.  Then I melt the butter in the microwave for about 45 seconds.)

1 apple if large peeled and diced small

Steps:

Preheat oven to 375

Sift the first four dry ingredients after wax or parchment paper and pour into a large bowl

Crack two eggs in a small bowl and scramble (remove any shells if needed)

In medium bowl mix eggs, yogurt, and cooled butter.  I stirred around 20 times quickly.

Pour this wet mixture over your dry mixture, add apples and stir.

Do not panic at first this batter will seem hard to come together and you will think you have too much dry ingredients.  However after a minute or so of stirring I got all the ingredients easily incorporated.

Pour the combined batter into the tins and bake for 20-25 minutes.  In my oven they seemed done at 21 minutes but I pulled them out at 23 minutes.  I let them stay in the tins for about 10-15 minutes and then let them cool on a cooling rack outside the muffin tin pan.  Clearly they can be served pretty soon coming out of the oven if needed right away.

I forgot to take a picture but they had a nice brown color with pieces of apples sticking out !

Mini Meat (or Turkey) Loaves – Kid Helpers Welcomed

This is a simple dish for a novice to make.  You need one regular size muffin pan.  This dish can be in the oven within 20 minutes and clean up takes about 10 minutes max if you throw everything (muffin pan included) in the dishwasher.  This recipe was adopted from C is for Cooking Recipes From the Street by Susan McQuillan.   This is a kids’ cookbook I skeptically bought but turns out I would highly recommend it.  (It can be found on Amazon: http://www.amazon.com/Sesame-Street-Cooking-40th-Anniversary/dp/0470523077/ref=sr_1_1?s=books&ie=UTF8&qid=1391978718&sr=1-1&keywords=c+is+for+cooking.  I receive nothing for this mention).

Equipment: Muffin Pan (12 cups), Small Bowl, Large Bowl, measuring items)

Kids can help with all the measuring and my 4 year old loves making the balls for the tins.  I mix the ingredients in the bowl though initially to make sure the consistency is good.

PREHEAT YOUR OVEN TO 350

Ingredients:

1 egg

1 pound turkey ground turkey (I like a combo of thigh and breast; however any type of ground meat is fine- chicken, beef, pork etc)

1 cup uncooked old fashioned oatmeal (I like Bob’s Red Mill Organic Extra Thick Rolled Oats which can be found at Wholefoods)

1 small onion (or half large onion) – diced very small

1 or 2 carrots depending on size (shred with a grater)

1/3 cup ketchup and 1/4 Heinz Chili Sauce (sold near ketchup at most grocery stores)

1/4 cup grated parmesan cheese (I buy this pre-grated to save time)

1/2 to 1 teaspoon of salt (I use half this but recipe calls for full one)

1/4 teaspoon pepper

Topping – (original recipe calls for ketchup; I make my topper below)

1/3rd cup Heinz Chili sauce,  mixed with 1 very generous tablespoon of Light Brown Sugar

Steps:

Lightly spray cooking spray in 9 muffin tins (sometimes you get 8, sometimes 9)

Crack egg in tiny bowl, remove any shells.

In large bowl combine chosen meat, oatmeal, onion, carrot, egg, ketchup, chili sauce (if using), parm cheese, salt and pepper

Mix with your CLEAN hands or use plastic baggies over hands.

Once well mixed, scoop up a ball and place in muffin tin, patting the top down to be smooth.

Brush with topping if using (again I think the Chili Sauce with a little sugar is the way to go)

Bake 20-25 minutes until center not pink (I usually cook it the full 25, but they usually seem done after 22-23 minutes).

Remove from oven and keep in muffin tin for ATLEAST 10-15 minutes so the muffins continue to set.  If they are not set, this recipe will not come out as desired.

After you patiently wait, carefully with a knife lift up muffins (they should be completely stuck together – see pictures) and place on a rack to cool if not serving right away.   I freeze these all the time, and defrost the night before I want to use them.  For a kid under 7, one muffin as a main dish is more than enough.  My husband will eat two at a time.  One would not be enough for him.  For me, one is fine.   Hence I often double this recipe and we eat a few and then we have lots to freeze later.

View after putting on the topping but before being baked.

Image

View before the topping.

Image

Done and now resting on a rack after staying in the muffin pan for 15 minutes.

Image

Kids’ Cooking Project for School – Spaghetti and Meatballs

I like this project for a class lunch for ages 3-8.  I recommend making one set of meatballs ahead of time to speed up the process.  Have the teacher bake the meatballs the kids made during lunch time and save for afternoon snack later that week.  I like to use turkey meat and think dark or white breast meat is fine.   I have tried both many times.  For ease of class project, I recommend measuring the spices ahead of time and just bring baggies or little cups that the kids can toss in.   Otherwise I find the kids are fighting over helping each other with the measuring spoons and pouring and you get a mess.  Start the jumbo pot of water ahead of time and lightly salt it.  Use extra water if you think some of the water will boil down.  You want a lot of water for the pasta.

Class Spaghetti and Meatballs – February 2014


Check List of Items Needed

1 Cookie Sheet for baking meatballs

Aluminum foil to line baking sheet

Cooking oil spray to spray foil on top of cookie sheet

Very large bowl for meatball mixing , small bowl for egg

Plastic bags for mixing meat initially by hand

Large strainer for pasta

Heavy duty large mixing spoon

Very large pot to cook pasta

Small pot or fry pan for heating sauce and already cooked meatballs

Spoon for tossing sauce as it is heated

Bring spaghetti serving fork to school if you have one (I only attaching this link because it is a good picture.  You do not need to spend $32 for a pasta serving fork.  However look for a utensil that is firm on the bottom vs a cheap plastic one.  You will have better success and it will hold up better in the dishwasher.

http://www.williams-sonoma.com/products/9915919/?catalogId=8&sku=9915919&bnrid=3120901&cm_ven=Google_PLA&cm_cat=Cooks’_Tools&cm_pla=Cooking_Utensils&cm_ite=All-Clad_Stainless-Steel_Professional_Pasta_Fork_%7C_Williams-Sonoma&srccode=cii_17588969&cpncode=34-136177943-2

Food Needed

Bag of spices already measured (see below**)

Few tablespoons of milk

1 Egg

Pinch of salt for the boiled water for pasta

Already made meatballs (to speed up project) –

(can save other meatballs for later after cooking)

Ground turkey meat (1 to 1.5 pounds) for hands on kids mixing – you should easily be able to make 20 meatballs

Box of spaghetti – Break sticks in half before cooking

1 jar of sauce

½ Cup Panko bread crumbs or some other brand –  Wegman brand good too

Parmesan Cheese for Topping

Optional fresh broccoli stalks cut small

Reminders for teacher 

Get water boiling early before start project with kids

Spaghetti needs 11-13 minutes on per box direction – start the timer once the water reboils and watch pot that it does not overflow

If using, toss in broccoli with about 5-6 minutes to go;  strain pasta/broc.

Meatball Making – likely to take 15 minutes with kids and then needs to cook

Pre-heat oven to 400 for meatballs before starting project with kids.

Lined Rim Baking Sheet with alum foil and spray a little oil

NOTE: each kid can add in ingredients below – suggest parent mix meatball batter, then hand a little meat to each kid to form meatball

–       In large bowl- stir  bread crumbs (1/2 cup) and milk (3 tbsp) and let stand 5 mins

–       ** Add oregano (1/2 T) , dried onion (1/2 t), salt (1/2 t) , pepper (1/4 t)

–       Crack egg in small bowl and lightly beat

–       Add egg to large bowl of breadcrumbs

–       Add in the meat and make meatballs

–       Bake about 11-13 minutes

Warm Sauce on medium low  along with already cooked meatballs; serve with spaghetti and sprinkle with cheese.  Plan for ten minutes for sauce and already cooked meatballs to get warm

Crock Pot Applesauce BBQ Chicken.

I tried this Applesauce BBQ dish recently from a women named Lori.  I was very intrigued by her concept of making 40 Meals/4 Hours Recipe Collection and this was one of them.  I have also tried her orange chicken recipe and that was pretty tasty as well.  I prepped both chicken dishes the same day freezing the chicken for the BBQ for a later date.  (What a helpful tip).   However move the frozen chicken to the fridge at least 24 hours before using it.  I used chicken breasts for the recipe sited below as it calls for that.  My husband and brother-in-law clearly would have preferred the dish made with thighs.  I personally like white meat better but each to his own.  I am sure the dish made with your preference will turn out great either way.  I made this dish in my : All-Clad 7-Qt. Deluxe Slow Cooker with Cast Aluminum Insert from Williams-Sonoma.  If you have the money, this is an awesome slow cooker.  The insert comes out and can be used to brown meat on a burner and it can go in the oven.  It is a time saver and the cleanup is always easy using this gadget.

Lori’s recipes – 40 –   http://whoneedsacape.com/2012/11/crockpot-freezer-cooking/

The Crock Pot Applesauce BBQ Chicken Dish (Note she credits this recipe to someone else herself)

Crockpot Applesauce BBQ Chicken

Ingredients – sized for the way I made it.

  • 3 pounds of breasts cut in large chunks)
  • 1 t ground pepper
  • 2/3 cup times 2 of  chunky applesauce – I used regular and threw in some peeled diced apple chunks for 1 apple
  • 2/3 cup BBQ sauce times 2 (I used Wegmans)
  • 4 Tablespoons of light brown sugar
  • 2 Teaspoons of chili powder

Instructions

  1. Spray Crockpot with non-stick cooking spray, or use a Crockpot liner for easy clean-up.  With my slow cooker I skipped this step and had no problems.
  2. Place chicken breasts on bottom.
  3. Mix all remaining ingredients together, and pour over chicken.  I then stirred the chicken and sauce some so some stuff was below the chicken layer.
  4. The sourced recipe calls for 6-8 hours on crock pot low setting. Serves 8+.  I found after 5 hours the chicken was more than done and suggest not cooking it as long as the recipe calls for.
  5. I served over rice.

Williams-Sonoma Slow Cooker:

http://www.williams-sonoma.com/products/all-clad-deluxe-slow-cooker-with-aluminum-insert/?pkey=e%7Cslow%2Bcooker%7C8%7Cbest%7C0%7C1%7C24%7C%7C1&cm_src=PRODUCTSEARCH||NoFacet-_-NoFacet-_-Feature_Recipe_Rule-_-

Breakfast Hits with kids – Banana Pancakes

Banana Pancakes Below

IMG_5469My very first entry is banana pancakes courtesy of a William Sonoma Kid’s Cookbook.

Everyone in the family loves these, including the adults.  I always 2X the recipe and freeze extras two or three at a time in a freezer sandwich bag so they don’t stick.  If frozen, I suggest defrosting the night before and then warming in the toaster the next day 325 preheated toaster for about 7-10 minutes depending on how solid the pancake still is.  If previously in the fridge for 24 hours I just use the toaster setting on the pancake and that works well or I use the pre-heat method above.

Tip: use a ripe banana, as it will be easy to mash.

Ingredients for one batch (12 small pancakes or 8 large pancakes):

  • 6 tablespoons (3/4 stick) unsalted butter – If you are using a non-stick indoor griddle you will only need 4 tablespoons (half a stick) per one batch of pancakes.  ( i.e. 4 TBSP are meant to be melted and combined in the recipe below; the other two are meant to grease the griddle or frying pan.  With our indoor Breville Smart Grill & Griddle, I found the extra butter is not needed)
  • 1 1/2 cups all-purpose flour
  • 2 tablespoons sugar
  • 2 1/2 teaspoons baking powder
  • 1/4 teaspoon salt
  • 1 small, very ripe banana, peeled (if your banana is super large just leave a few slices to top the pancakes)
  • 1 cup milk
  • 2 eggs
  • 1/2 teaspoon vanilla extract
  • Maple syrup for serving
  • Sliced bananas for serving – optional

Directions:

For each batch, melt 4 tablespoons of the butter either 40 seconds in a microwave or melt in a small saucepan using low heat over the stove.
Set it aside to cool.  The cooling is an important step so do this before you start pulling out the other ingredients.In a large bowl, combine the flour, sugar, baking powder and salt. Mix with a fork until well blended.Put the banana in a medium sized bowl. Mash with a fork until almost smooth. Add the milk, eggs and vanilla and stir with the fork until well blended. Pour the banana mixture and the melted butter into the flour mixture. Mix gently with a rubber spatula or a spoon until the batter is just blended. The batter should still be a little bit lumpy.Put a griddle over medium heat until hot. To test if the griddle is hot enough, flick a drop of water onto it. It is ready if the drop dances quickly and evaporates.  If not using a non-stick pan, put some of the remaining unmelted butter onto the griddle and spread it with a metal spatula. Drop the batter by 1/4 cupfuls onto the griddle, spacing them about 3 inches apart.Cook until a few holes form on top of each pancake and the underside is golden brown, about 2 minutes. Carefully slide the metal spatula under each pancake and turn it over. Cook until the bottom is golden brown and the top is puffed, 1 to 2 minutes more. Using the spatula, transfer the pancakes to a serving plate.Repeat with the remaining batter. Serve the pancakes while still hot with maple syrup and sliced bananas. Makes twelve 4-inch pancakes.  (very accurate output)Adapted from Williams-Sonoma The Kid’s Cookbook, by Abigail Johnson Dodge (Time-Life Books, 2000).
Kid Helper Stirring Batter (Below)
IMG_5461
Getting Ready to Flip First Batch, Bubbles Forming (Below)IMG_5465
Color Seeking Before Flipping (Below)
IMG_5467