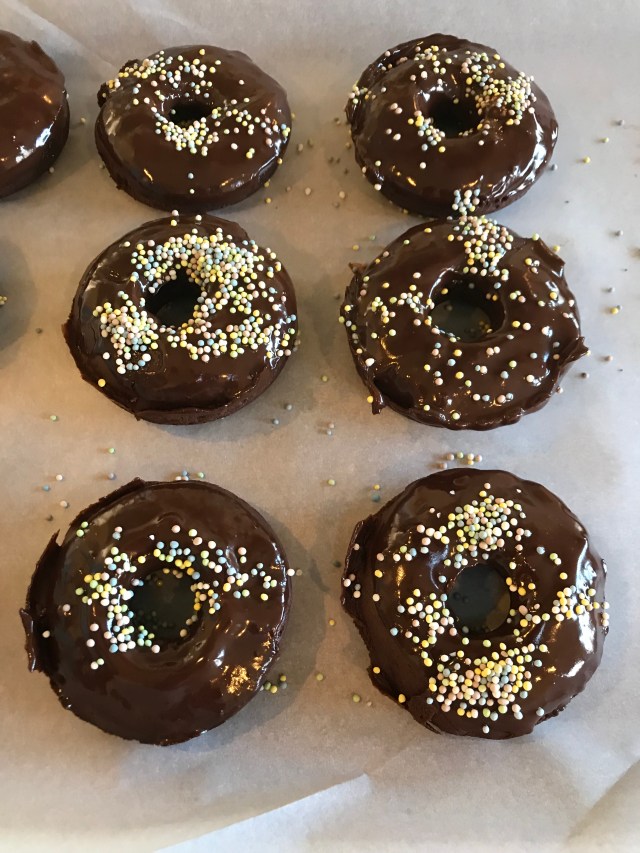
Finished Product
Took a stab at a Williams-Sonoma Chocolate Baked Donut Recipe that I found on a flyer at a store a few months ago. I have not seen the recipe on-line.
These were very easy to make and taste mighty chocolately. Only suggested changed is to bake the donuts closer to 12 minutes not 10. At 10 minutes the donuts really failed the toothpick test but at 12 they were perfectly done. My batch created 9 donuts and the recipe says 18. This is the pan I used. I am not being paid to advertise this and worked very well. Perhaps the donut mold at WS is smaller and can make 18 vs 9.
Ingredients
For the Donuts:
- Nonstick cooking spray (worked like a charm as the donuts easily inverted)
- 1 cup plus 2 tablespoons of all-purpose flour
- Measure 1/2 cup unsweetened cocoa powder, then
sift - 1 teaspoon instant espresso powder
- 3/4 teaspoon of baking powder
- 1/4 teaspoon of baking soda
- 1/4 teaspoon of kosher salt
- 1/3 cup of buttermilk (3 FL OZ)
- 1/3 cup of whole milk (3 FL OZ)
- 6 tablespoons or 3/4 stick of unsalted butter, room temperature
- 1/2 cup or 4 ounces of white sugar
- 1 egg
- 2 teaspoons of vanilla extract
- For the chocolate glaze:
- 1/4 cup (2 fl. oz,/60 ml) heavy cream
- 1/2 cup or 4 oz of semisweet chocolate finely chopped (I just used chocolate chips)
- Sprinkles – Optional
Steps:
To make the donuts, preheat the oven to 375”F.
Set out your butter to soften.
Coat the wells of a 6-well donut pan with nonstick cooking spray. (I used a 9-well.)
In a bowl, whisk together the flour, cocoa powder (remember to sift it first), espresso powder, baking powder, baking soda and salt.
In a measuring cup, stir together the buttermilk and whole milk. Set aside. (I used a buttermilk powder to make my buttermilk and had no negative consequences.)
In the bowl of a stand mixer fitted with the paddle attachment, beat together the
butter and sugar on medium speed until light and fluffy, about 2 minutes. Stop the
mixer and scrape down the sides of the bowl.
Add the egg and vanilla and beat on medium speed until combined, about 1 minute.
Reduce the speed to low and add the flour mixture in 3 additions, alternating with
the buttermilk mixture and beginning and ending with the flour. Beat each addition
until just blended.
Pour 2 Tbs. batter into each prepared well. (I just filled each well 2/3rds full and that seemed to make perfect sized donuts)
Bake, carefully rotating the pan 180 degrees halfway through baking, until a toothpick inserted into the donuts comes out clean, about 10 minutes. I SUGGEST TURNING AT 6 MINUTES AND REMOVING AT 12 MINUTES.
Let cool in the pan on a wire rack for 5 minutes, then invert the pan onto the rack and lift off the pan. (Surprisingly inverting was not difficult and no donuts broke).
Let the donuts cool completely. (Takes no more than 10 minutes)
Meanwhile, wash and dry the pan and repeat to bake the remaining batter in
2 more batches. (I did not have any batter after filling my 9 donut well)
To make the glaze, pour the cream into a small saucepan, place over medium heat
and bring to a simmer. Remove from the heat and stir in the chocolate until melted.
Transfer to a heatproof bowl.
Line a baking sheet with parchment paper. Dip the cooled donuts, top side down,
into the glaze. Place them, glazed side up, on the prepared baking sheet.
Serve right away with the glaze still wet or let stand until the glaze hardens, about 5 minutes, then serve. If adding sprinkles due immediately after dipping in chocolate.
Makes 18 donuts. (9 IN MY BOOK)
Adapted from The Junior Chef Cookbook by Williams Sonoma Test Kitchen (Weldon Owen, 2015)

Ingredients

Makes 9 Donuts

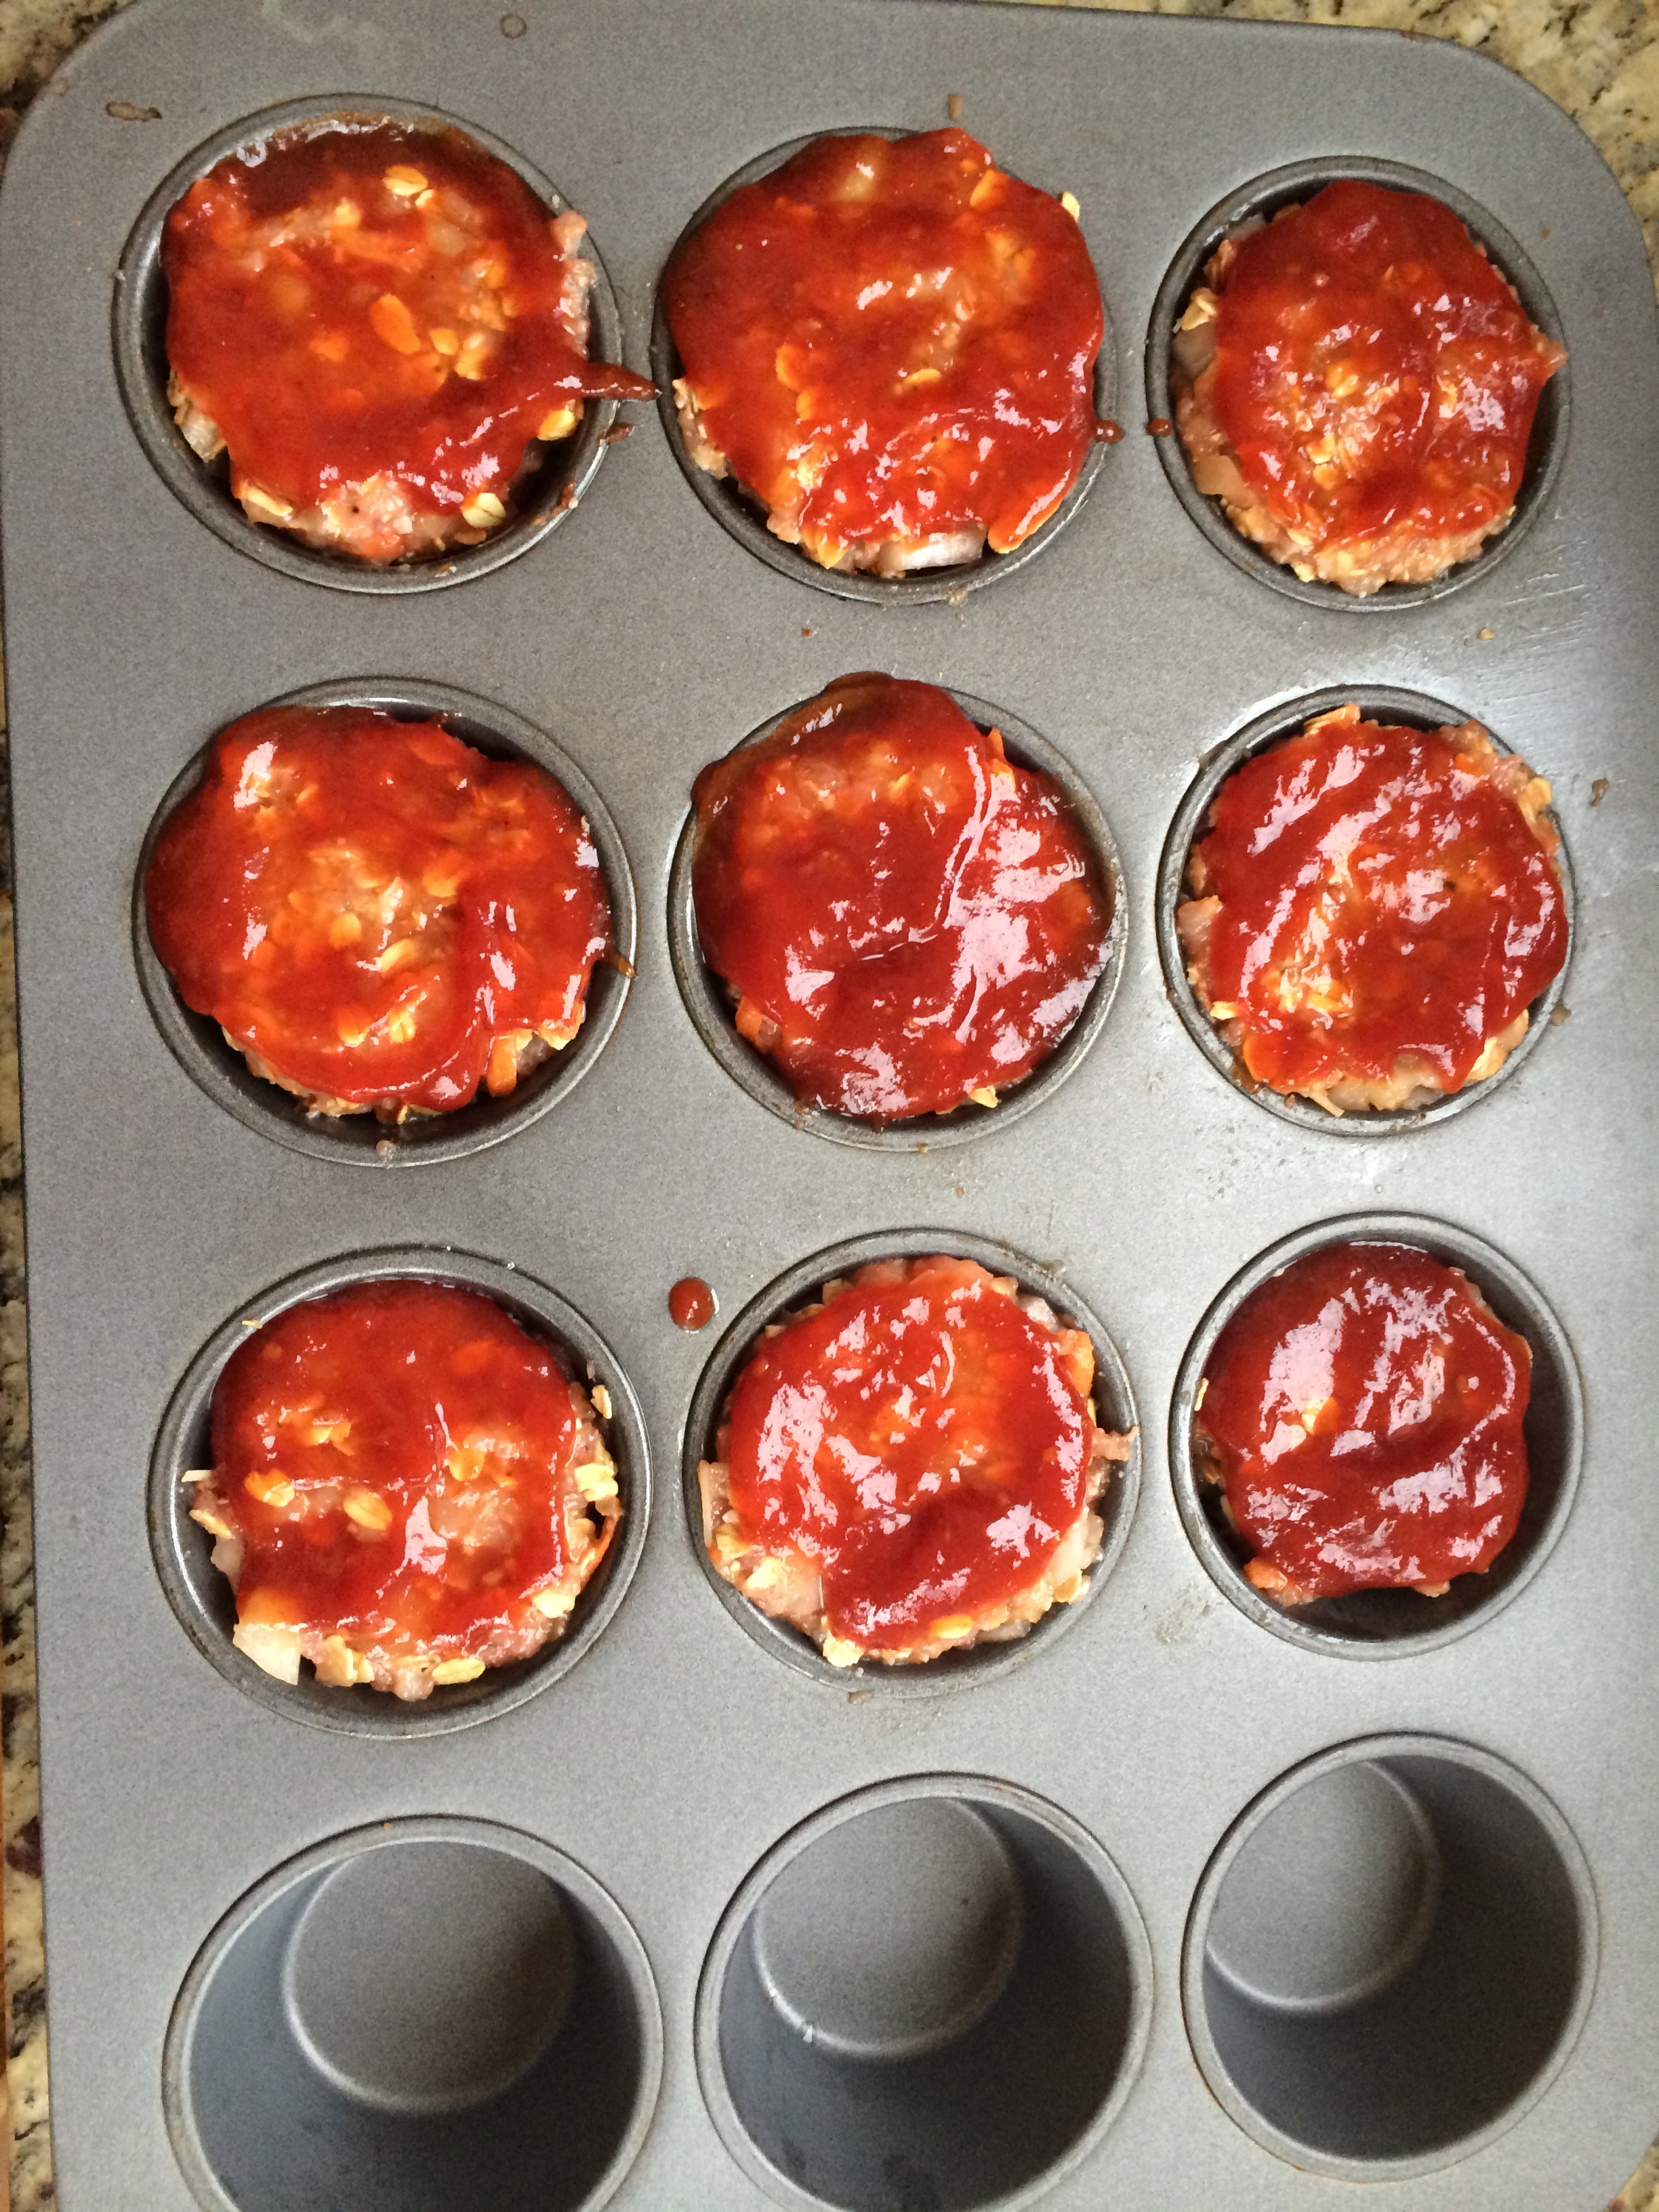
Pre- Glazed